Préparation
Primaire / Cataphorèse
Mastic
Apprêt
Fill In / FillClean® Aérosols
Peintures de finition
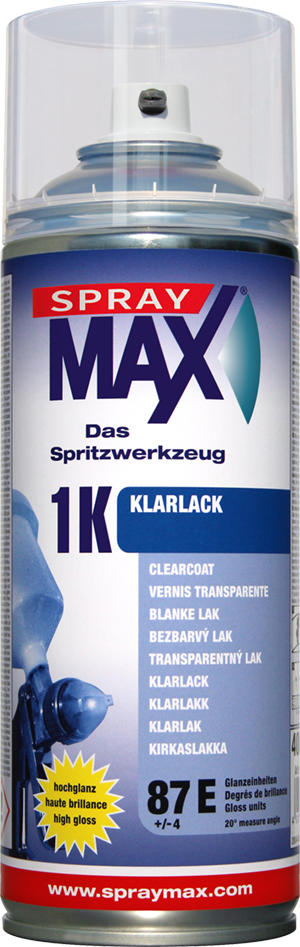
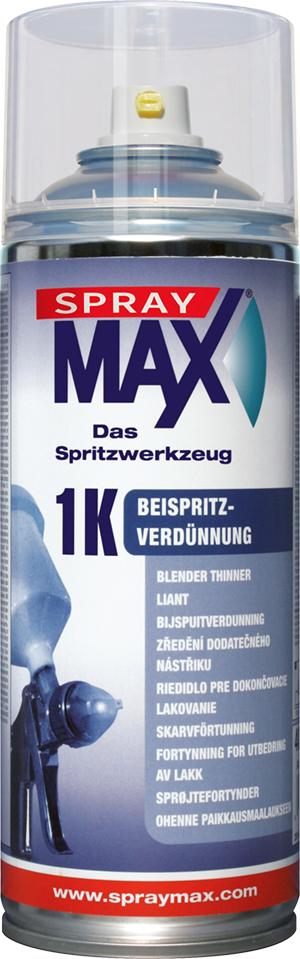
Vernis / Diluant liant raccord
Accessoires
Nettoyer la zone endommagée et poncer avec P400.
Nettoyer avec du dissolvant pour silicone.
Masquer soigneusement pour l'application de l'apprêt AC.
Appliquer l'apprêt 3 dans 1, 1K en 2-3 couches fines.
Laisser sécher jusqu'à ce qu'il soit mat. Laisser évaporer entre les couches.
Ponçage à la main avec P600.
Nettoyer avec le dissolvant Aqua-Silicone.
Préparer pour la peinture de base en nettoyant avec un chiffon anti-poussière.
Appliquer la teinte de la laque de base préalablement mélangée.
Aérer de manière forcée.
1 à 2 autres pulvérisations entre-temps toujours aérer.
Après l'aération, appliquer un vernis transparent 1K.
Appliquer un diluant de pulvérisation sur les zones marginales, puis sécher au RI en option.
Après un séchage d'environ 20 min, un résultat comme neuf.
Produit nettoyant pour éliminer en profondeur le silicone, la graisse, l'huile, la cire, la saleté, le goudron et la suie. Ce dissolvant pour silicone ...
Produit nettoyant à base d'eau, à teneur réduite en solvants et riche en principes actifs, destiné à être utilisé immédiatement avant l'application de ...
Apprêt acrylique offrant un bon état de surface, un séchage rapide et une excellente ponçabilité à sec. Idéal pour le Spot Repair. Peut être appliqué ...
Permet le remplissage de peinture hydro 1K en respectant la colorimétrie, les marques et qualités mentionnées ci-après. Le résultat obtenu est une ...
Vernis de finition mono-composant. Permet une finition rapide et une protection durable. En raison de la bonne élasticité du film, l’application est ...
Le liant raccord est un produit spécialement conçu pour noyer l’ancien et le nouveau vernis dans la zone de raccord. Permet d’obtenir une homogénéité ...