Préparation à la peinture ▷ résultats professionnels de la peinture
Primaire / Cataphorèse
Mastic
Apprêt
Fill In/ FillClean® Aérosols
Peintures de finition
Vernis / Diluant liant raccord
Accessoires
Dommages initiaux
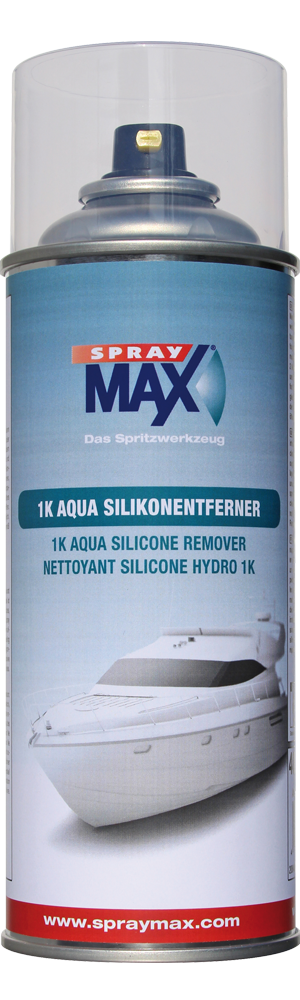
Nettoyer les zones endommagées avec Aqua Silikon-Entferner.
Poncer la surface avec P80-120.
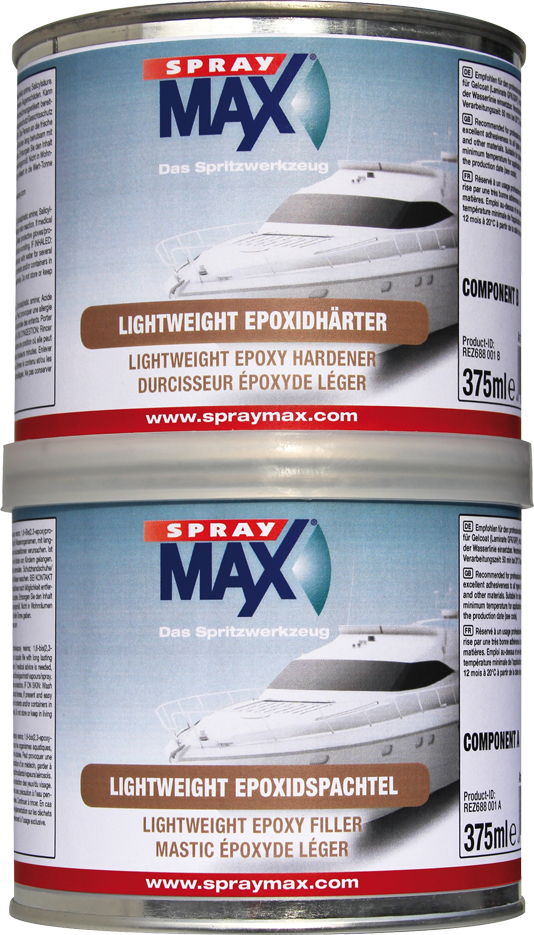
Si nécessaire, recouvrir les dommages plus profonds avec un mastic époxy 2K Lightweight.
Poncer ensuite les zones de mastic avec P120.
Nettoyer la surface avec Aqua Silikon-Entferner.
Le cas échéant, essuyer avec un chiffon anti-poussière.
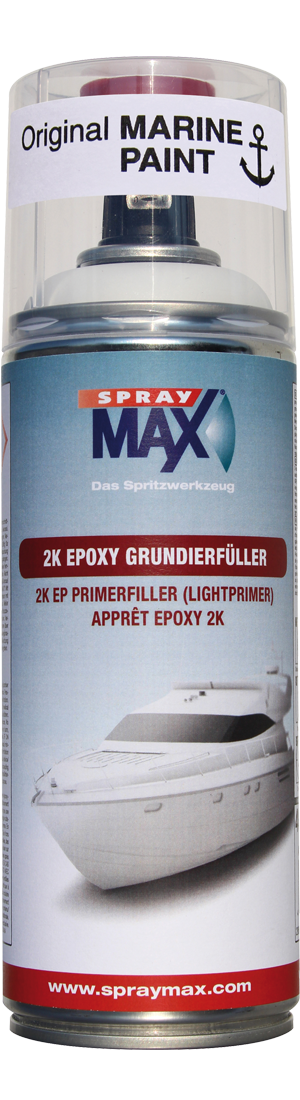
Appliquer une couche de fond avec un apprêt époxydique à 2 composants.
Appliquer en 2-4 couches. Temps d'aération de 5-10 min entre les couches.
Vérifier la teinte en faisant un essai de pulvérisation.
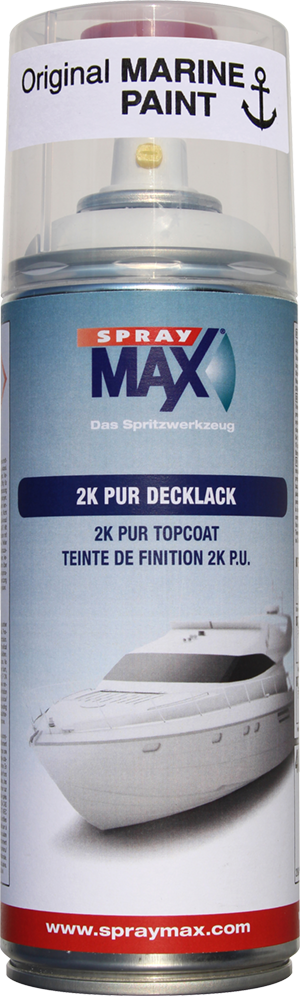
Peinture de la couche de finition PUR à 2 composants / teinte.
Appliquer la laque de finition PUR à 2 composants de manière uniforme en 2-3 couches au pistolet.
Temps d'aération entre les couches : env. 10-15 min.
Laisser sécher la laque de finition 2K : sèche à la poussière après 1,5h et polissable après 24h à 20°C.
Polir les inclusions de poussière et les zones de transition si nécessaire (possible après 24 h).
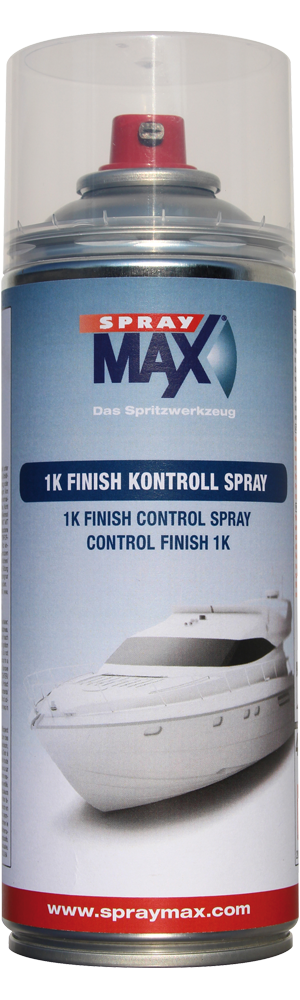
Contrôler le polissage avec le spray de contrôle 1K Finish. Vaporiser uniformément.
Frotter le spray de contrôle Finish avec un chiffon en microfibres et contrôler visuellement les endroits à polir.
Processus de peinture terminé jusqu'à la zone de la couche de finition (au-dessus de la ligne de flottaison).
Nettoyant à base d’eau, à teneur réduite en solvant et riche en substances actives, pour un emploi uniquement pour des peintures hydro. Ce produit ...
Résine époxy 2 composants à faible densité pour la réparation des bateaux. Pour toute application sur du Gelcoat, fibre de verre, bois, acier, ...
Primaire époxy 2 composants de qualité professionnelle pour bateaux en fibres de verre, peut être également utilisé comme primaire de charge pour les ...
Teinte de finition PU 2 composants de qualité professionnelle pour les applications maritimes, en particulier pour la protection de zones au-dessous ...
Pour un contrôle optimal du résultat final de la teinte de finition (Veuillez respecter la fiche technique)