Préparation
Primaire / Cataphorèse
Mastic
Apprêt
Fill In/ FillClean® Aérosols
Vernis de finition
Vernis / Transparent
Accessoires
Nettoyer la zone endommagée.
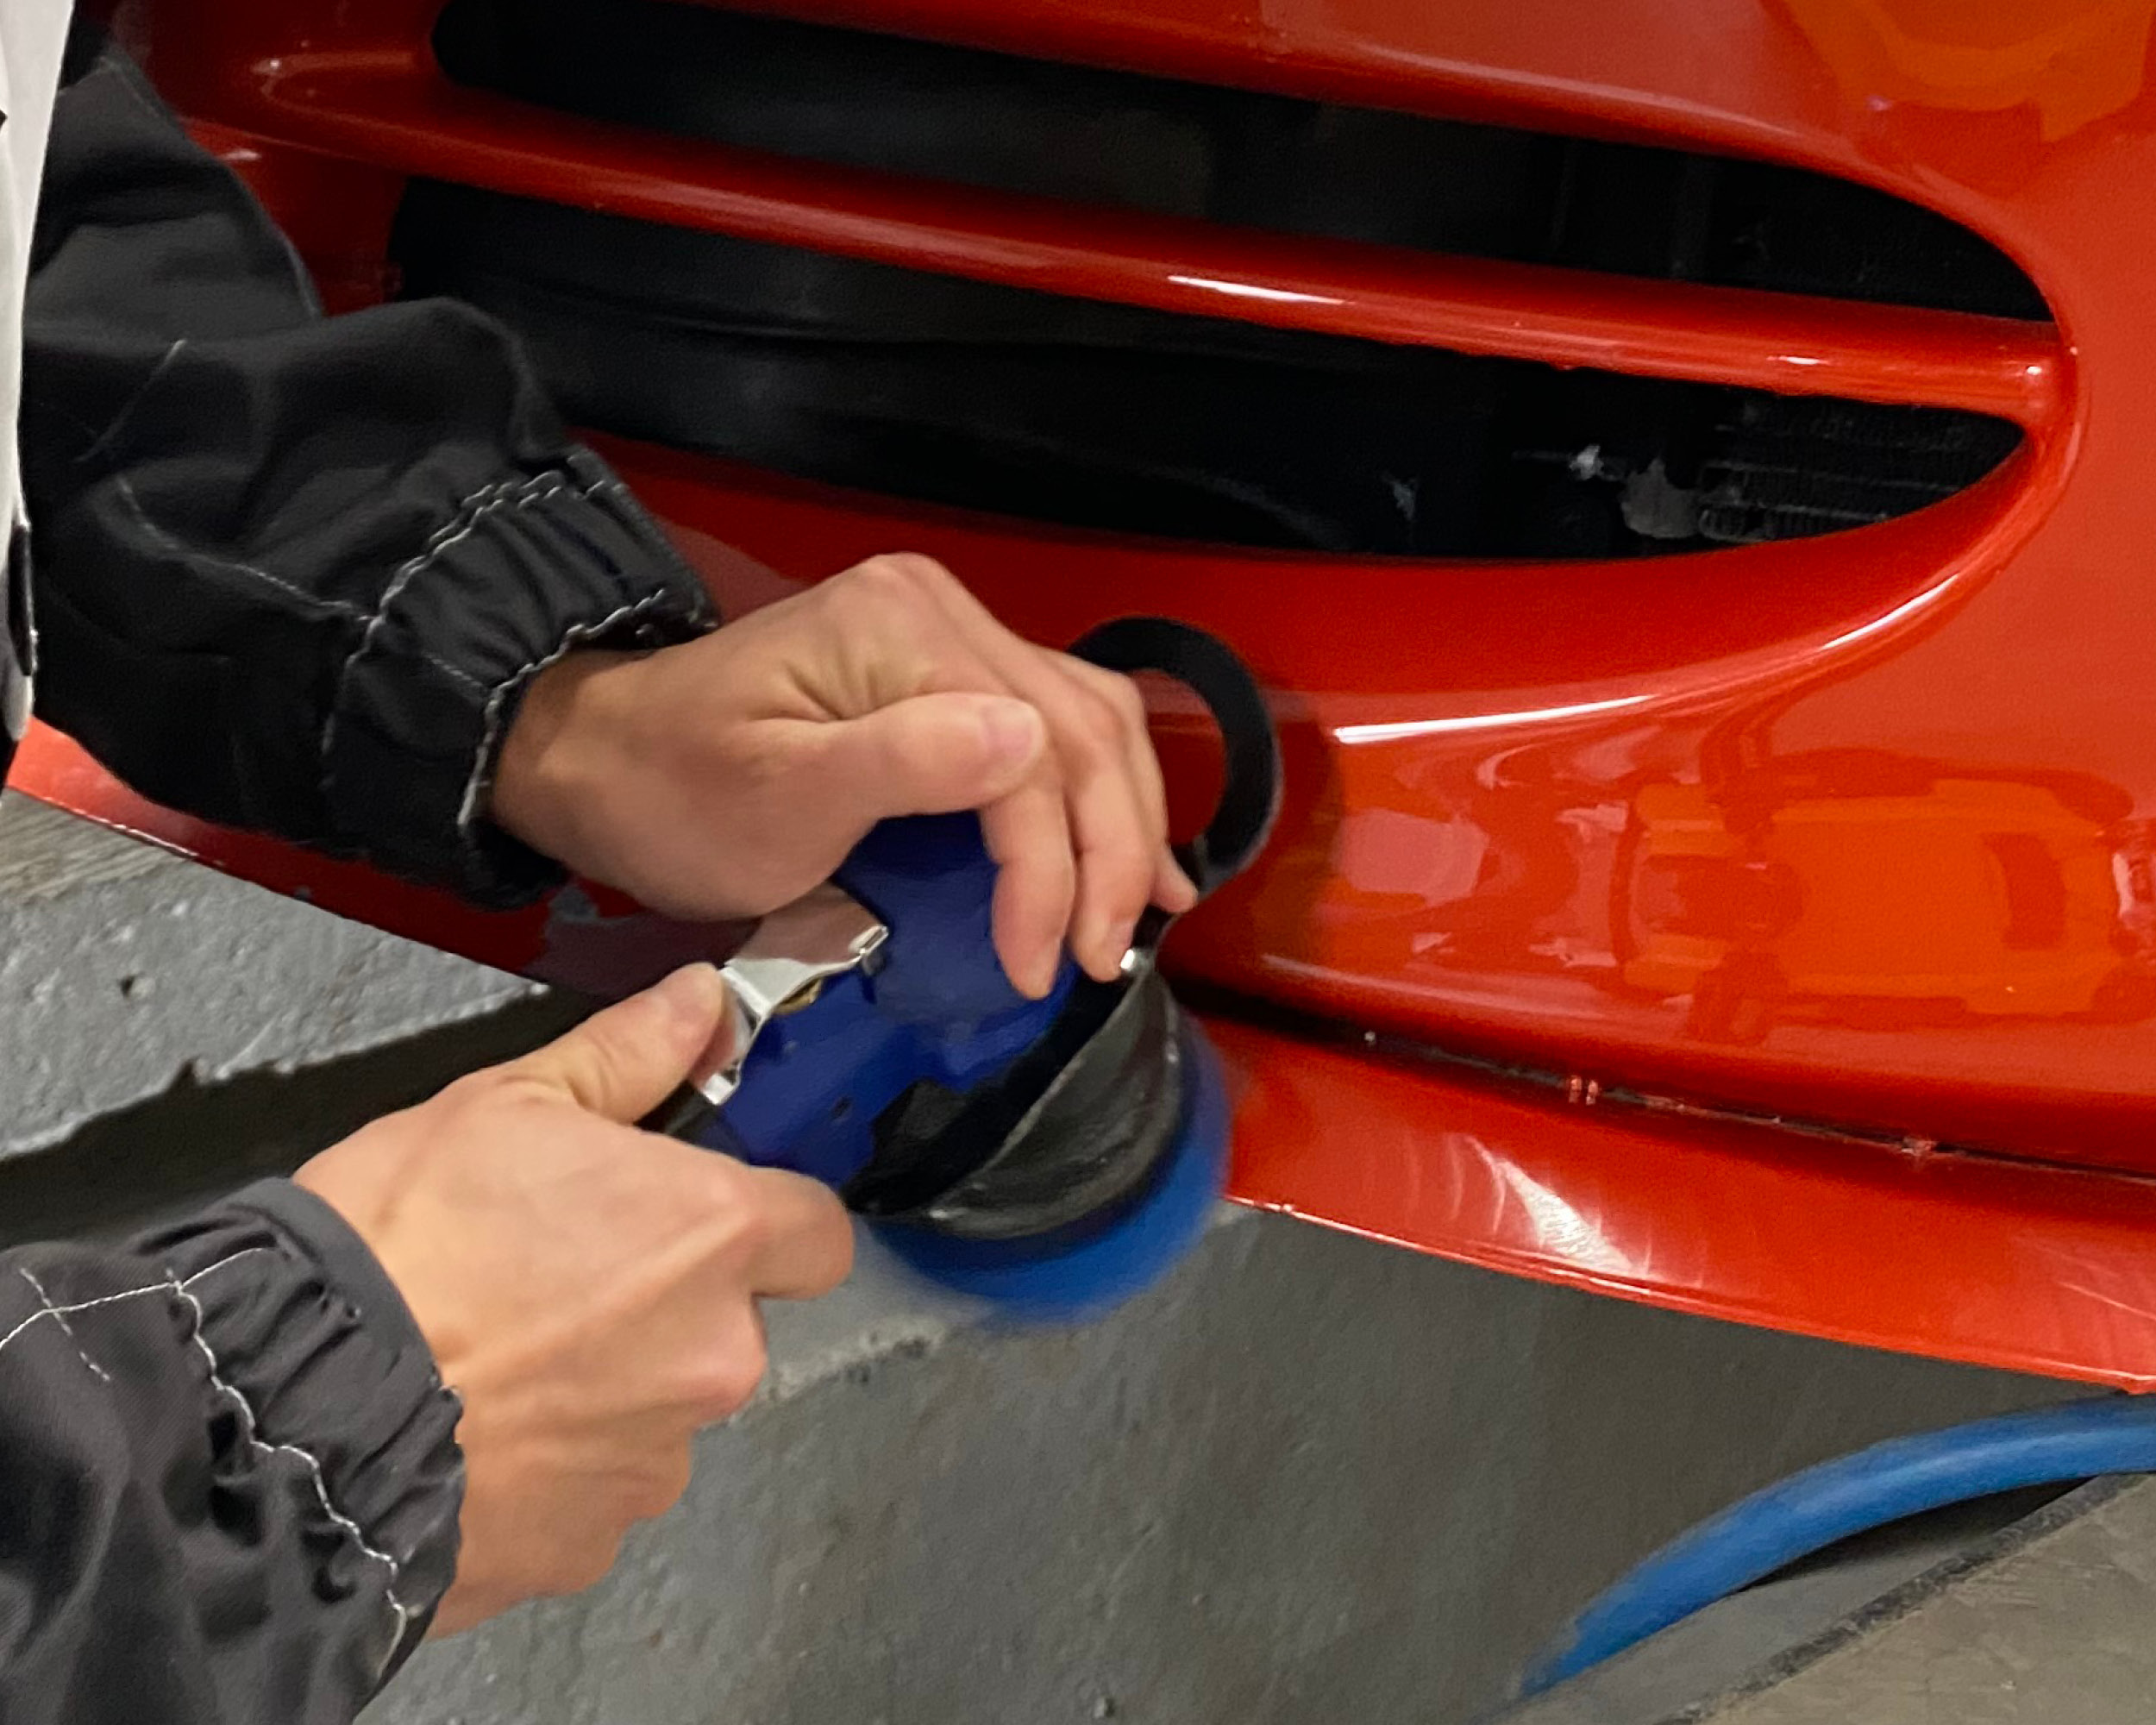
Polir généreusement la zone endommagée.
Poncer la zone endommagée avec P80 à 240.
Adoucir les bords de la zone endommagée à la main ou à la machine avec du P320 ou plus fin.
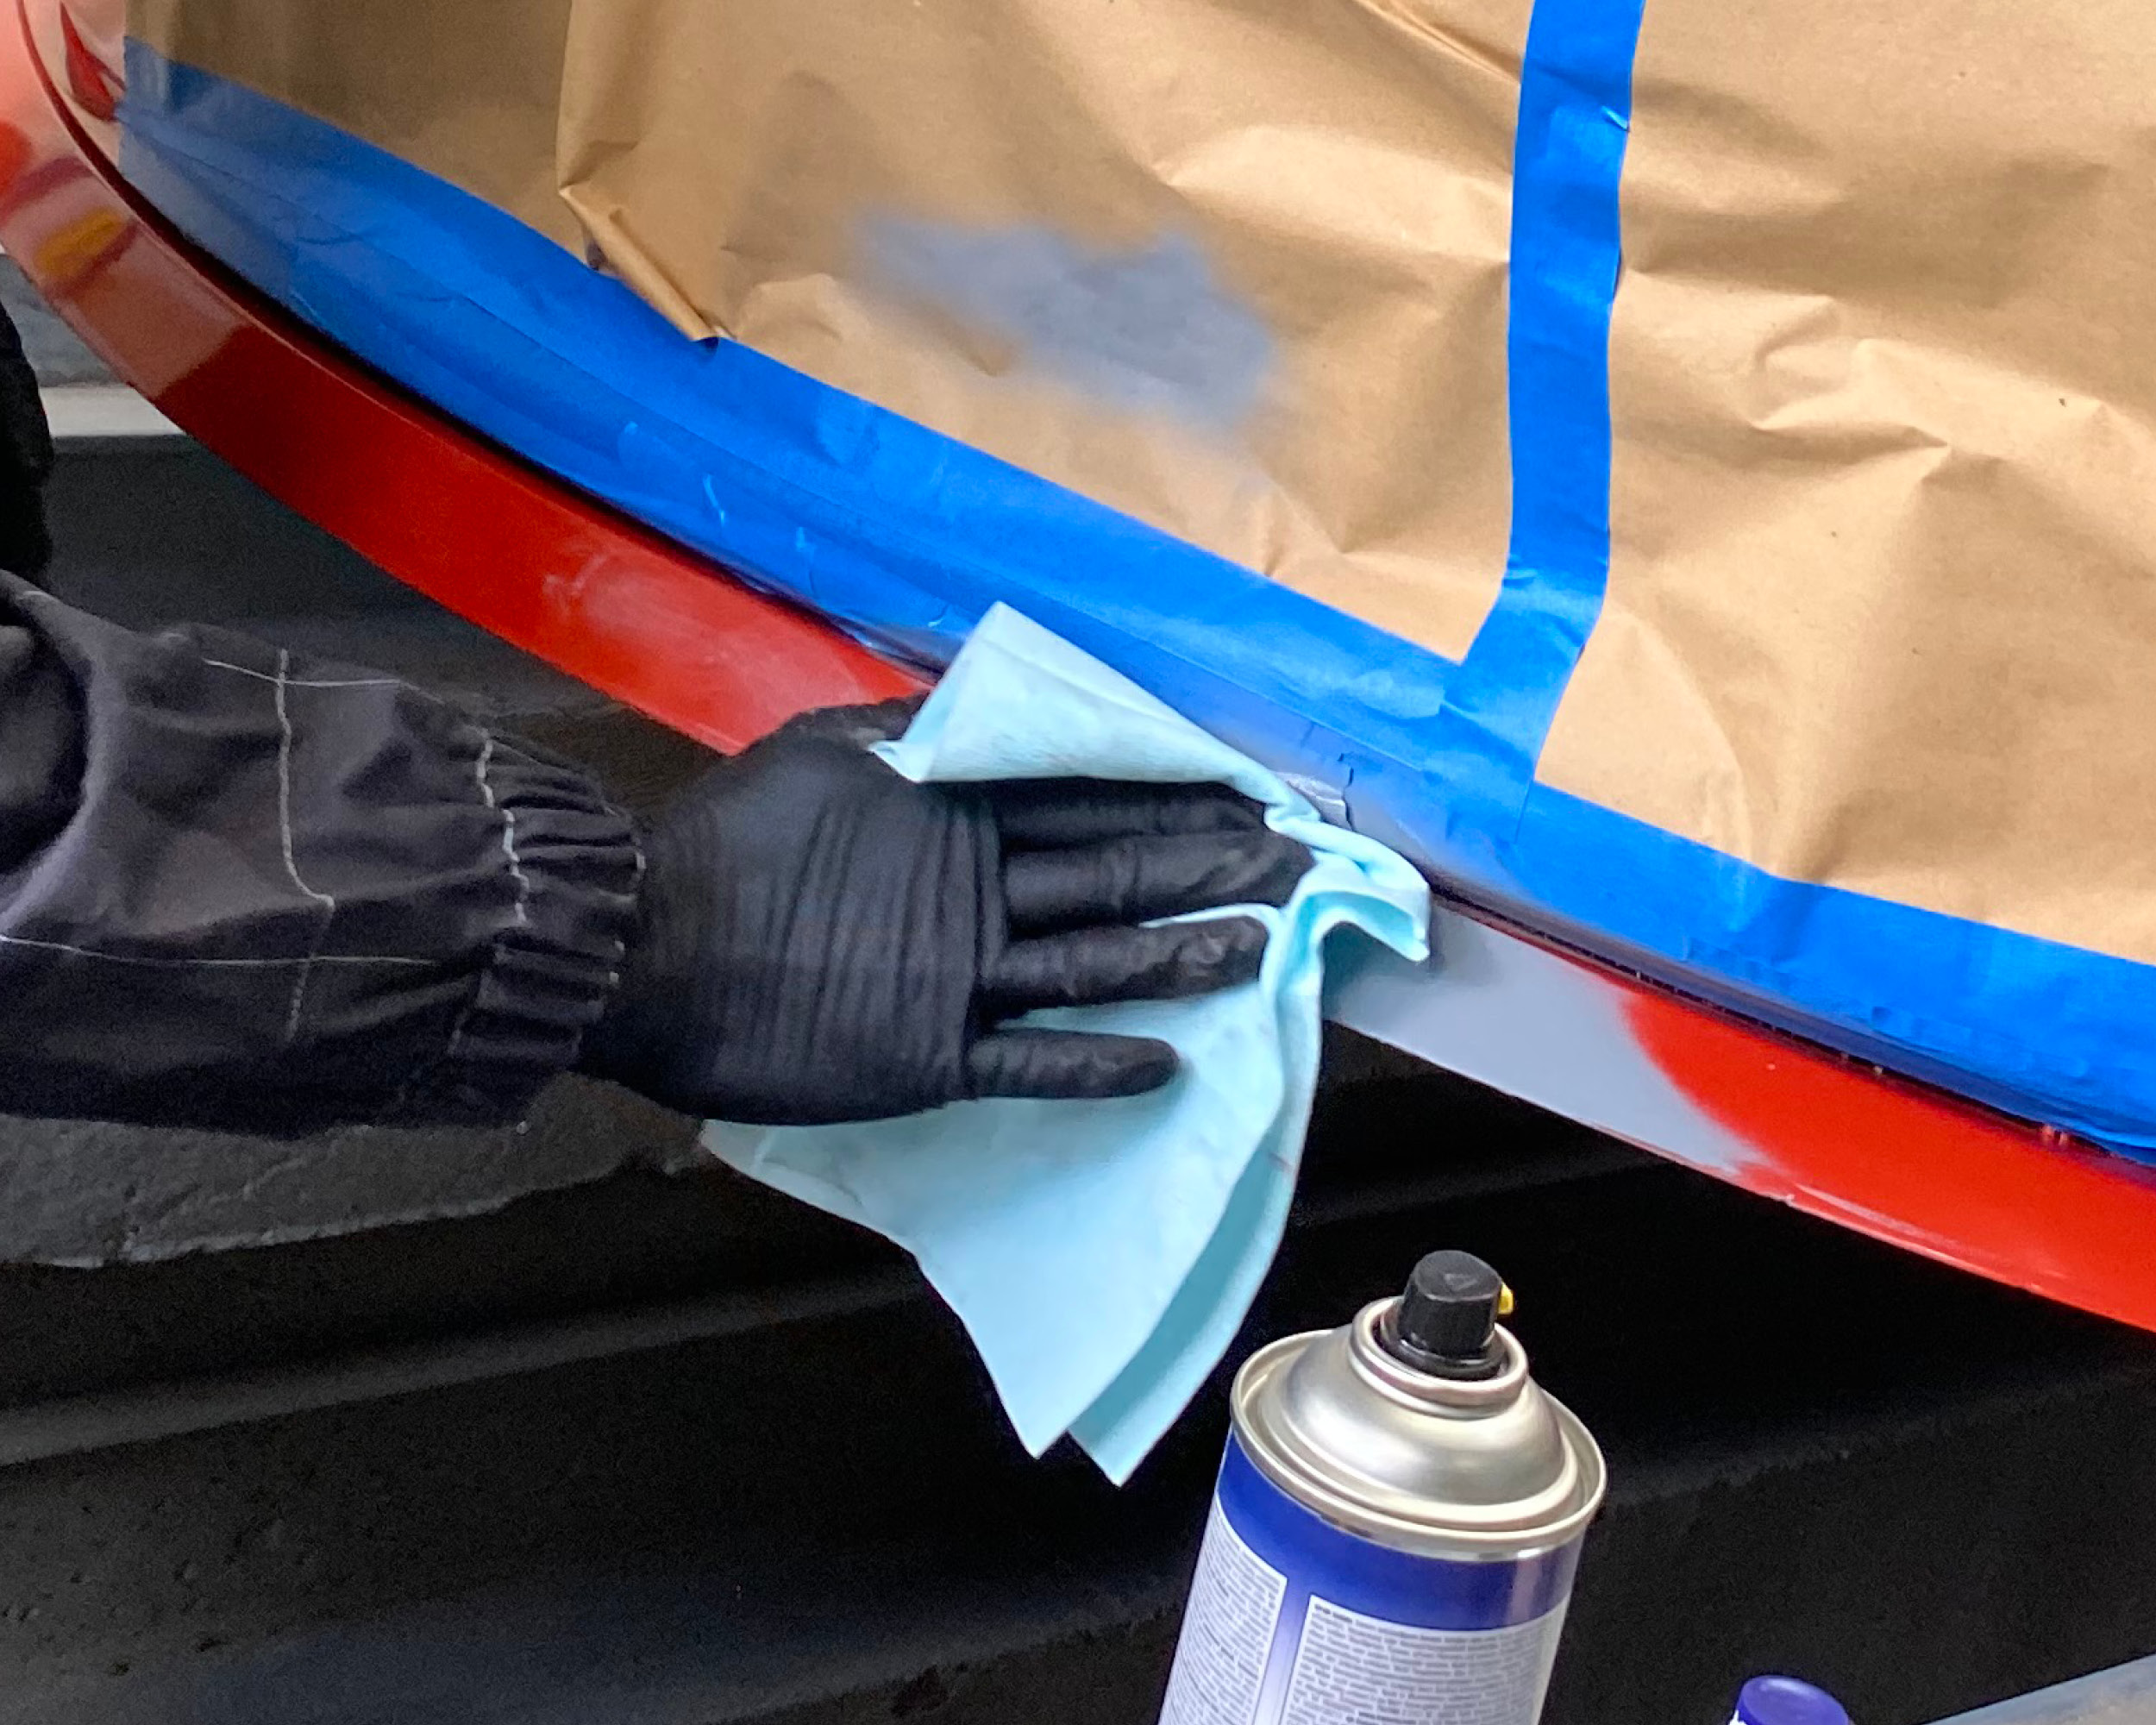
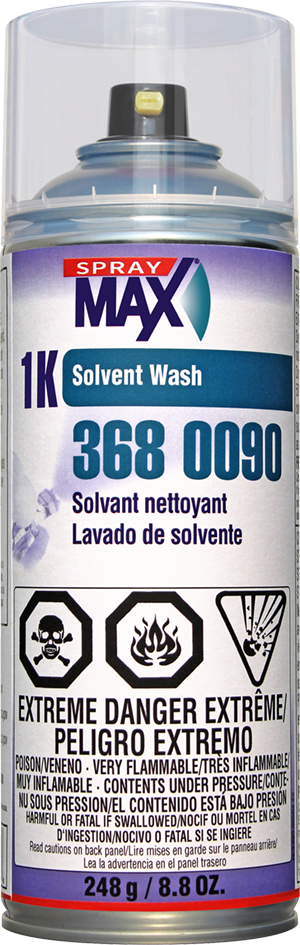
Nettoyer avec un dissolvant pour Clean with 1K Solvent Wash 3680090.
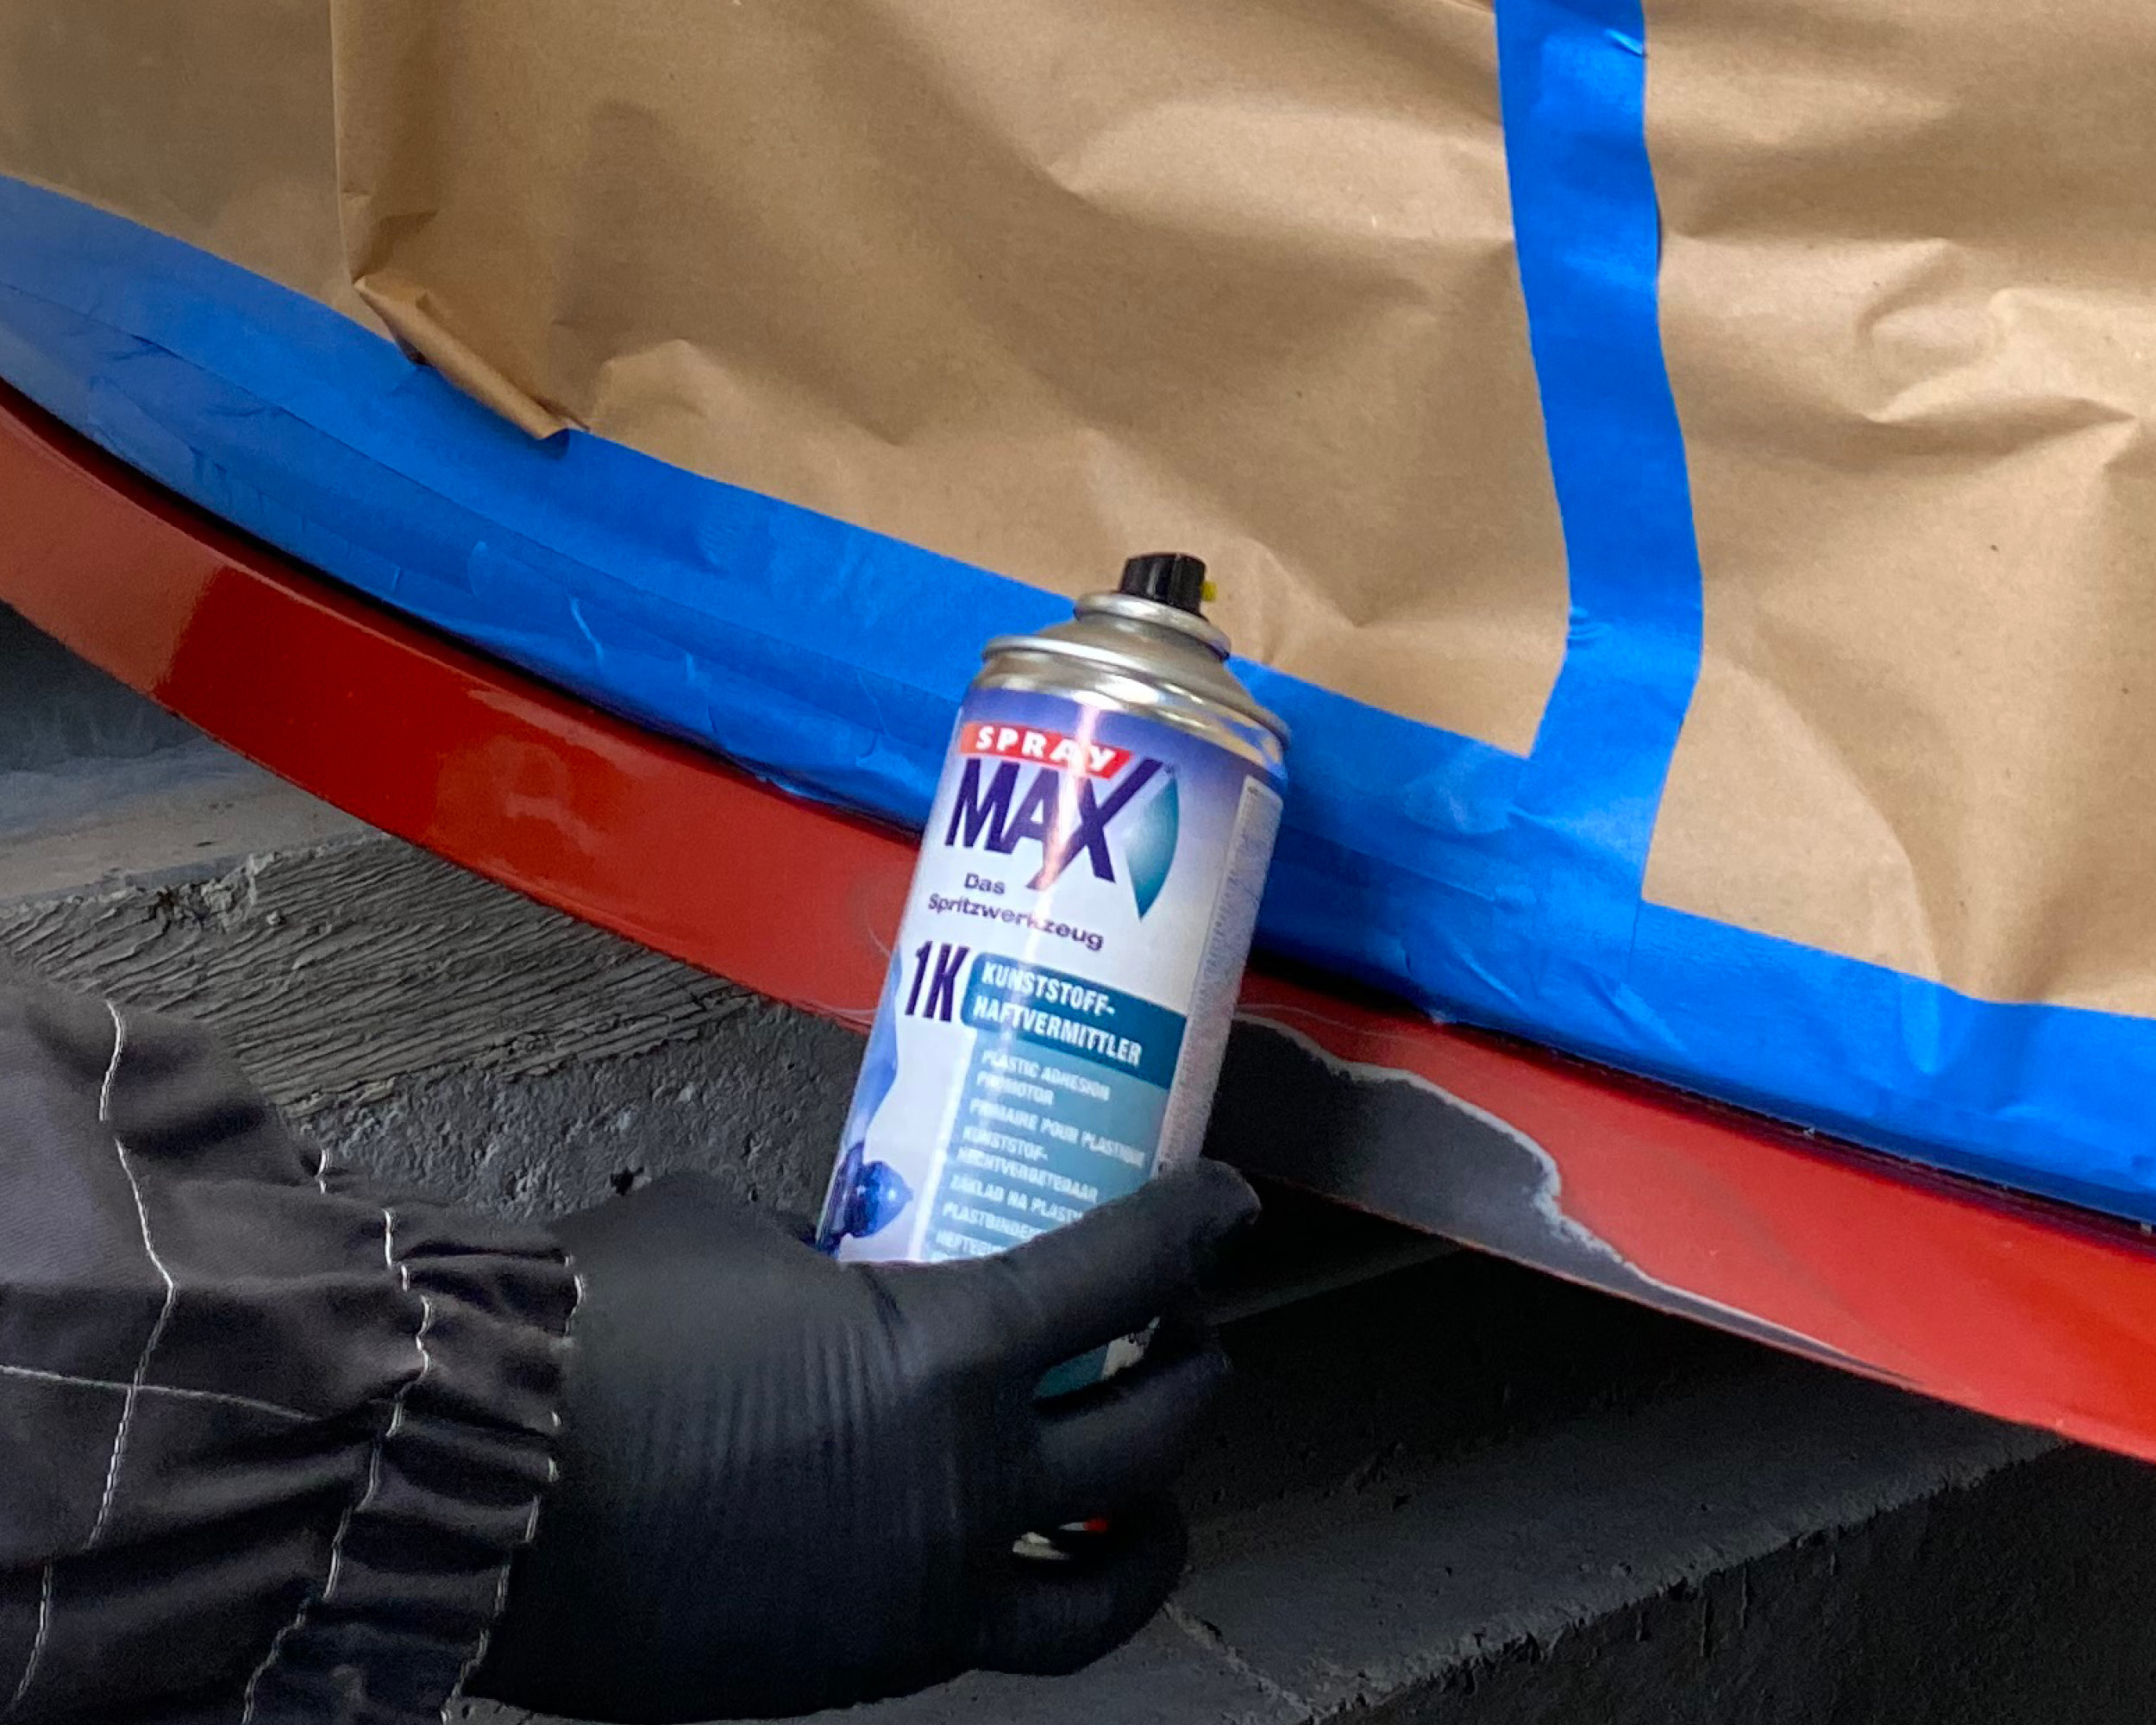
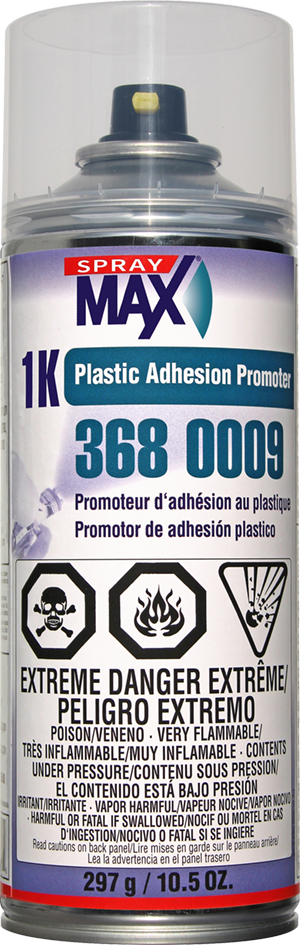
Appliquer une couche de SprayMax Plastic Adhesion Promotor 3680009.
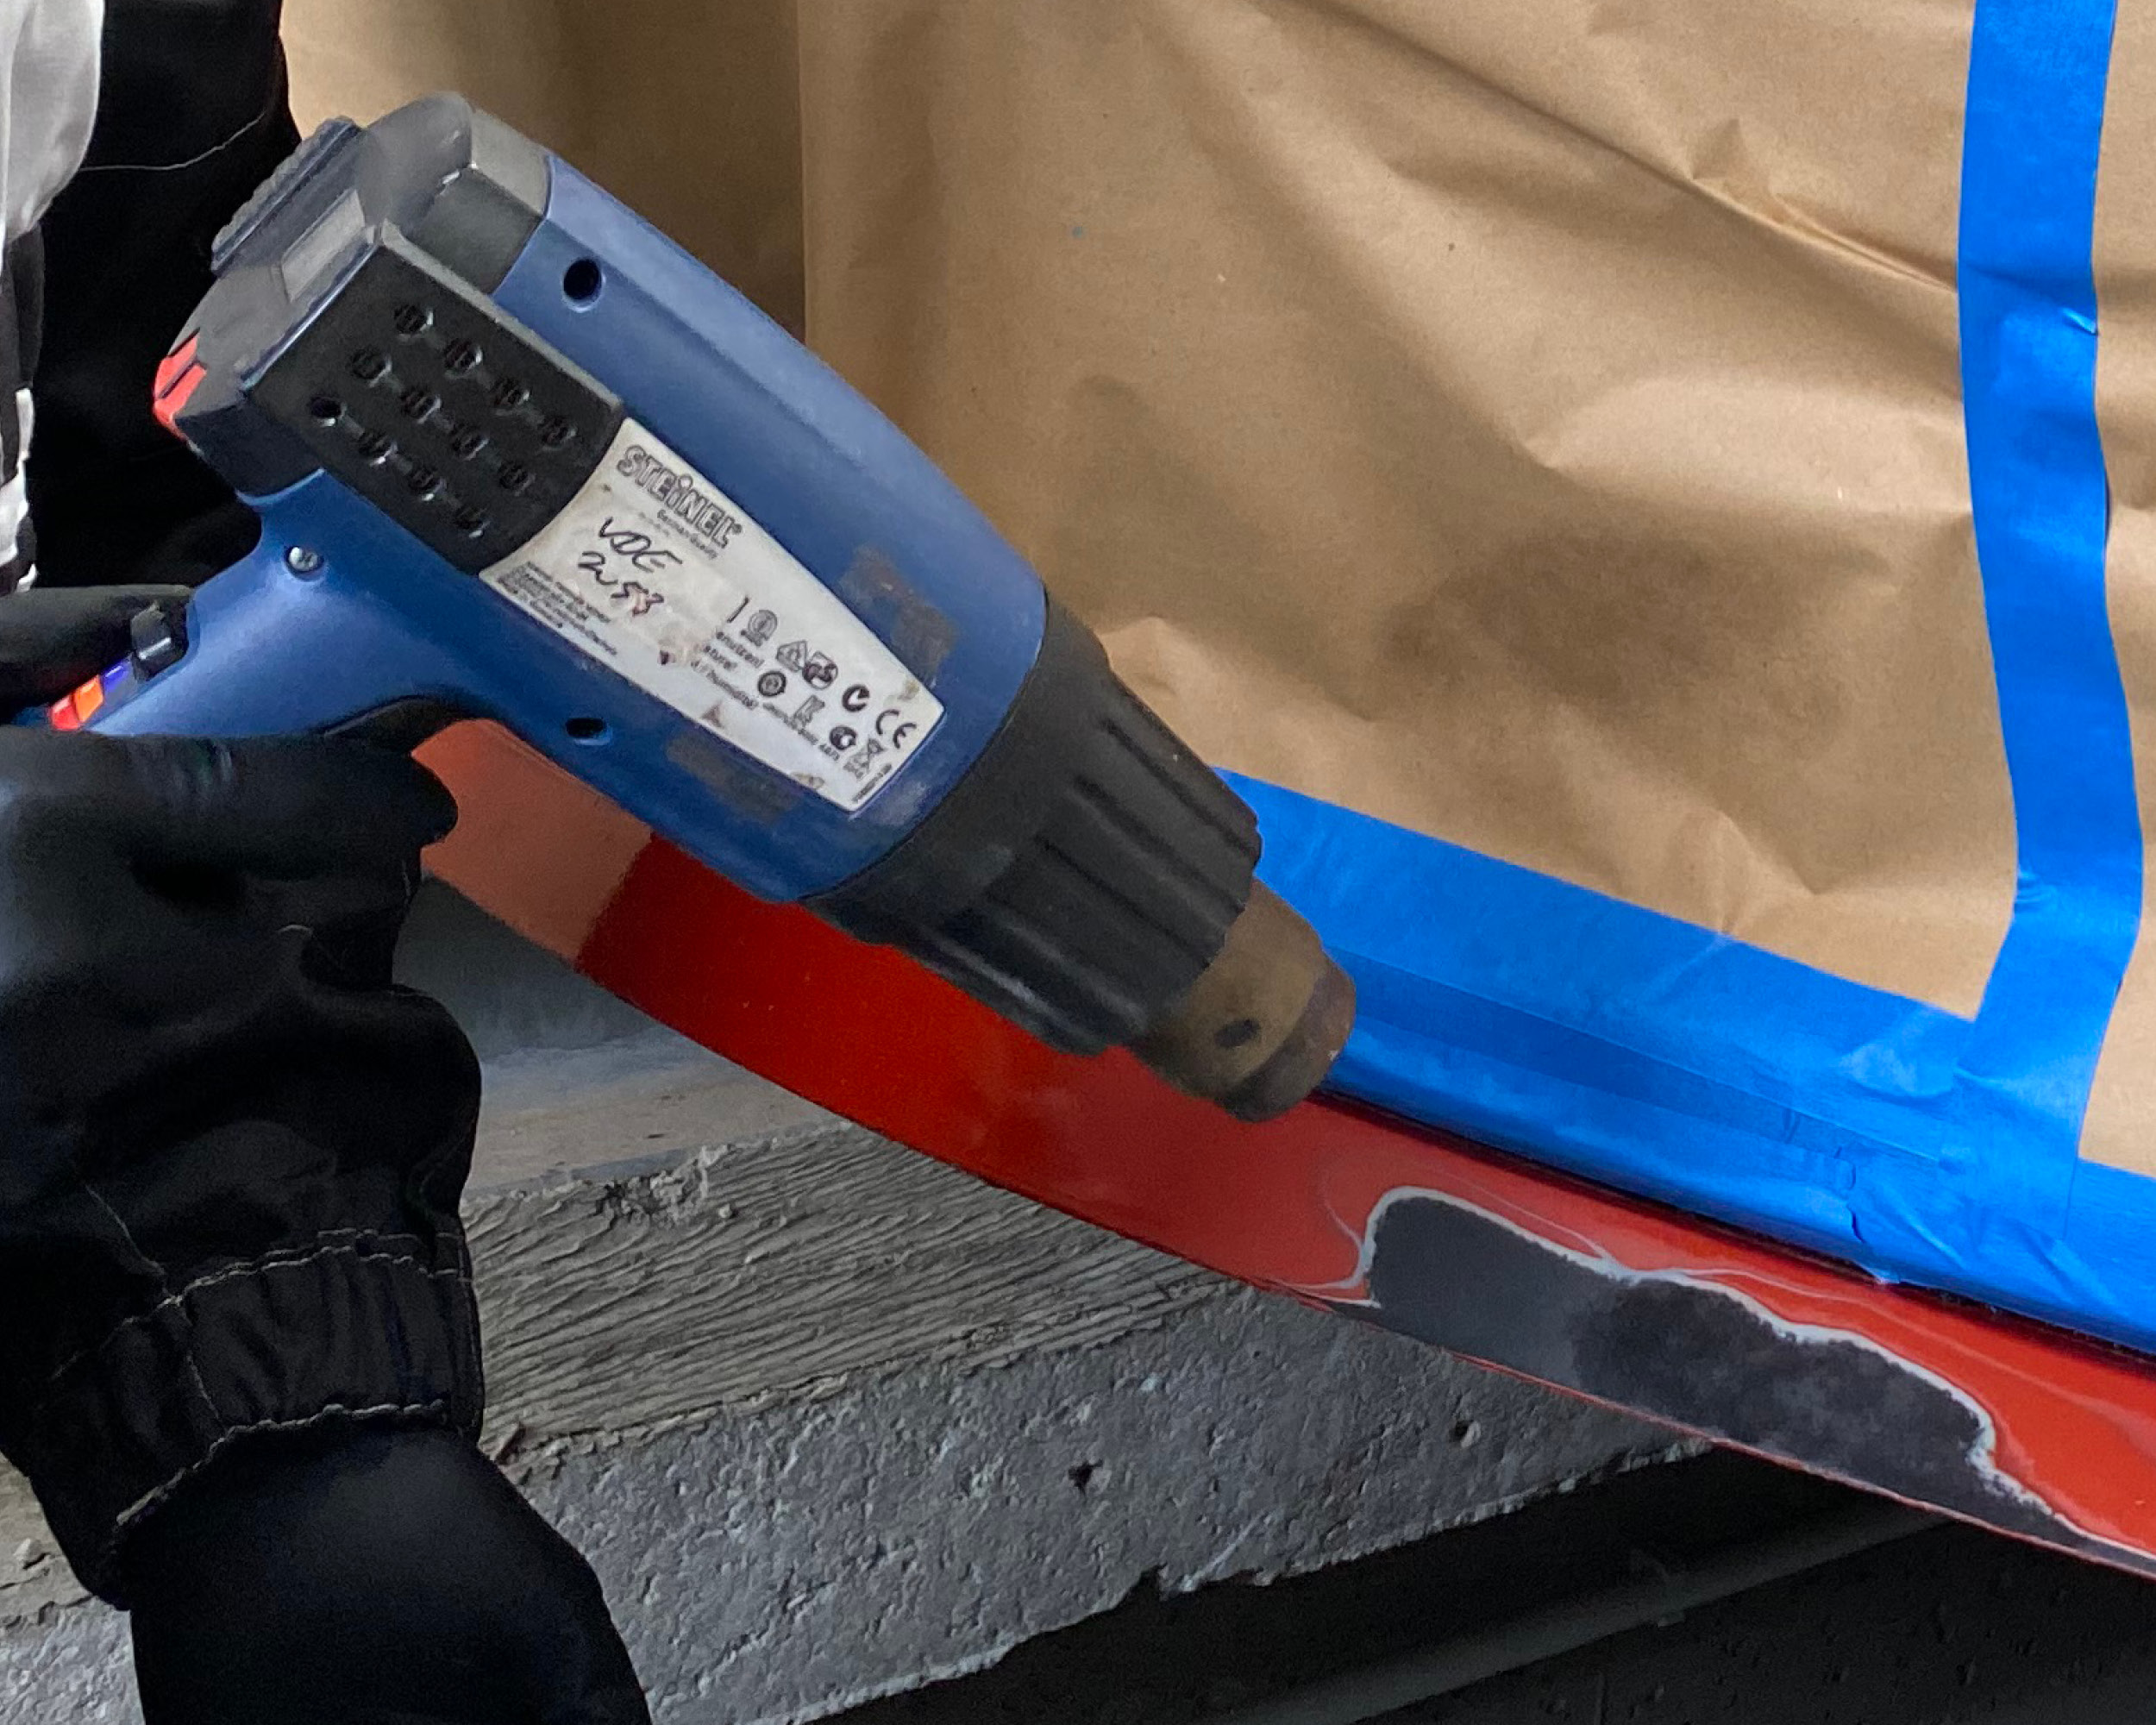
Séchez la surface pulvérisée à l'air libre (séchage à l'air ou séchage forcé).
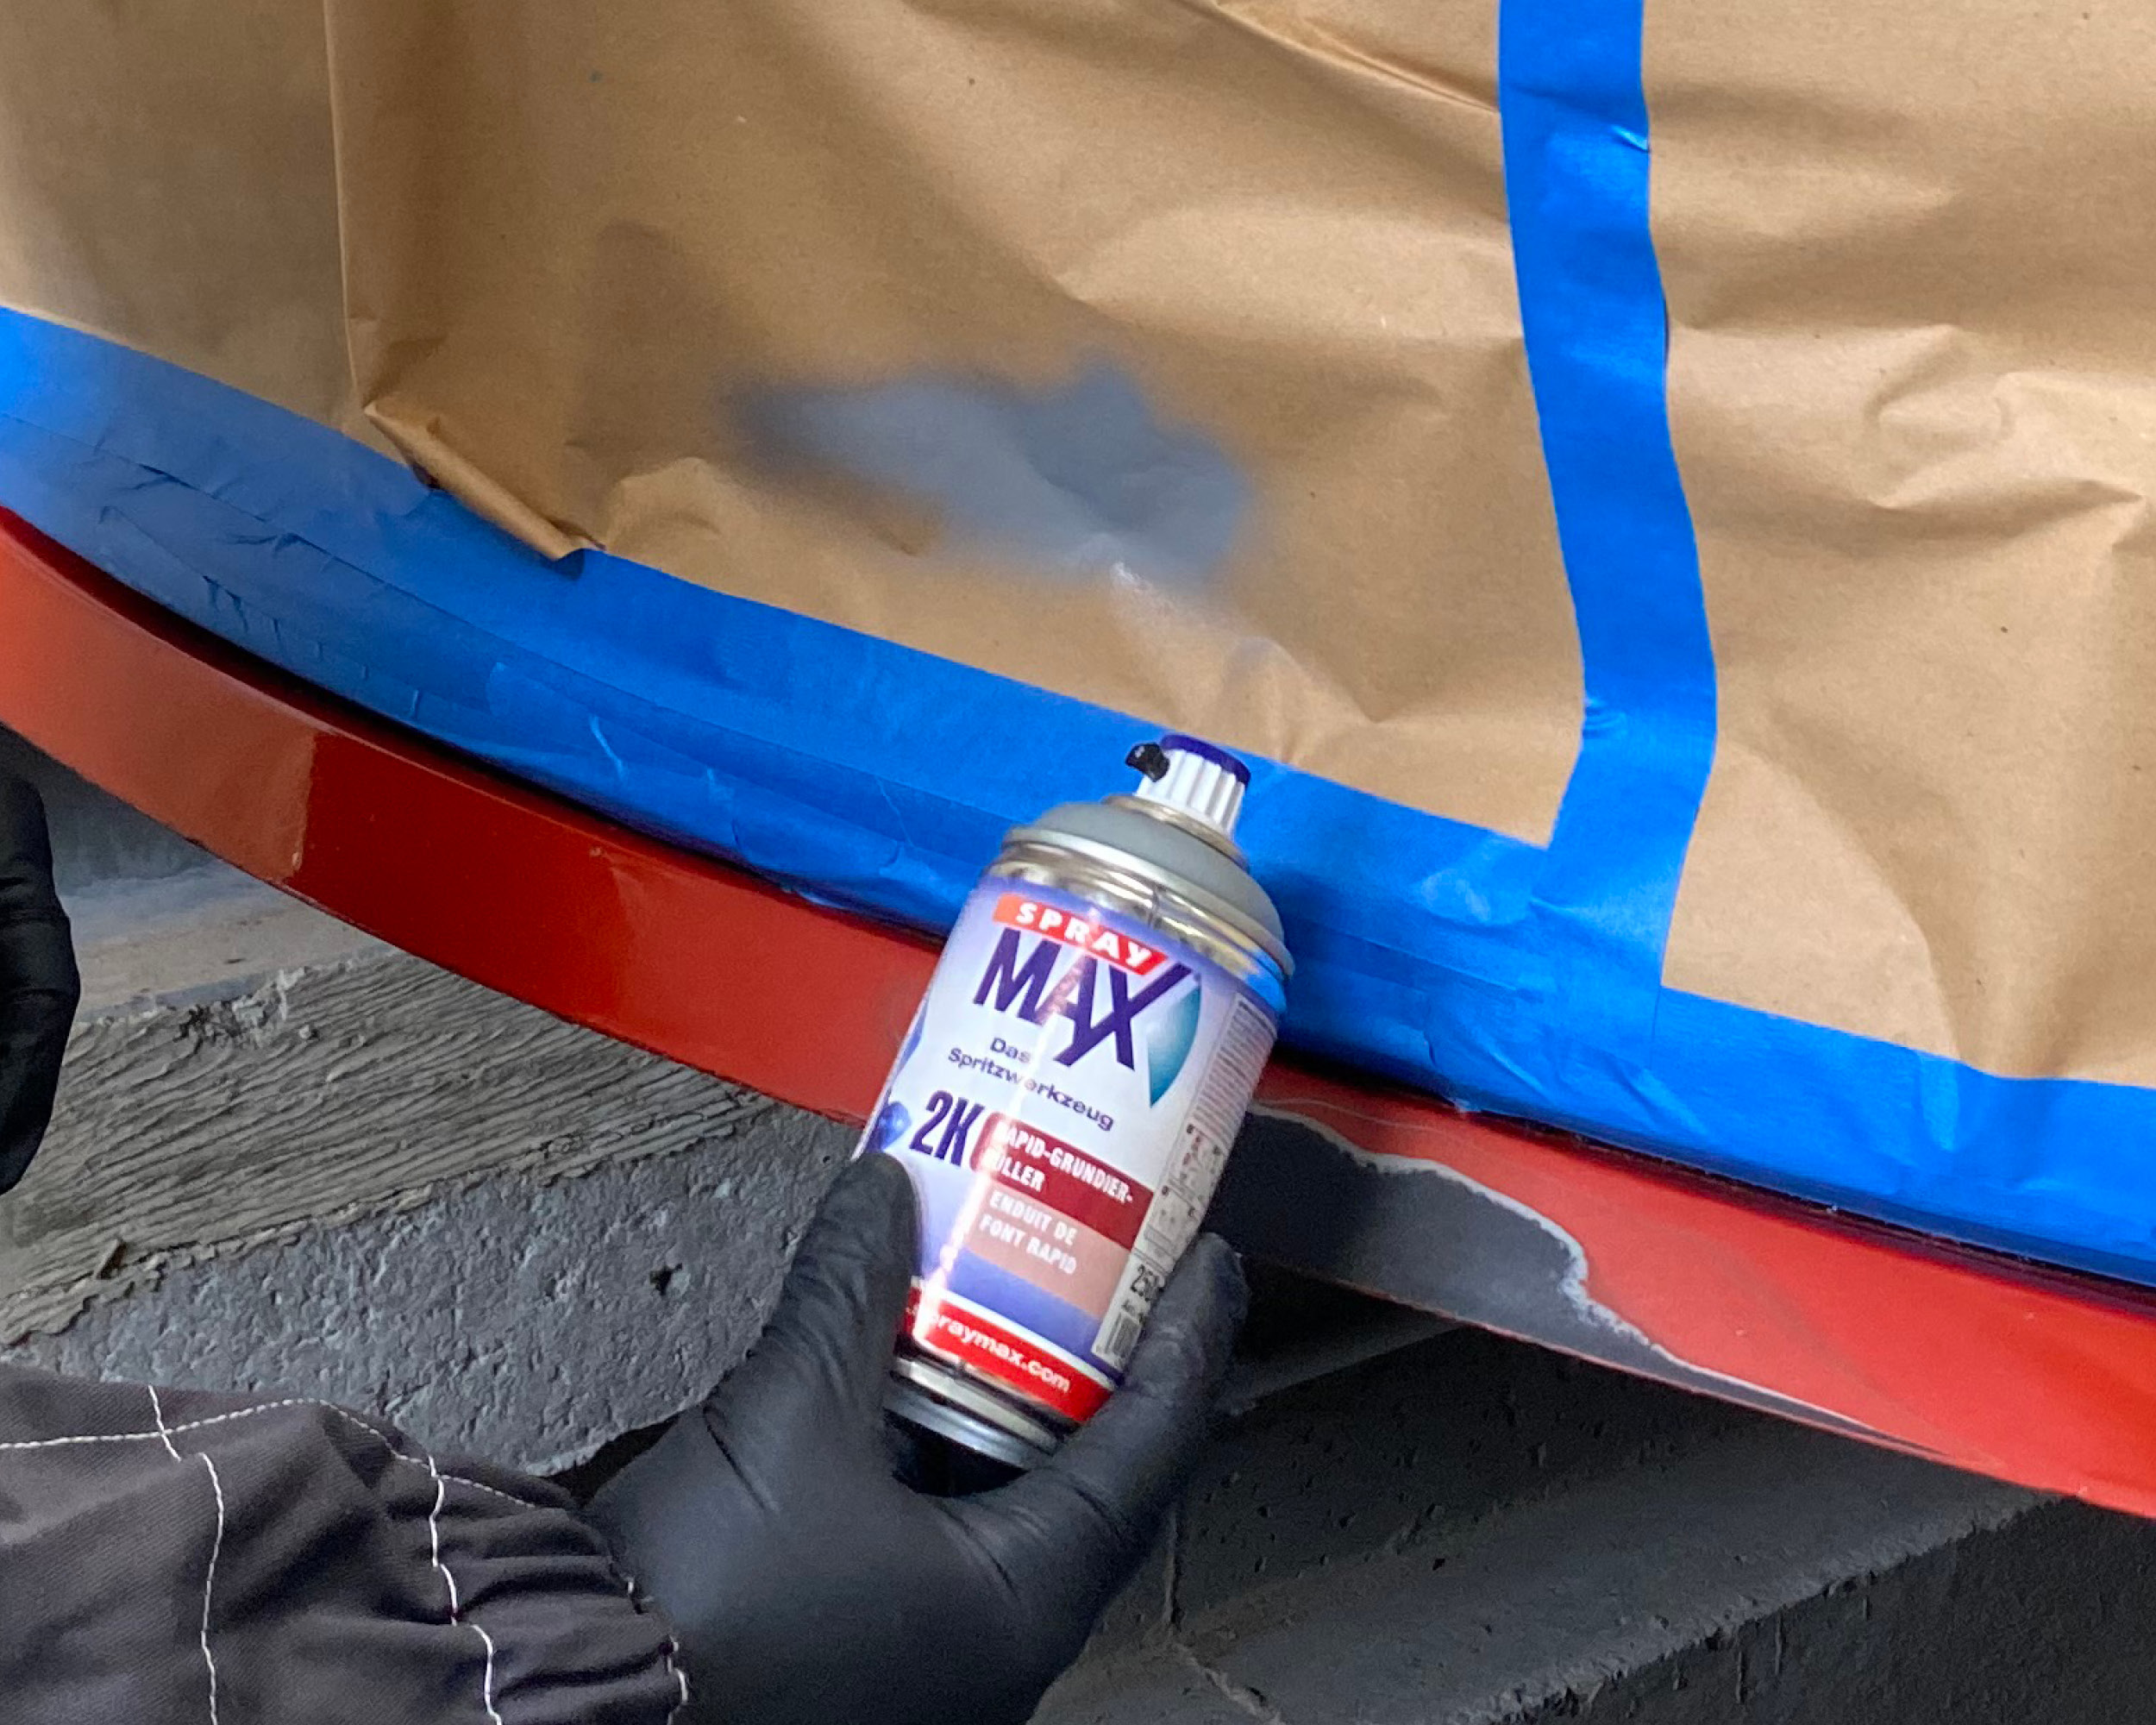
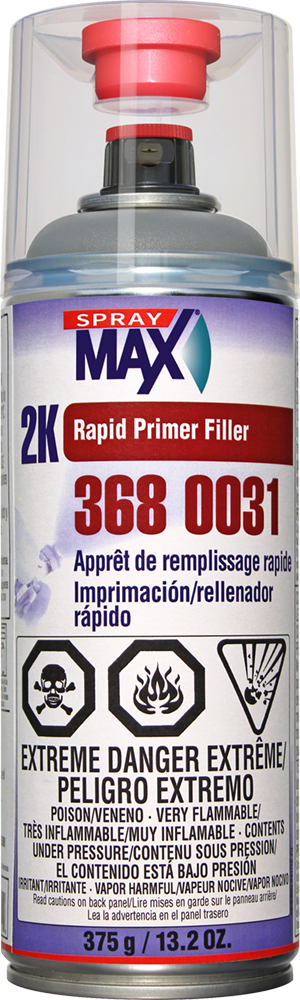
Appliquer une couche de fond avec L’apprêt de remplissage rapide 2K 3680031 (2-3 couches).
Aérer (env. 5 min entre les pulvérisations).
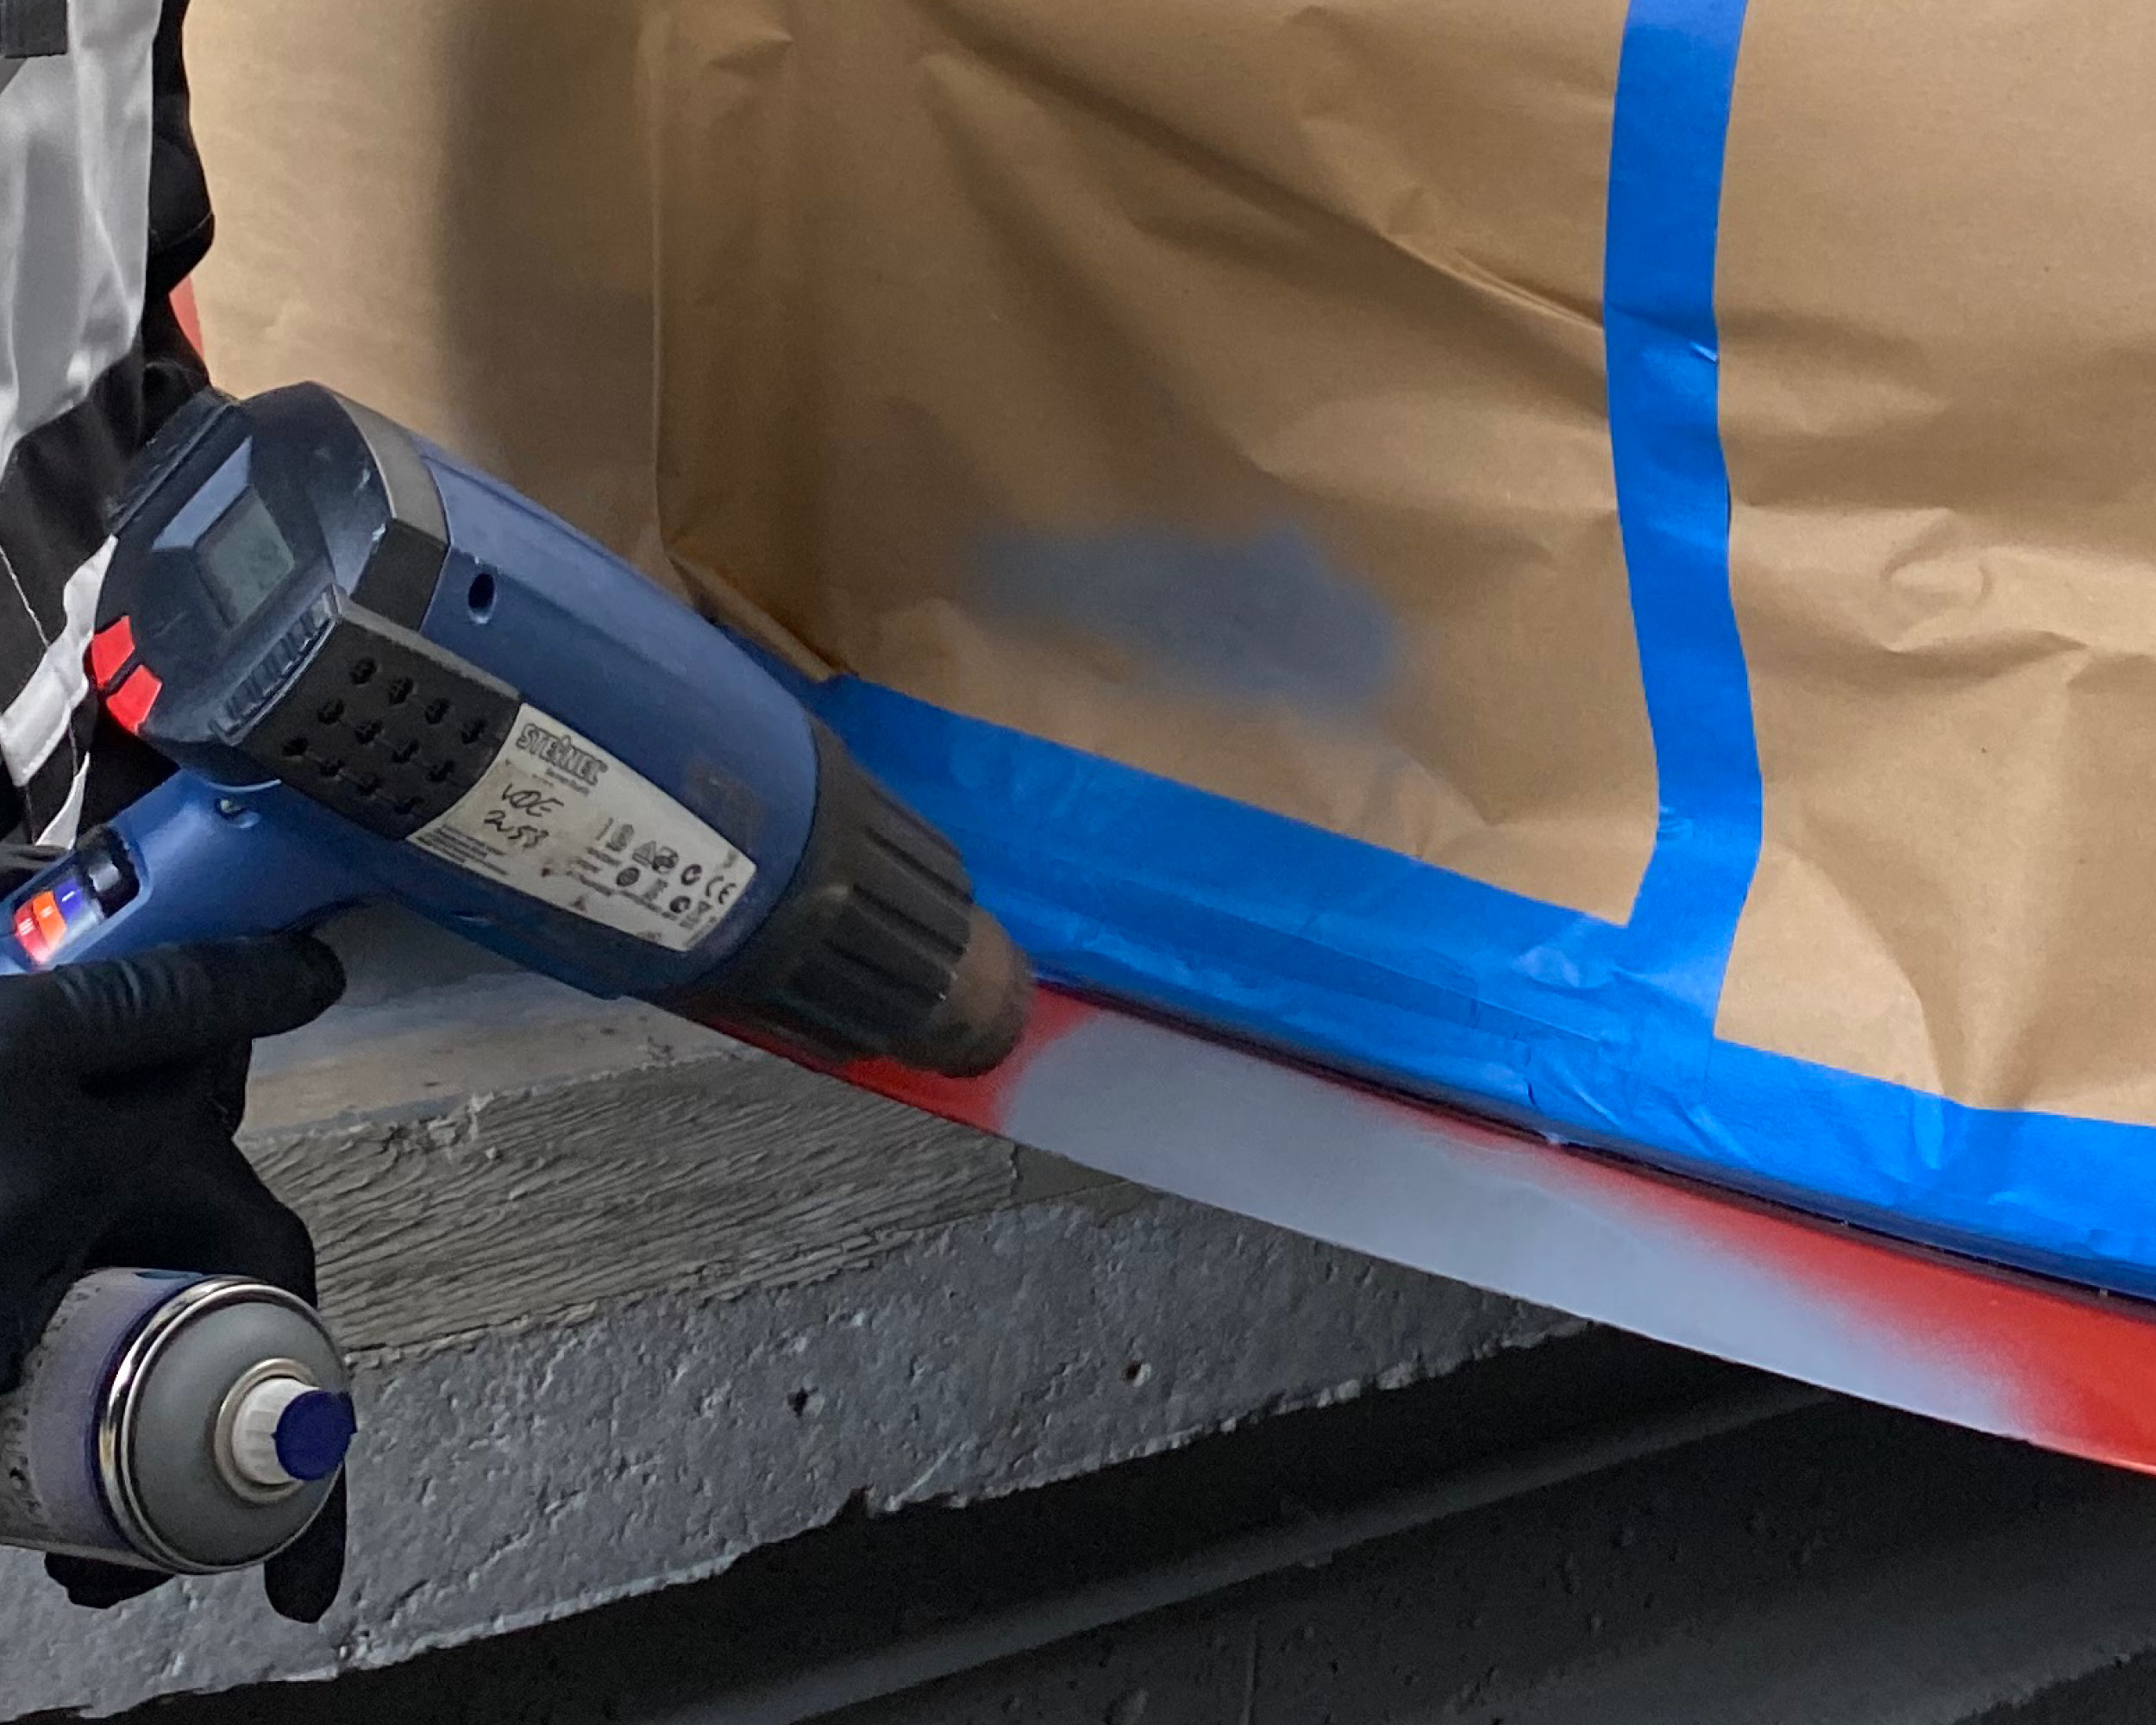
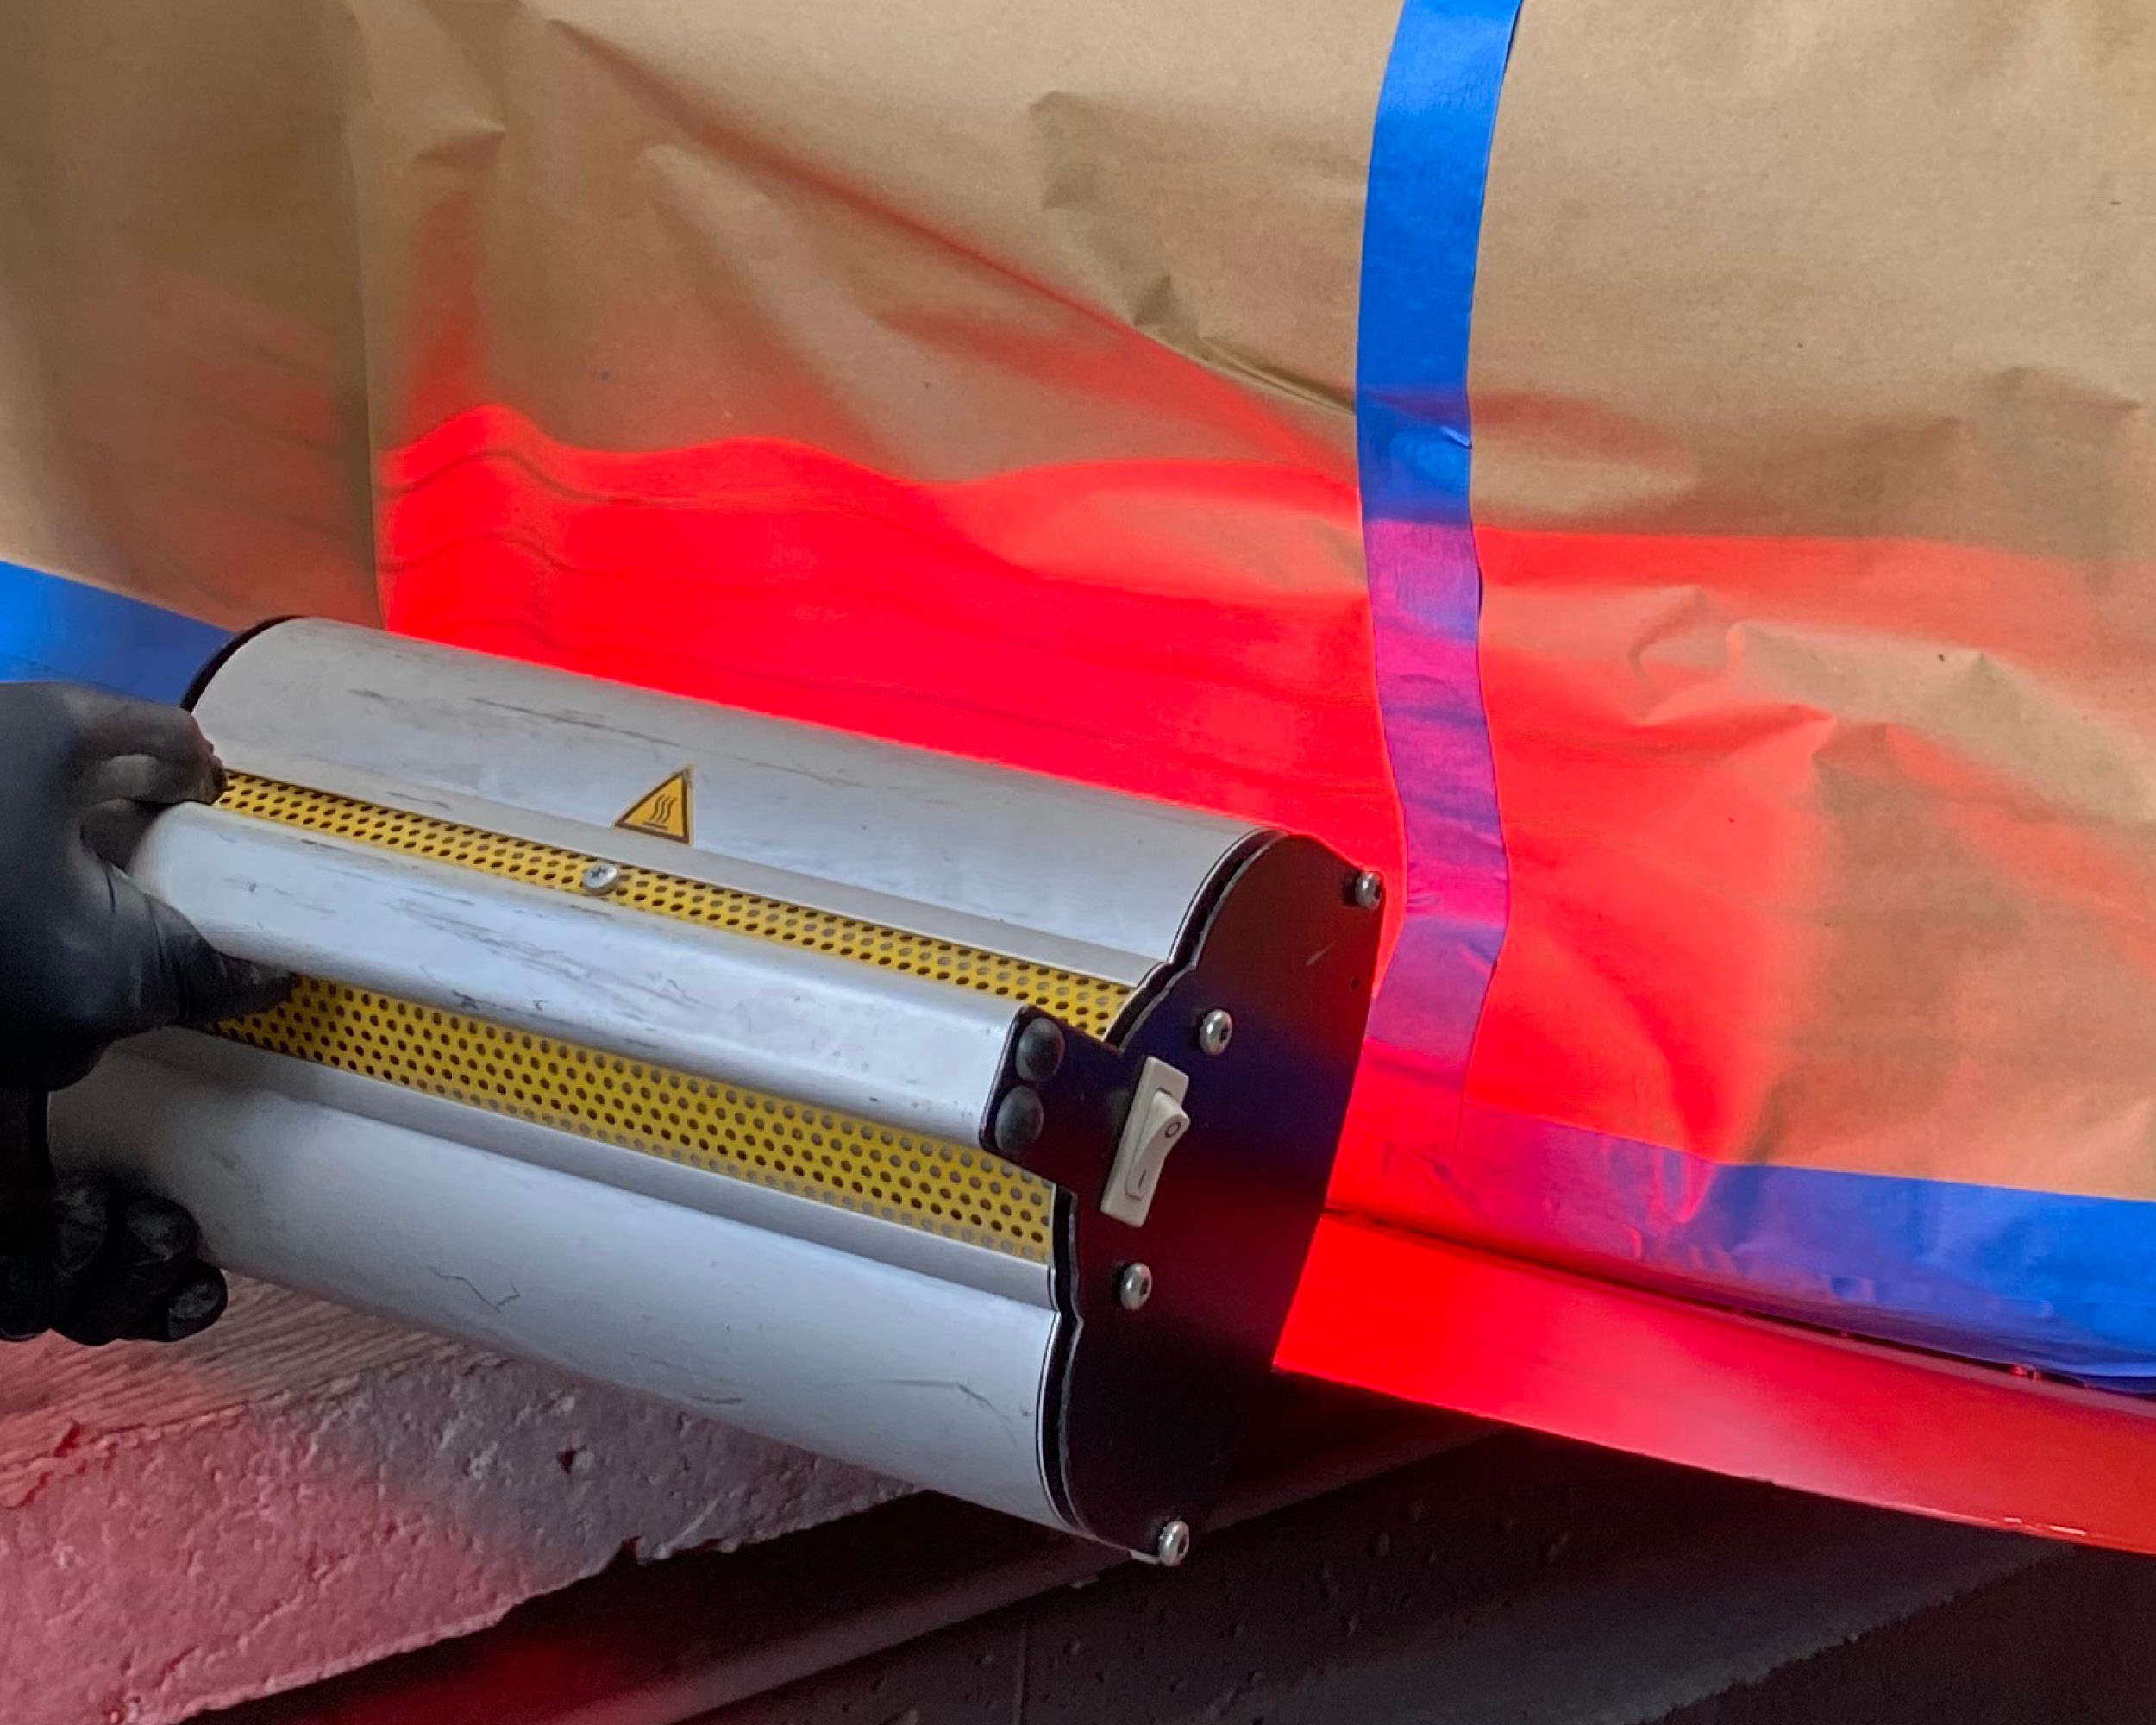
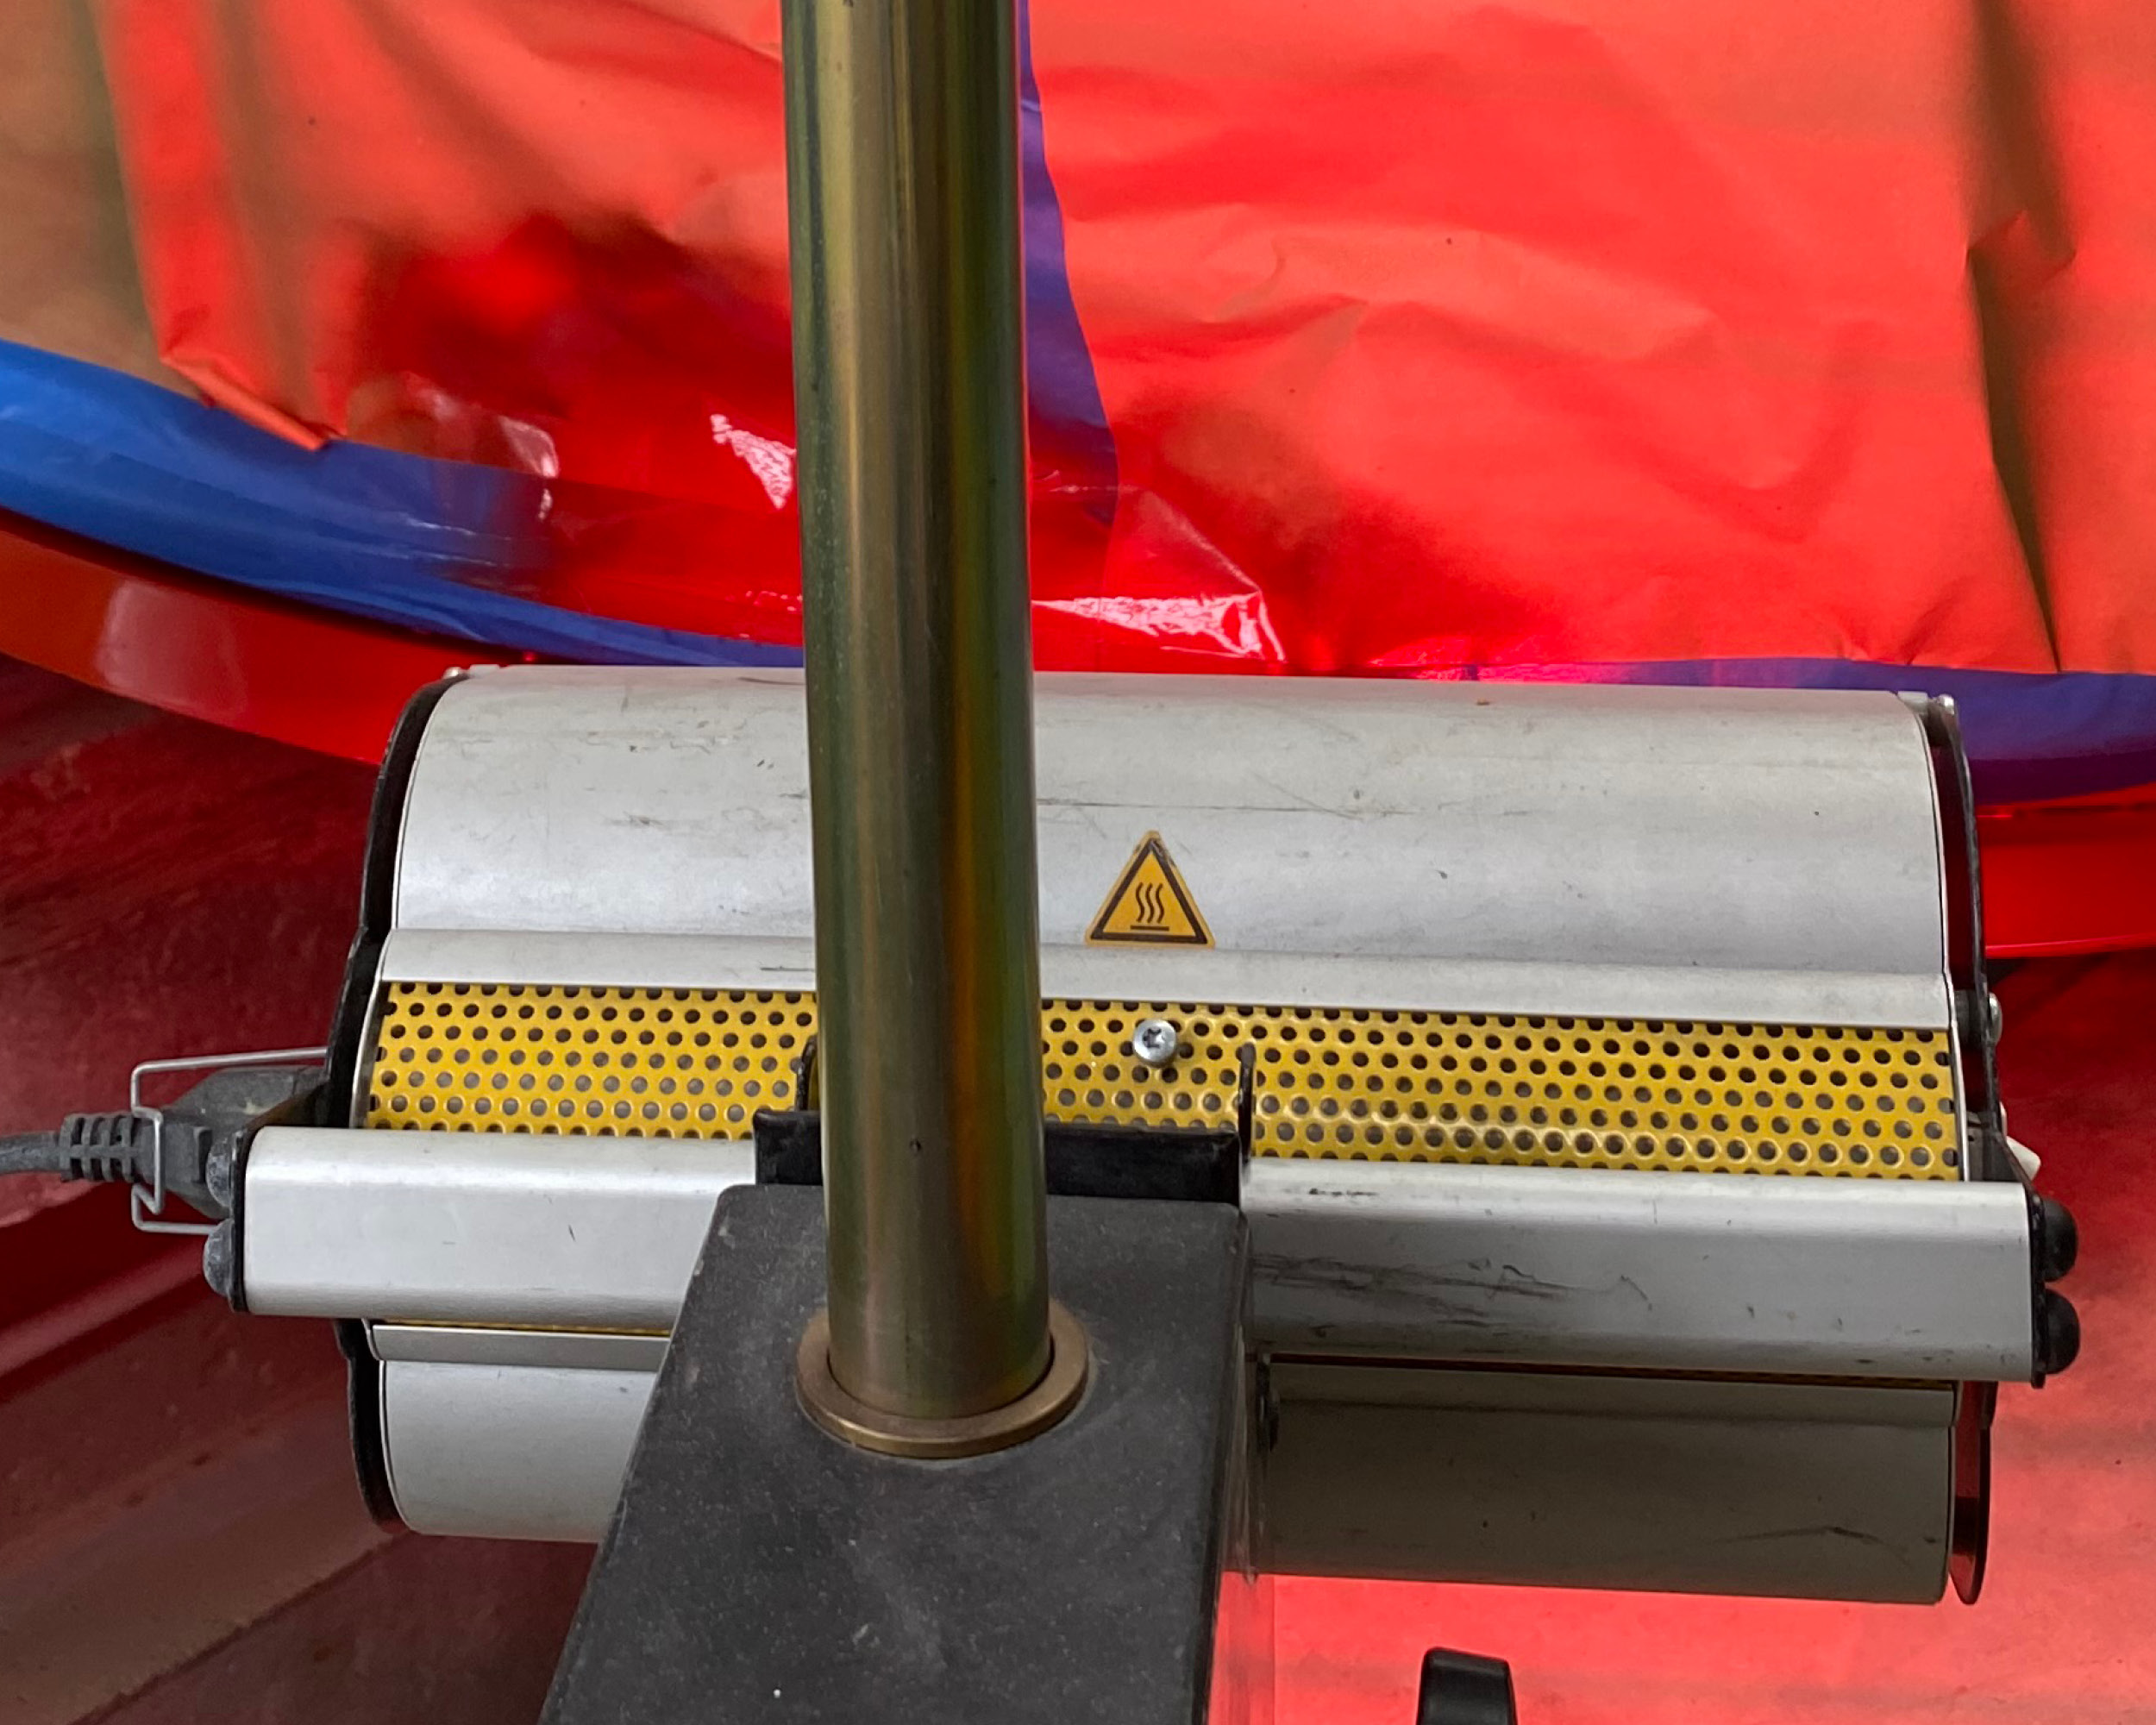
Séchage IR, env. 15 min à 40 cm de distance.
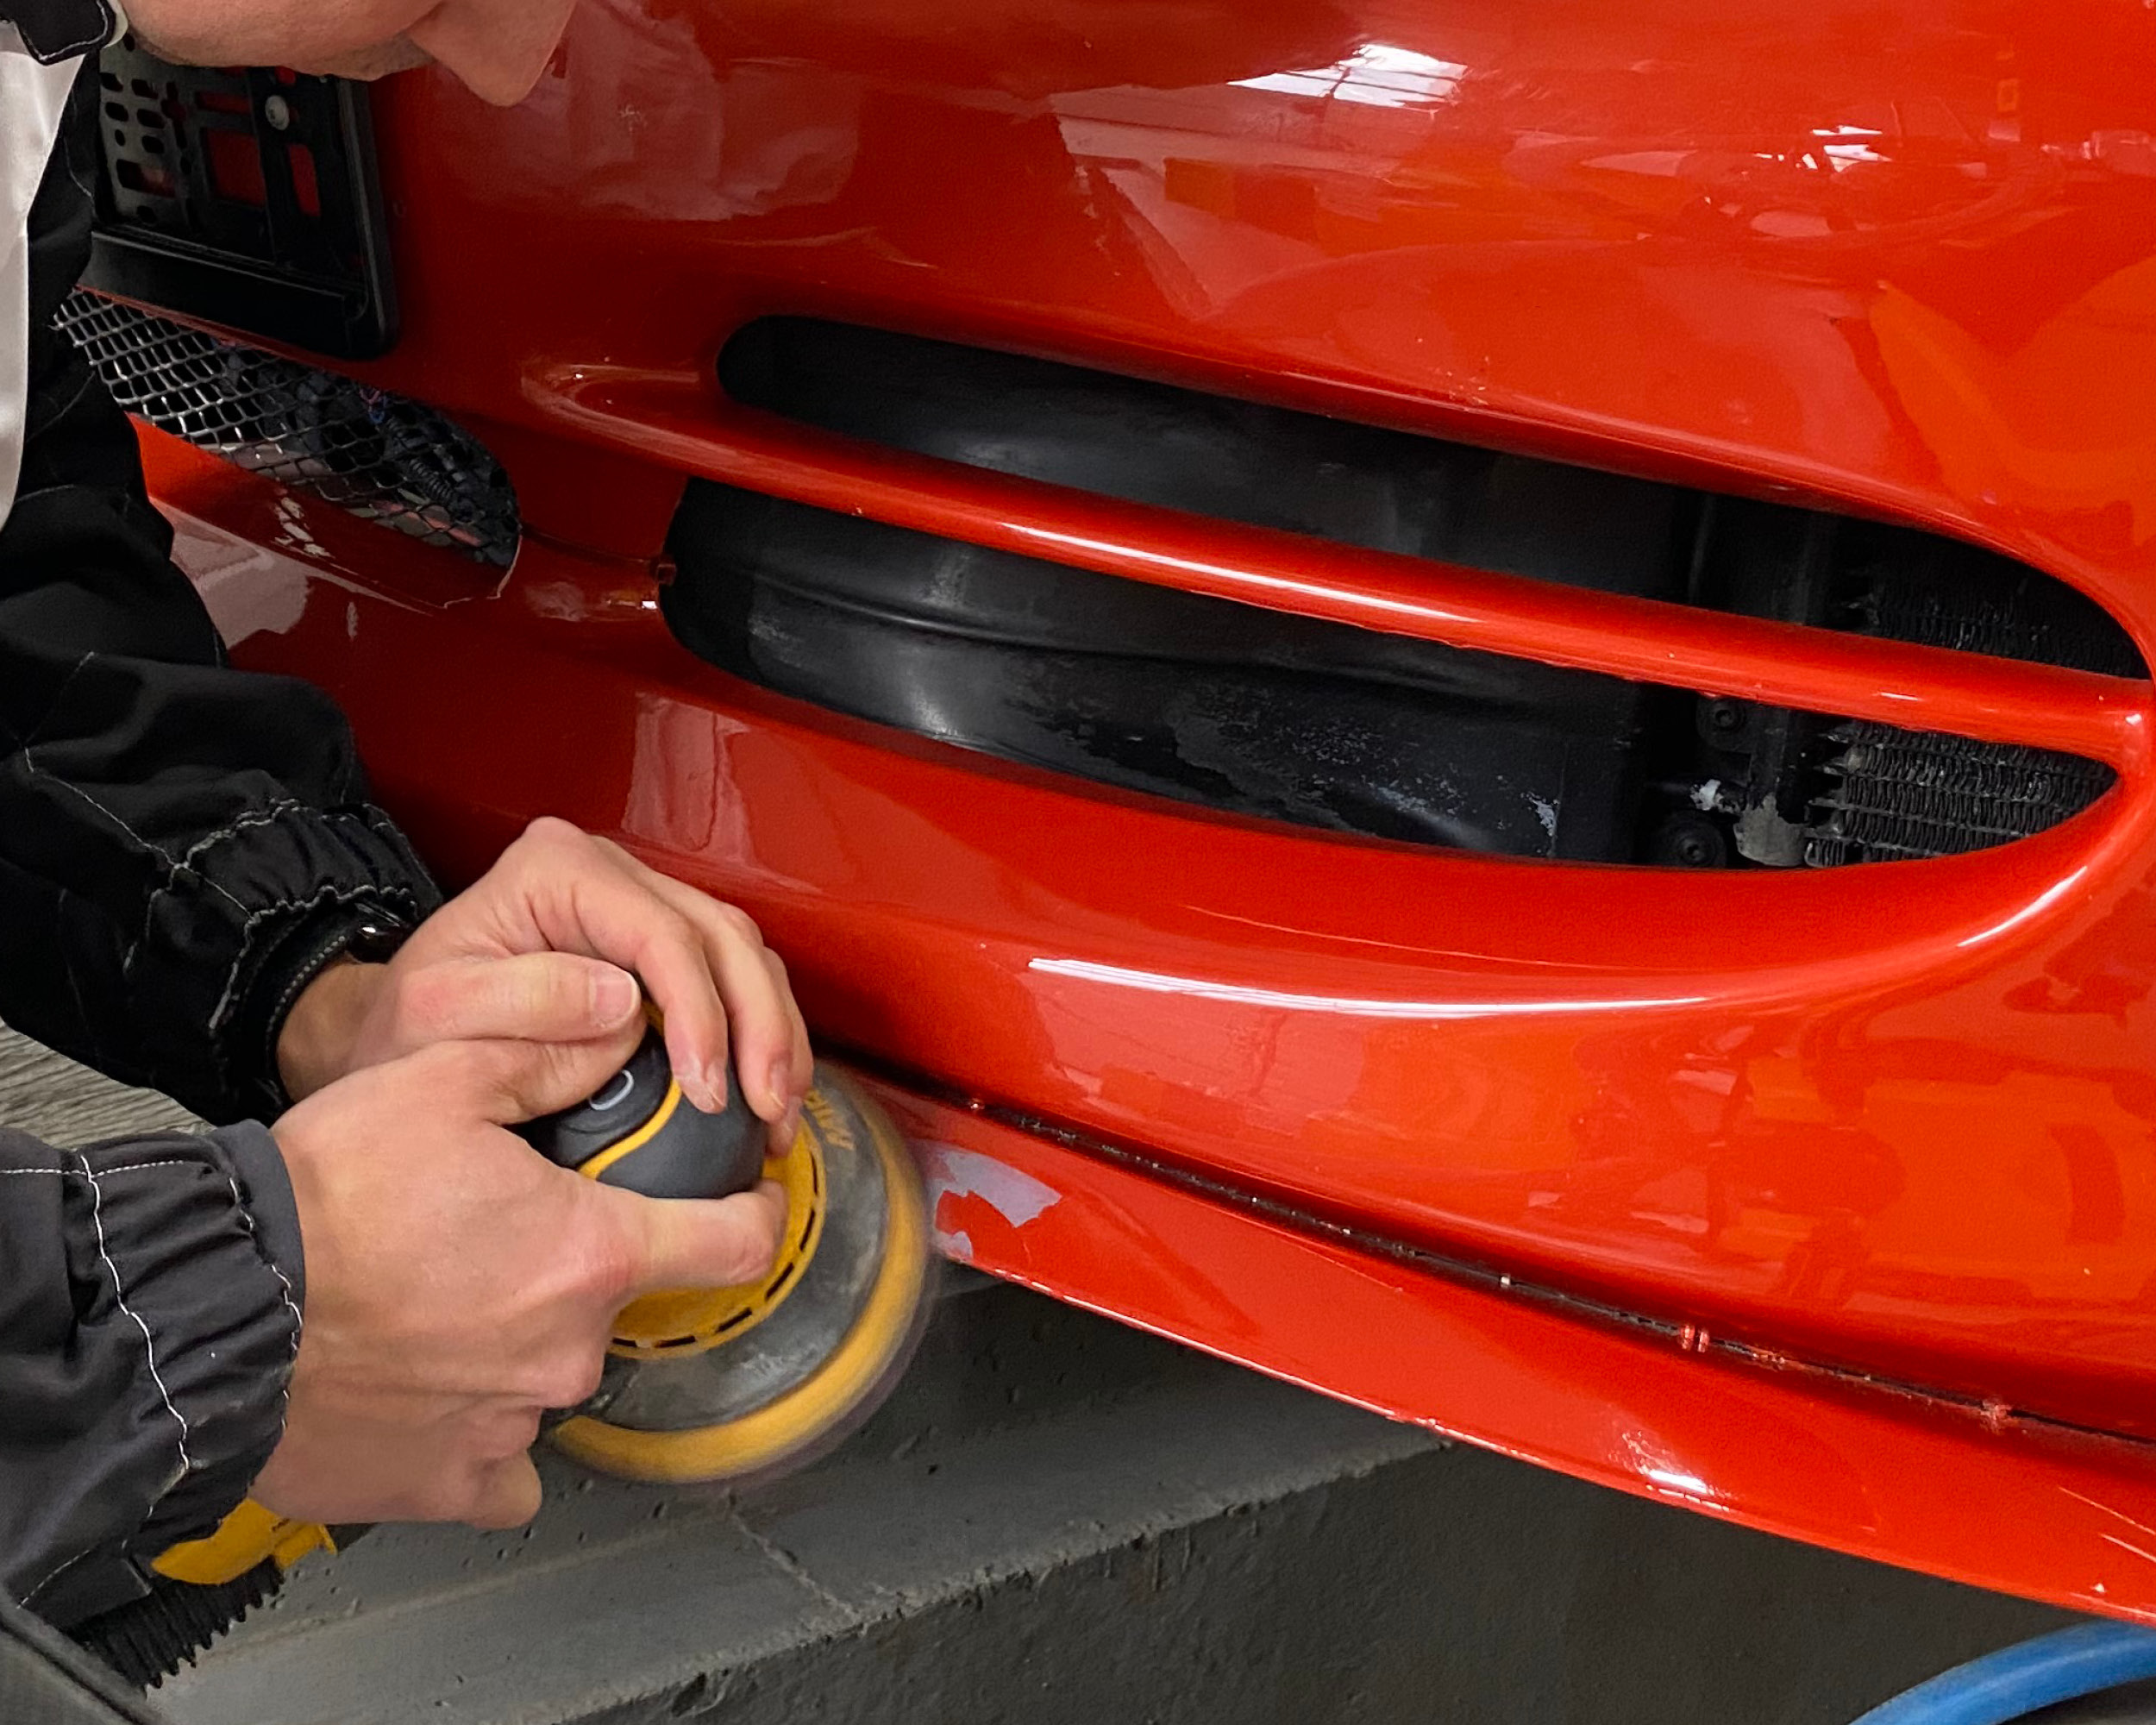
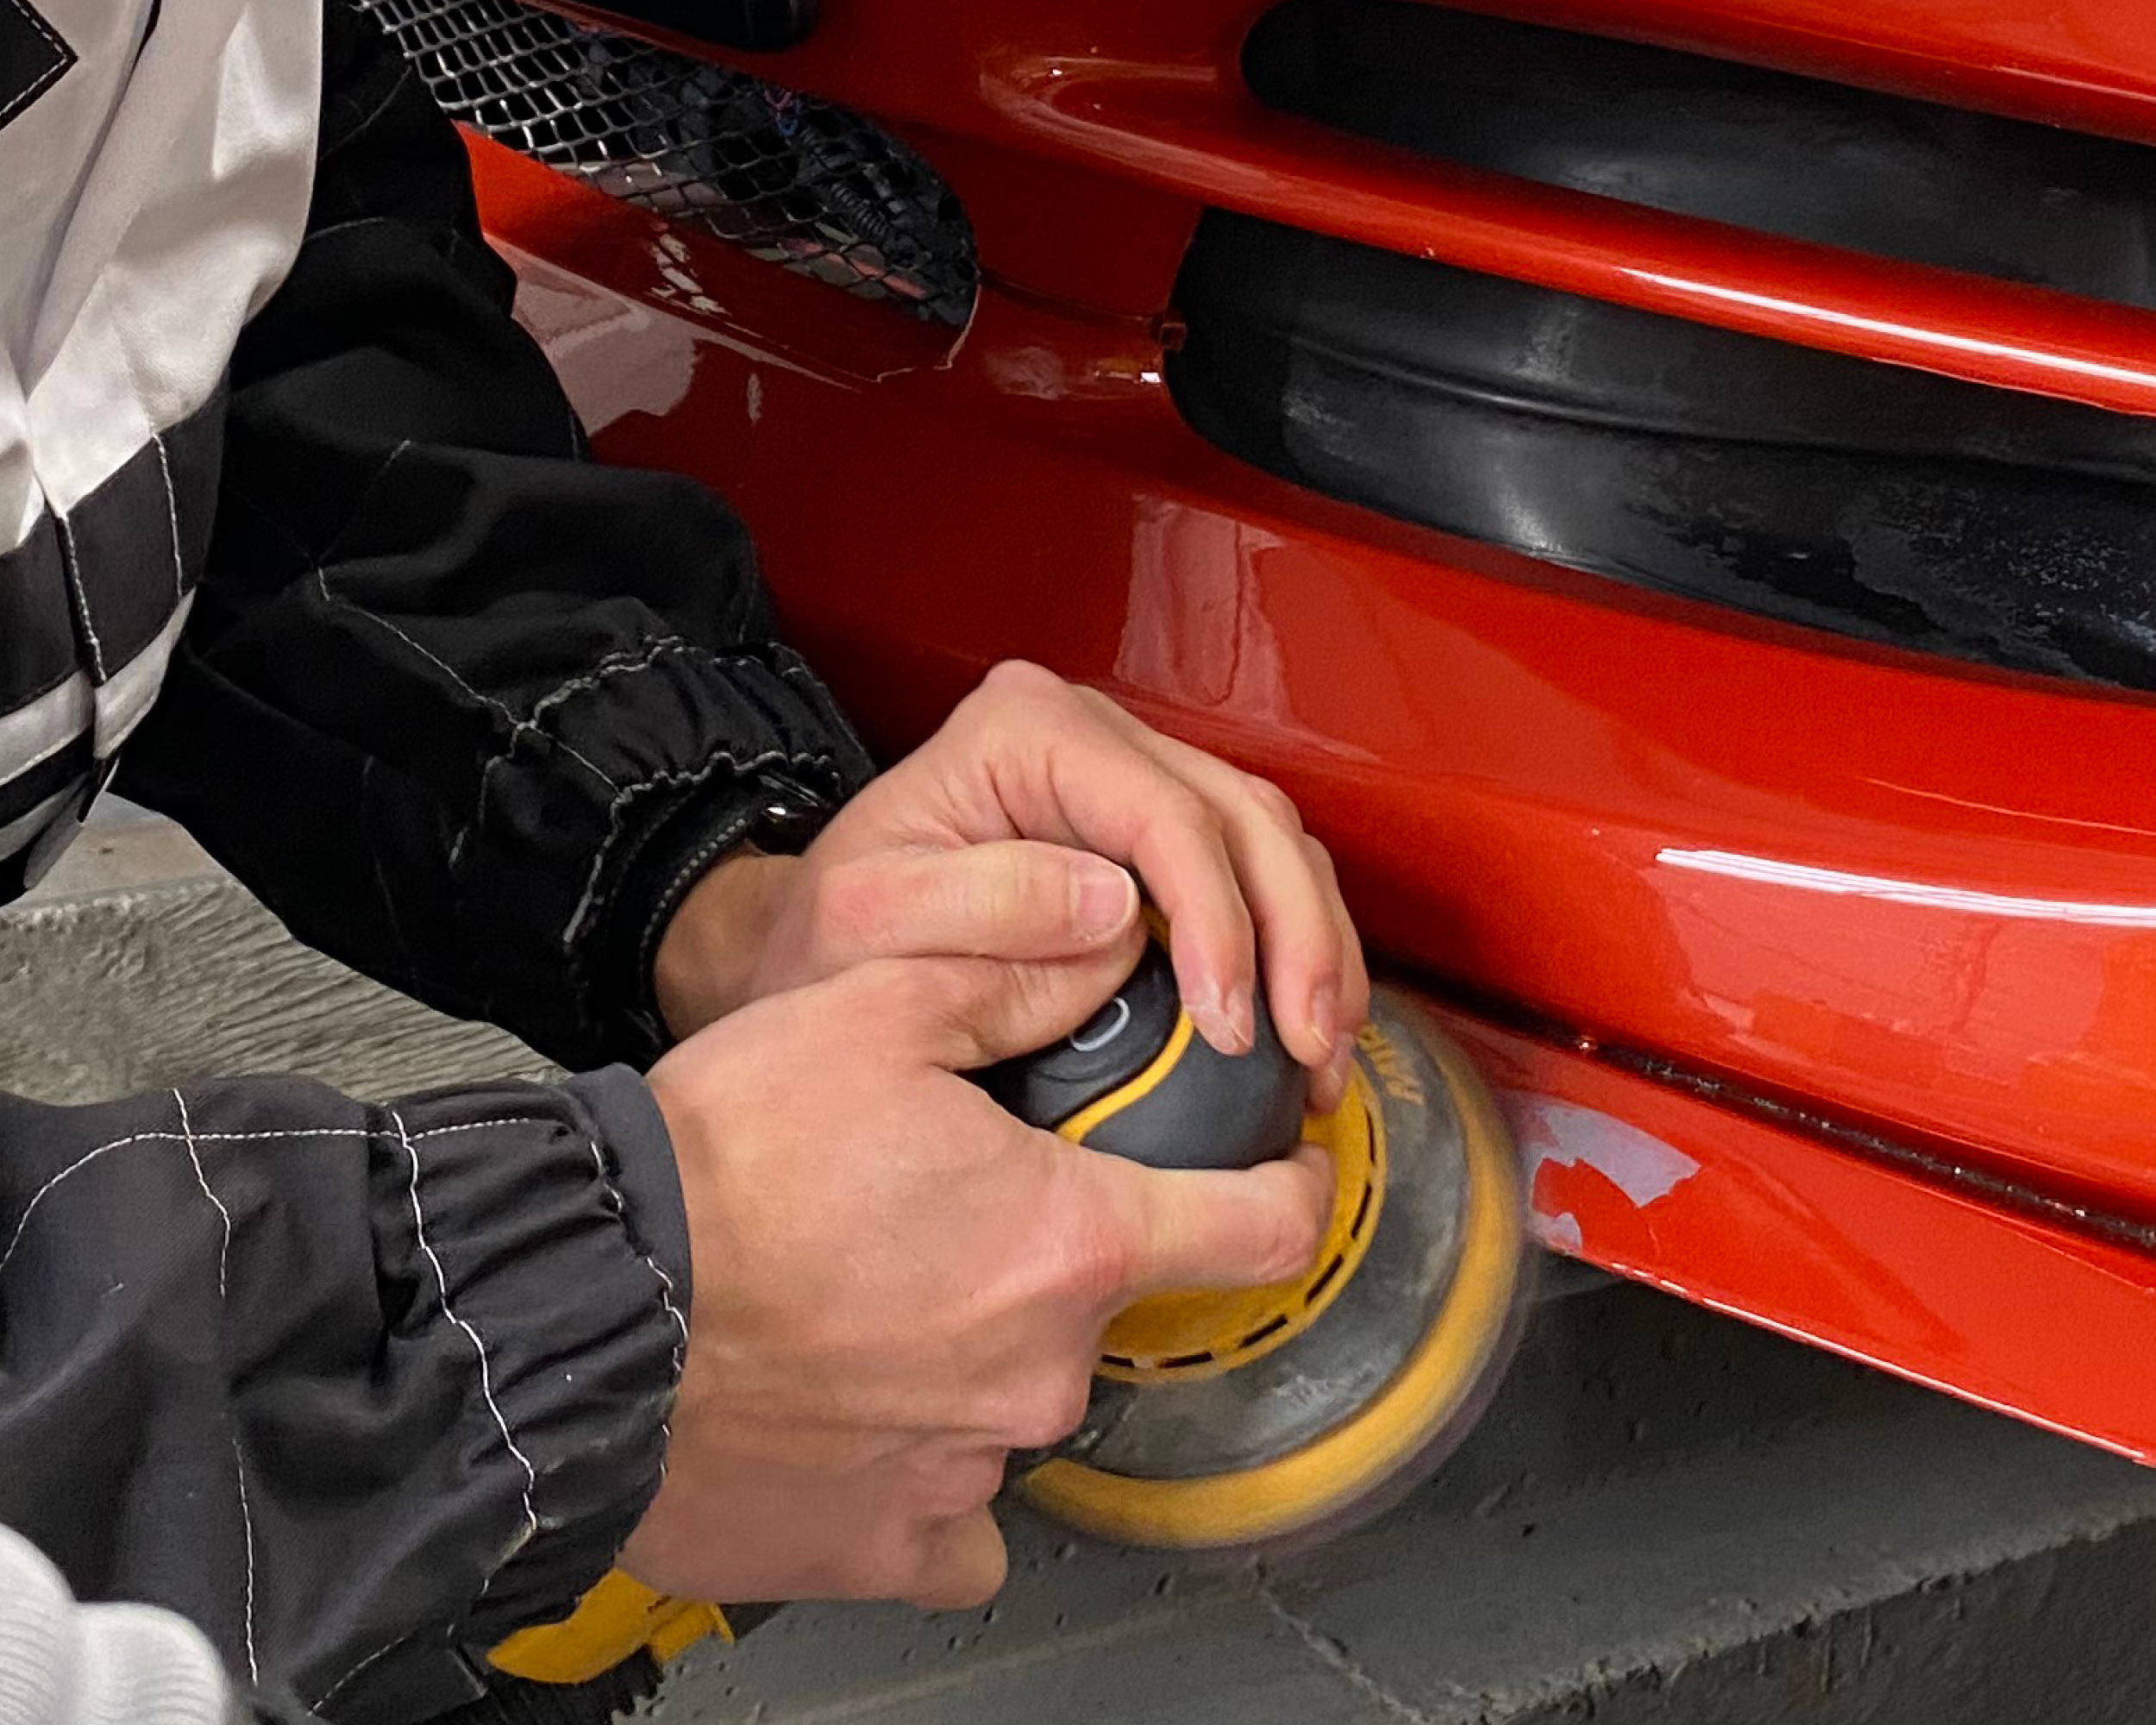
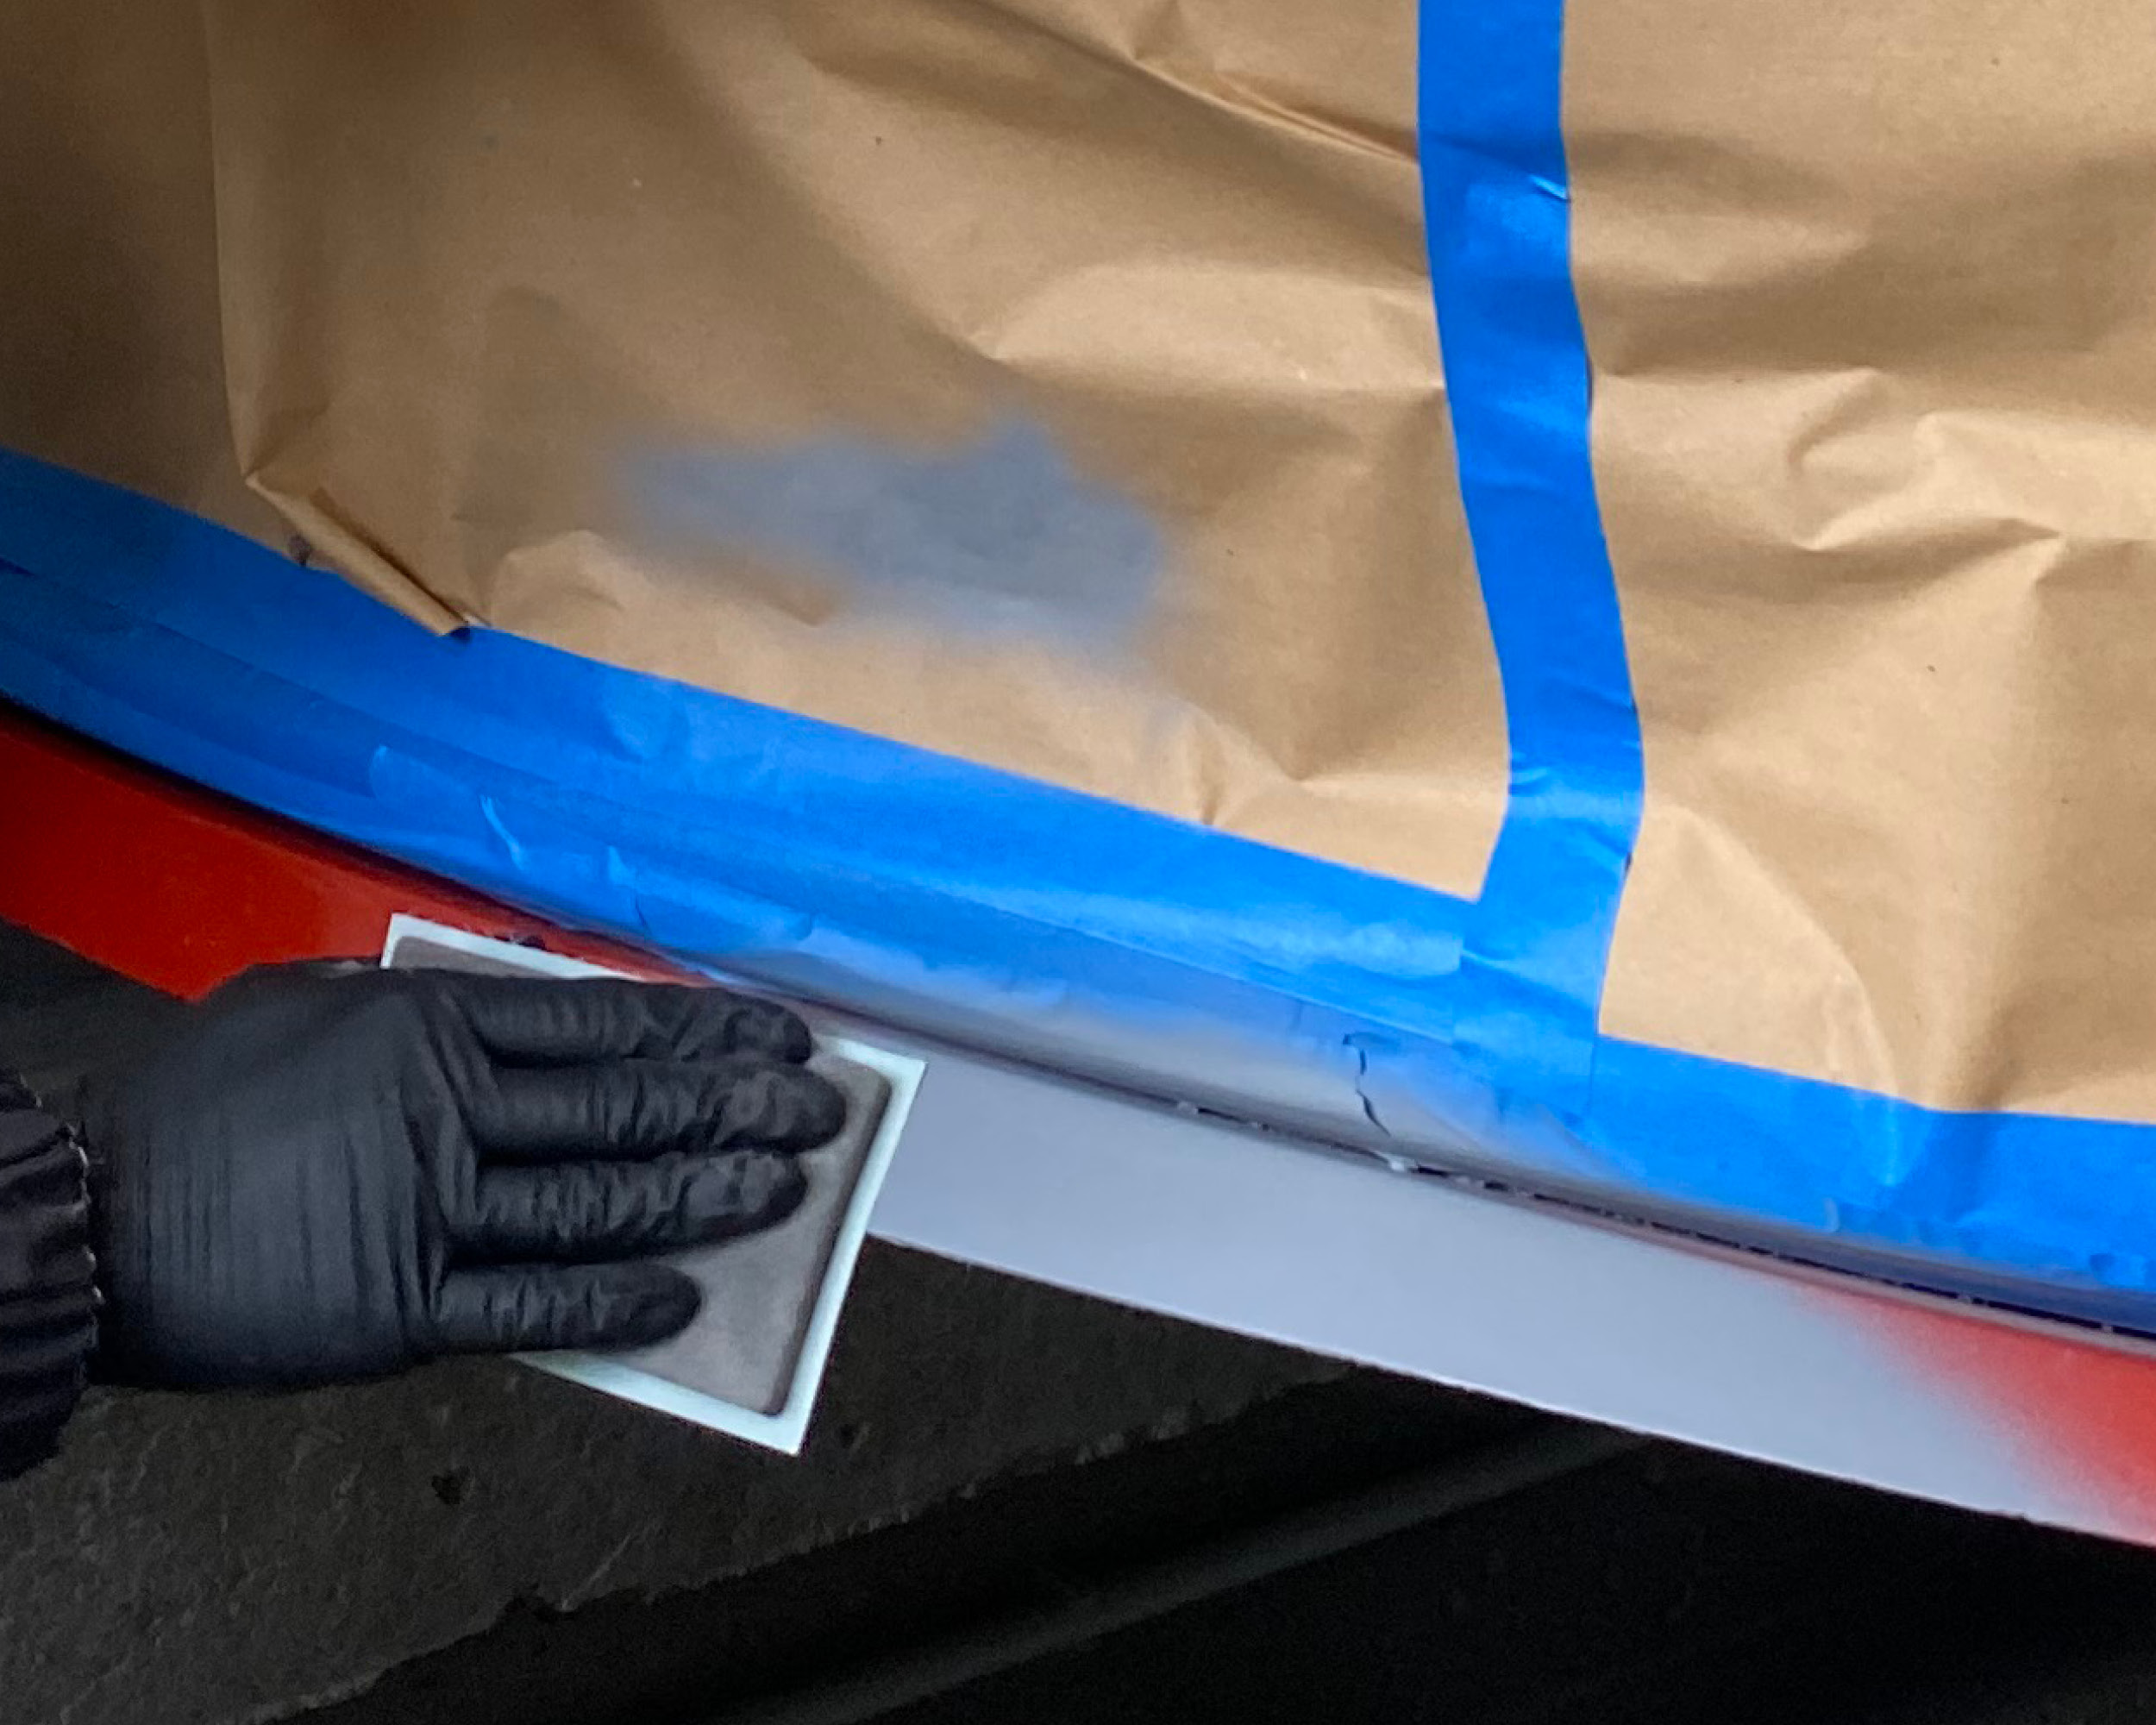
Ponçage avec P400 à P600 Zone de bordure avec P1000.
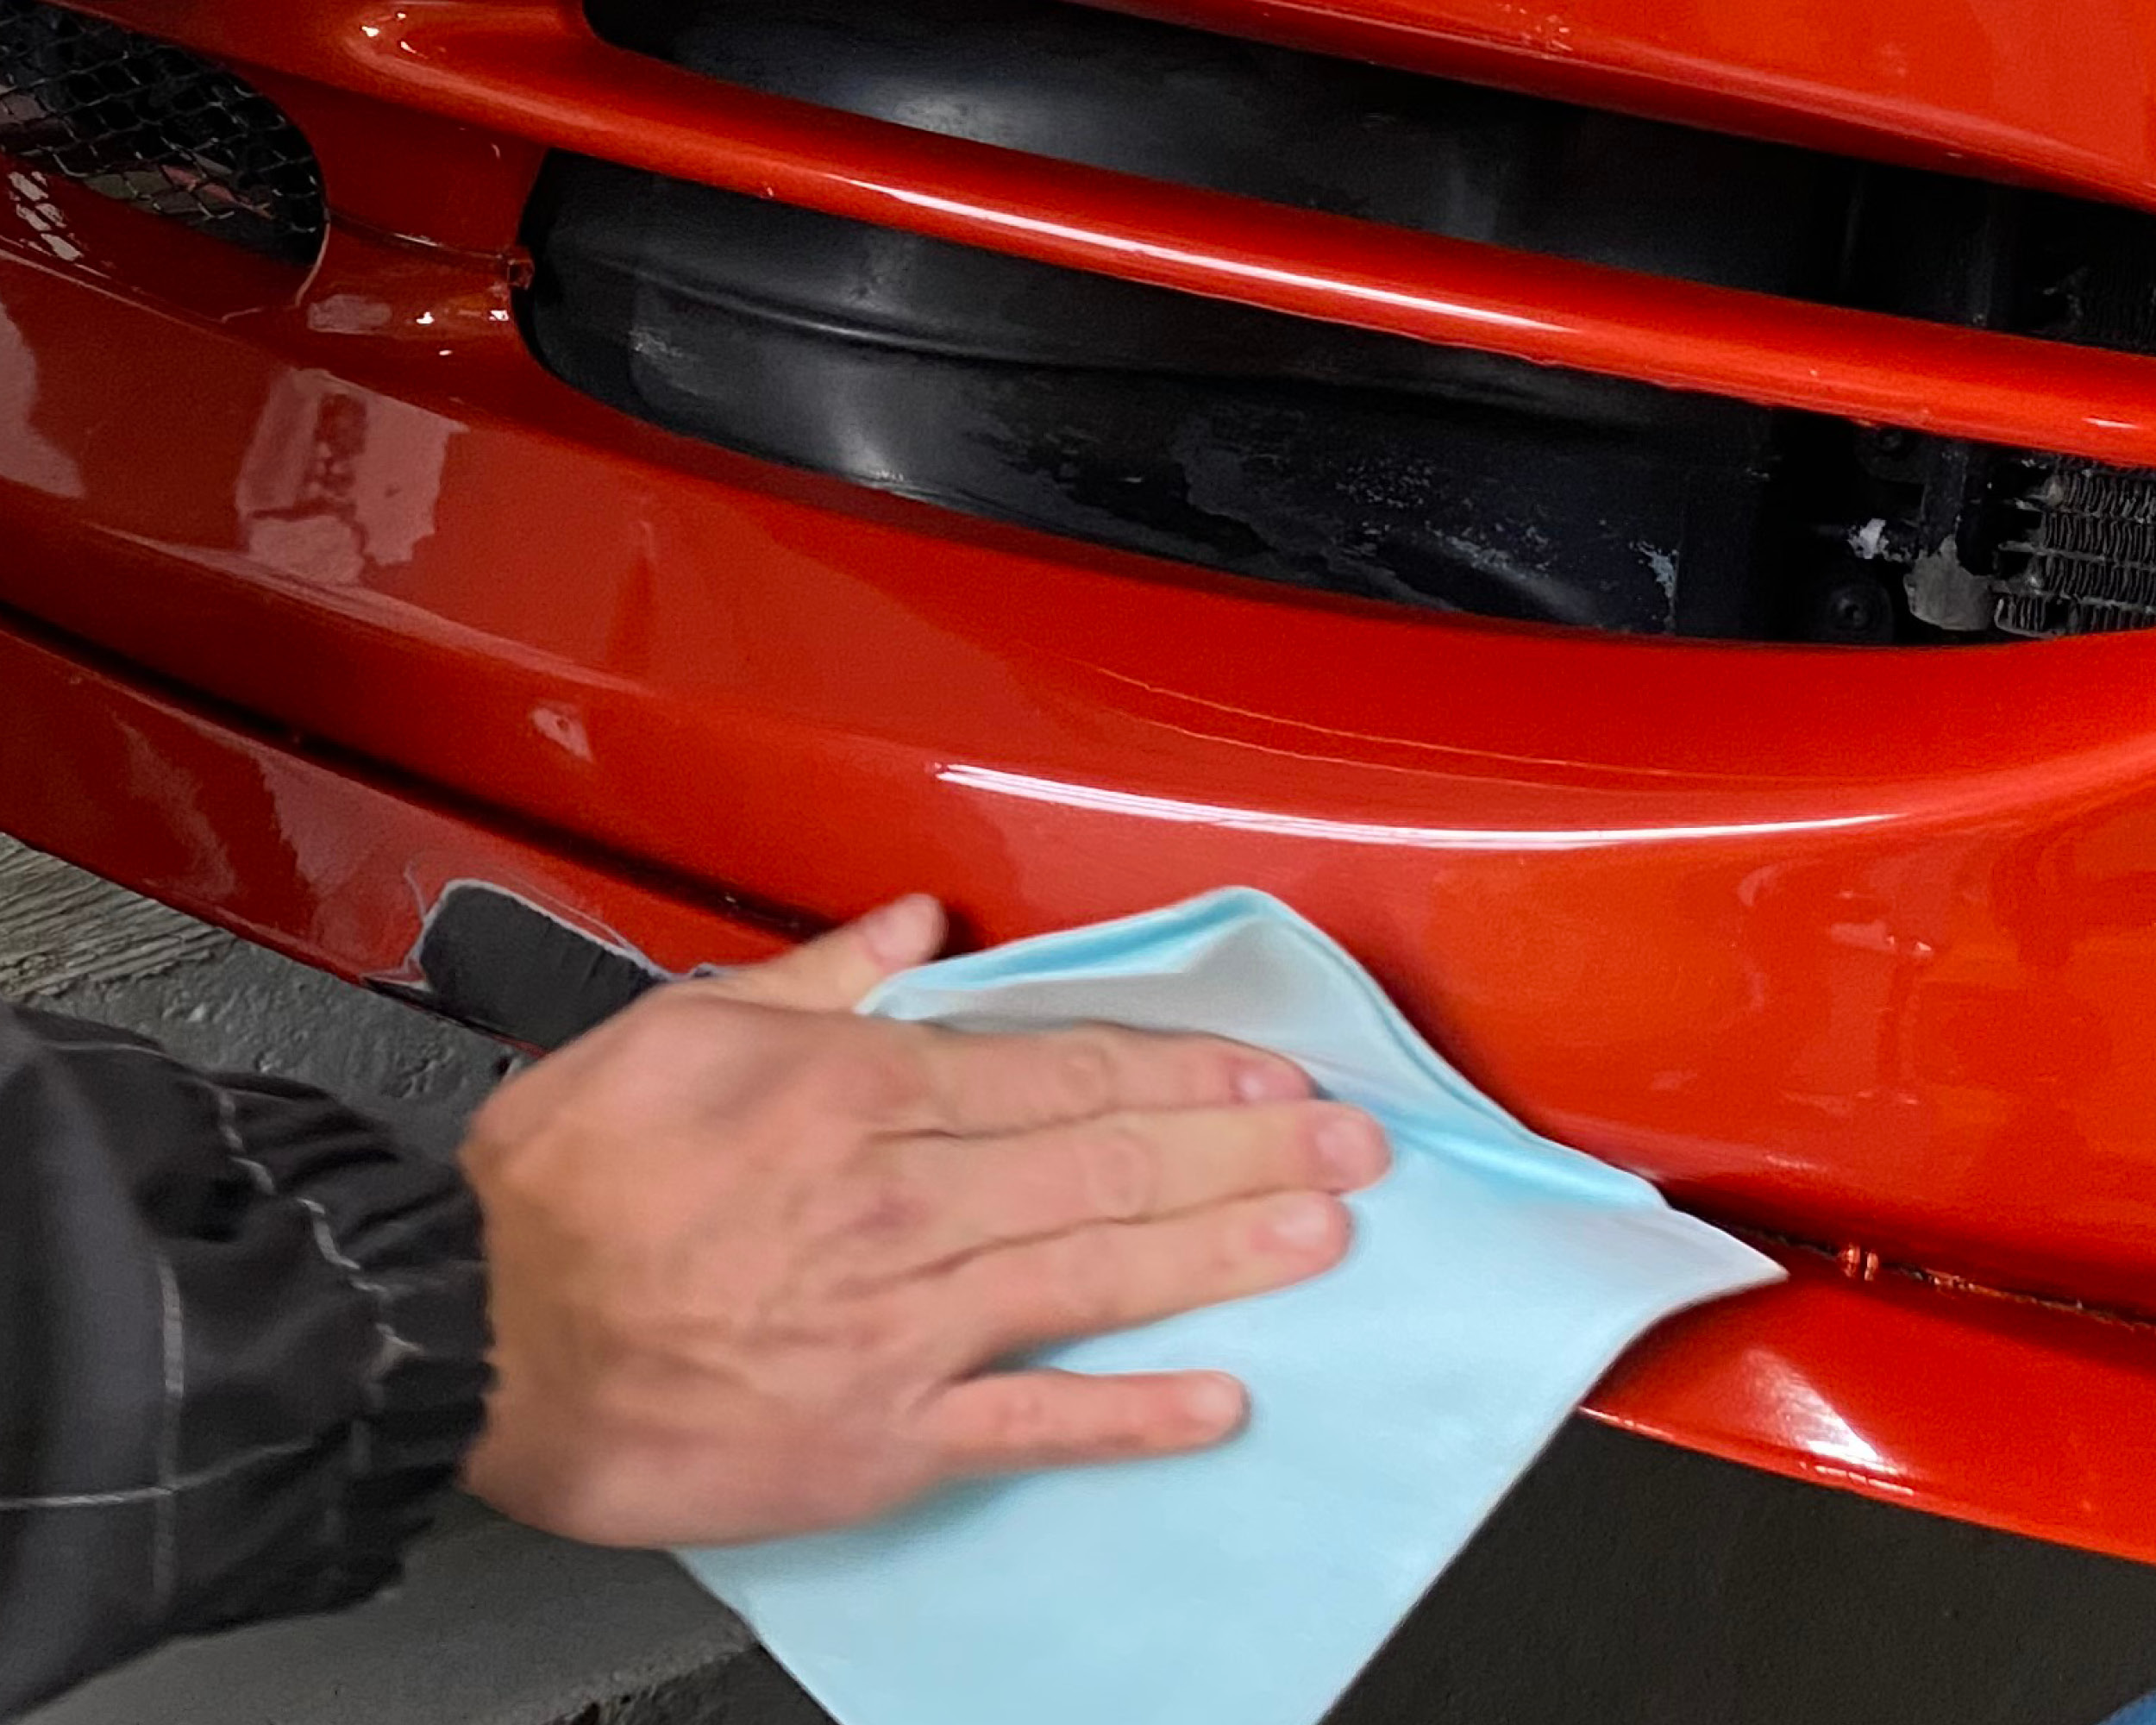
Nettoyer avec le Solvent Wash 3680090 et un chiffon à poussière.
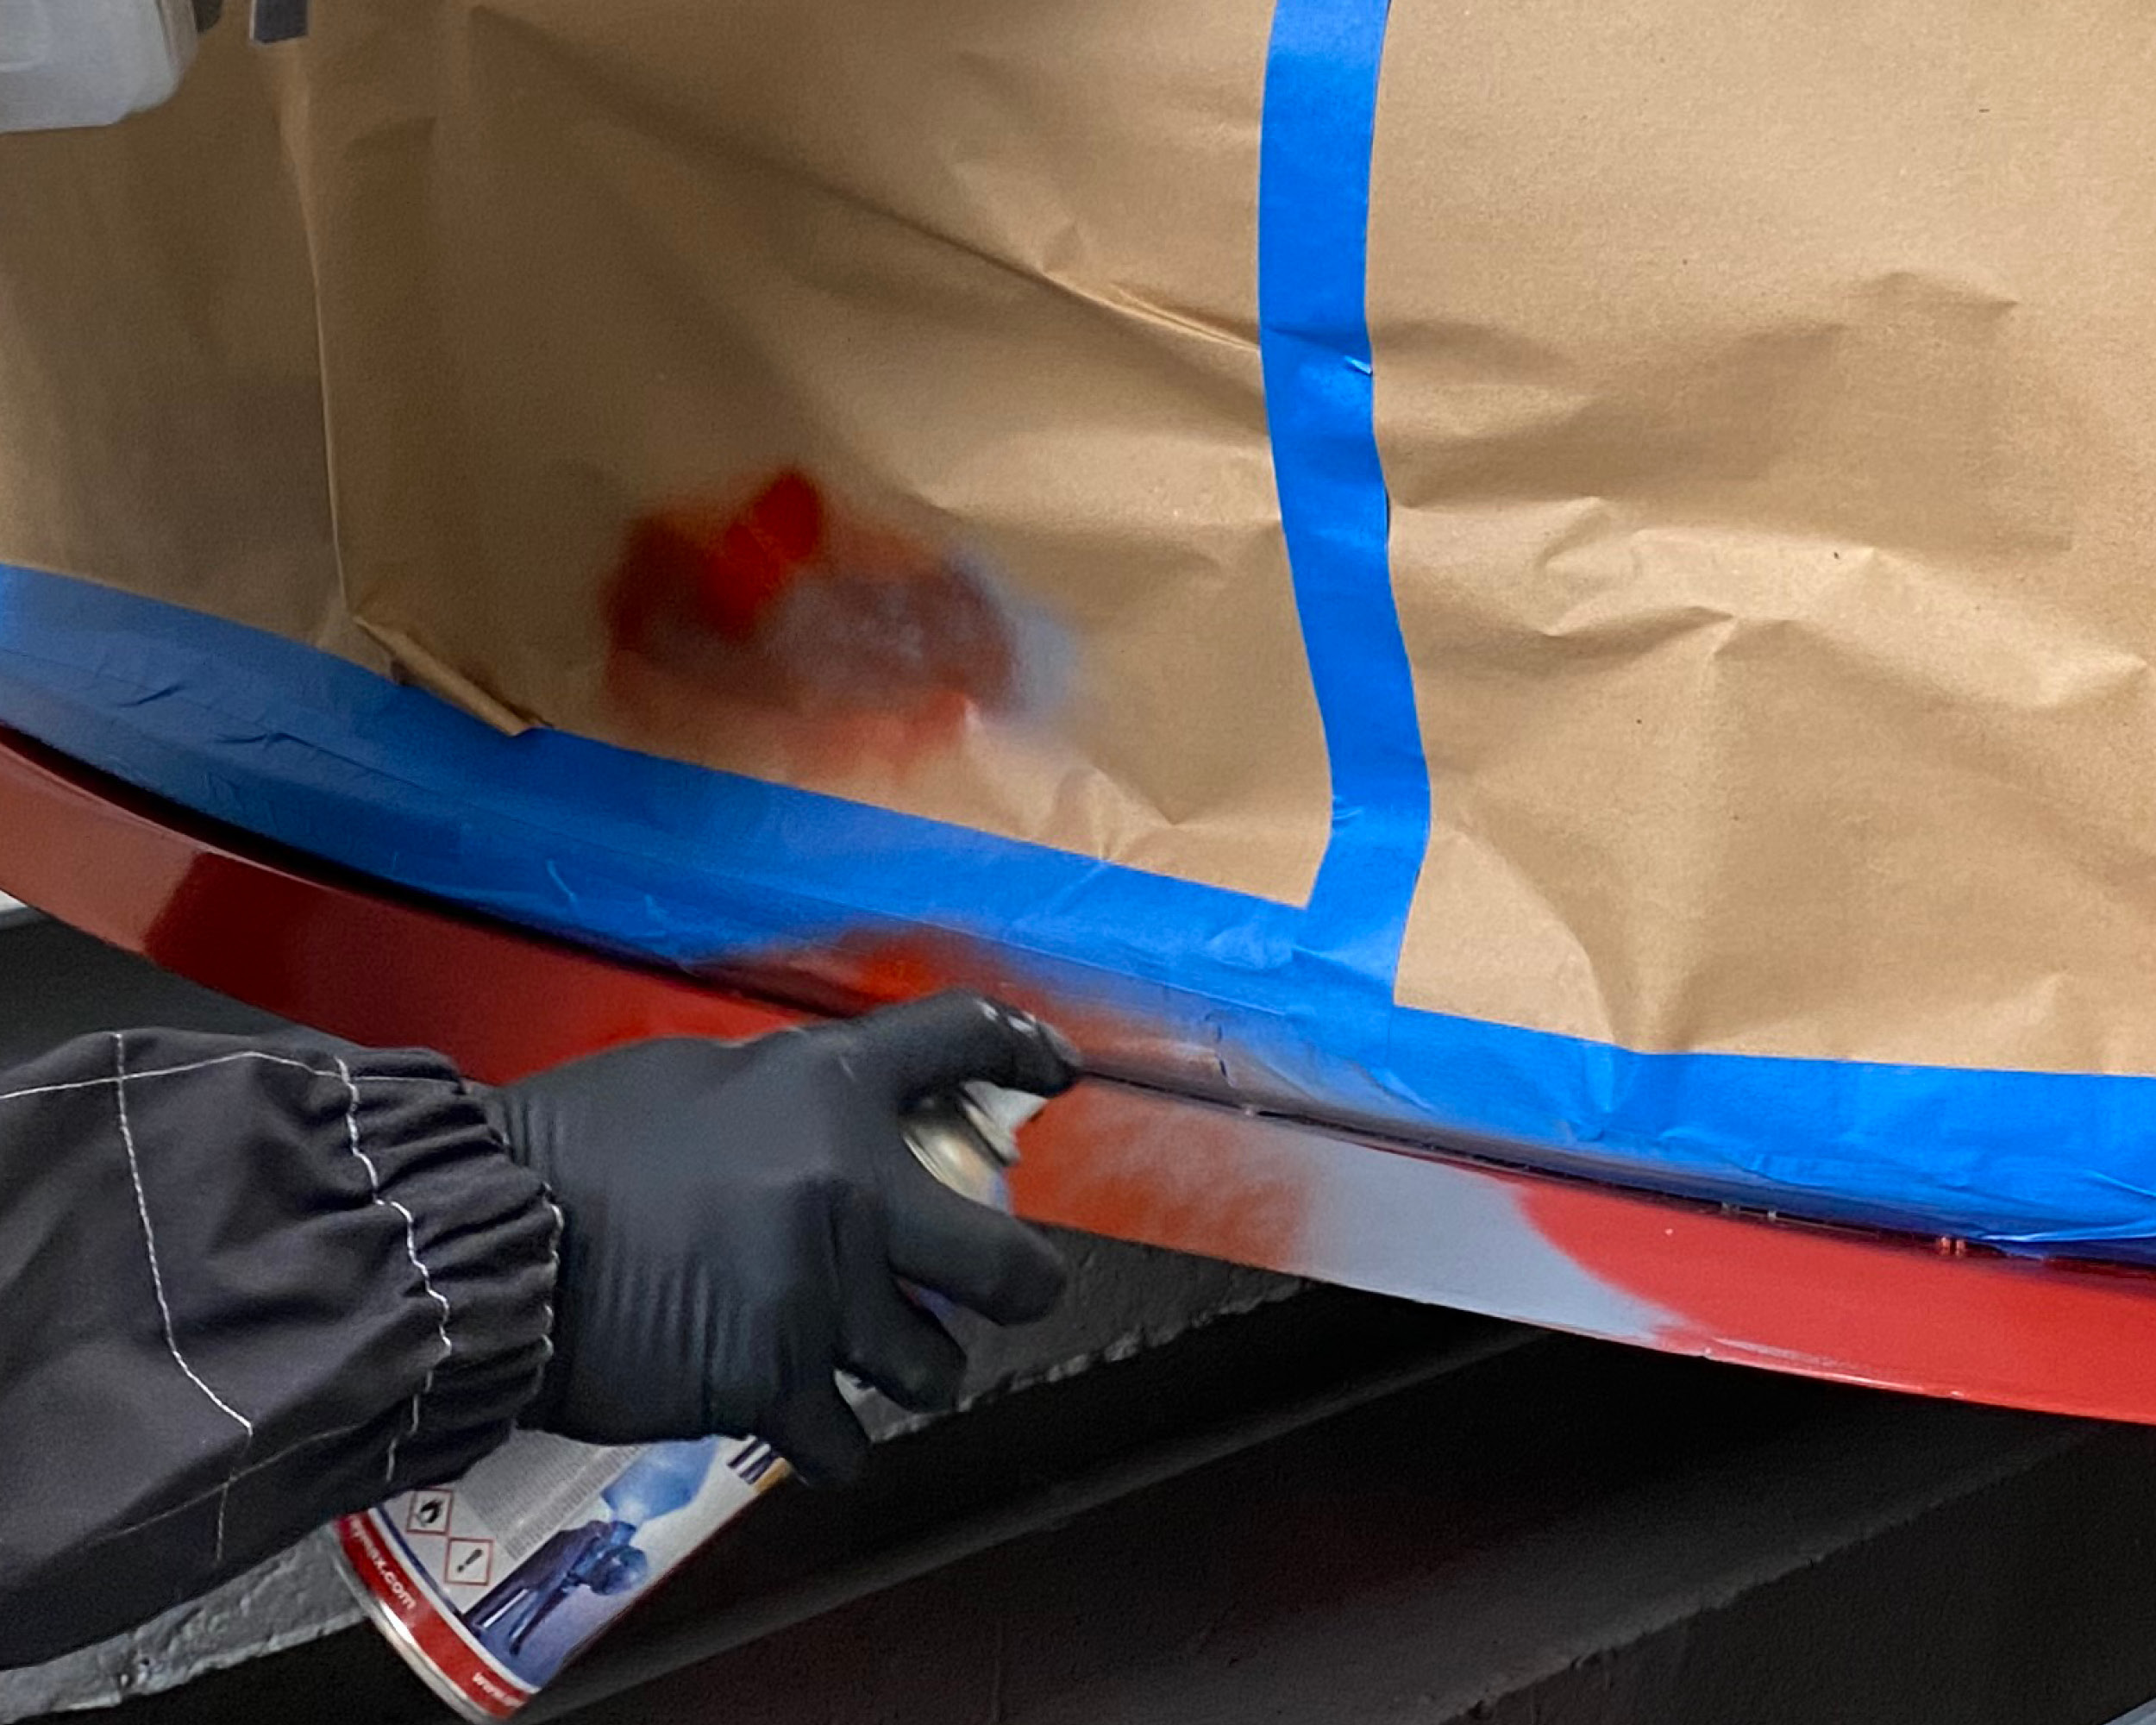
Appliquer la peinture de base (selon le pouvoir couvrant, 2-3 fines couches de pulvérisation).
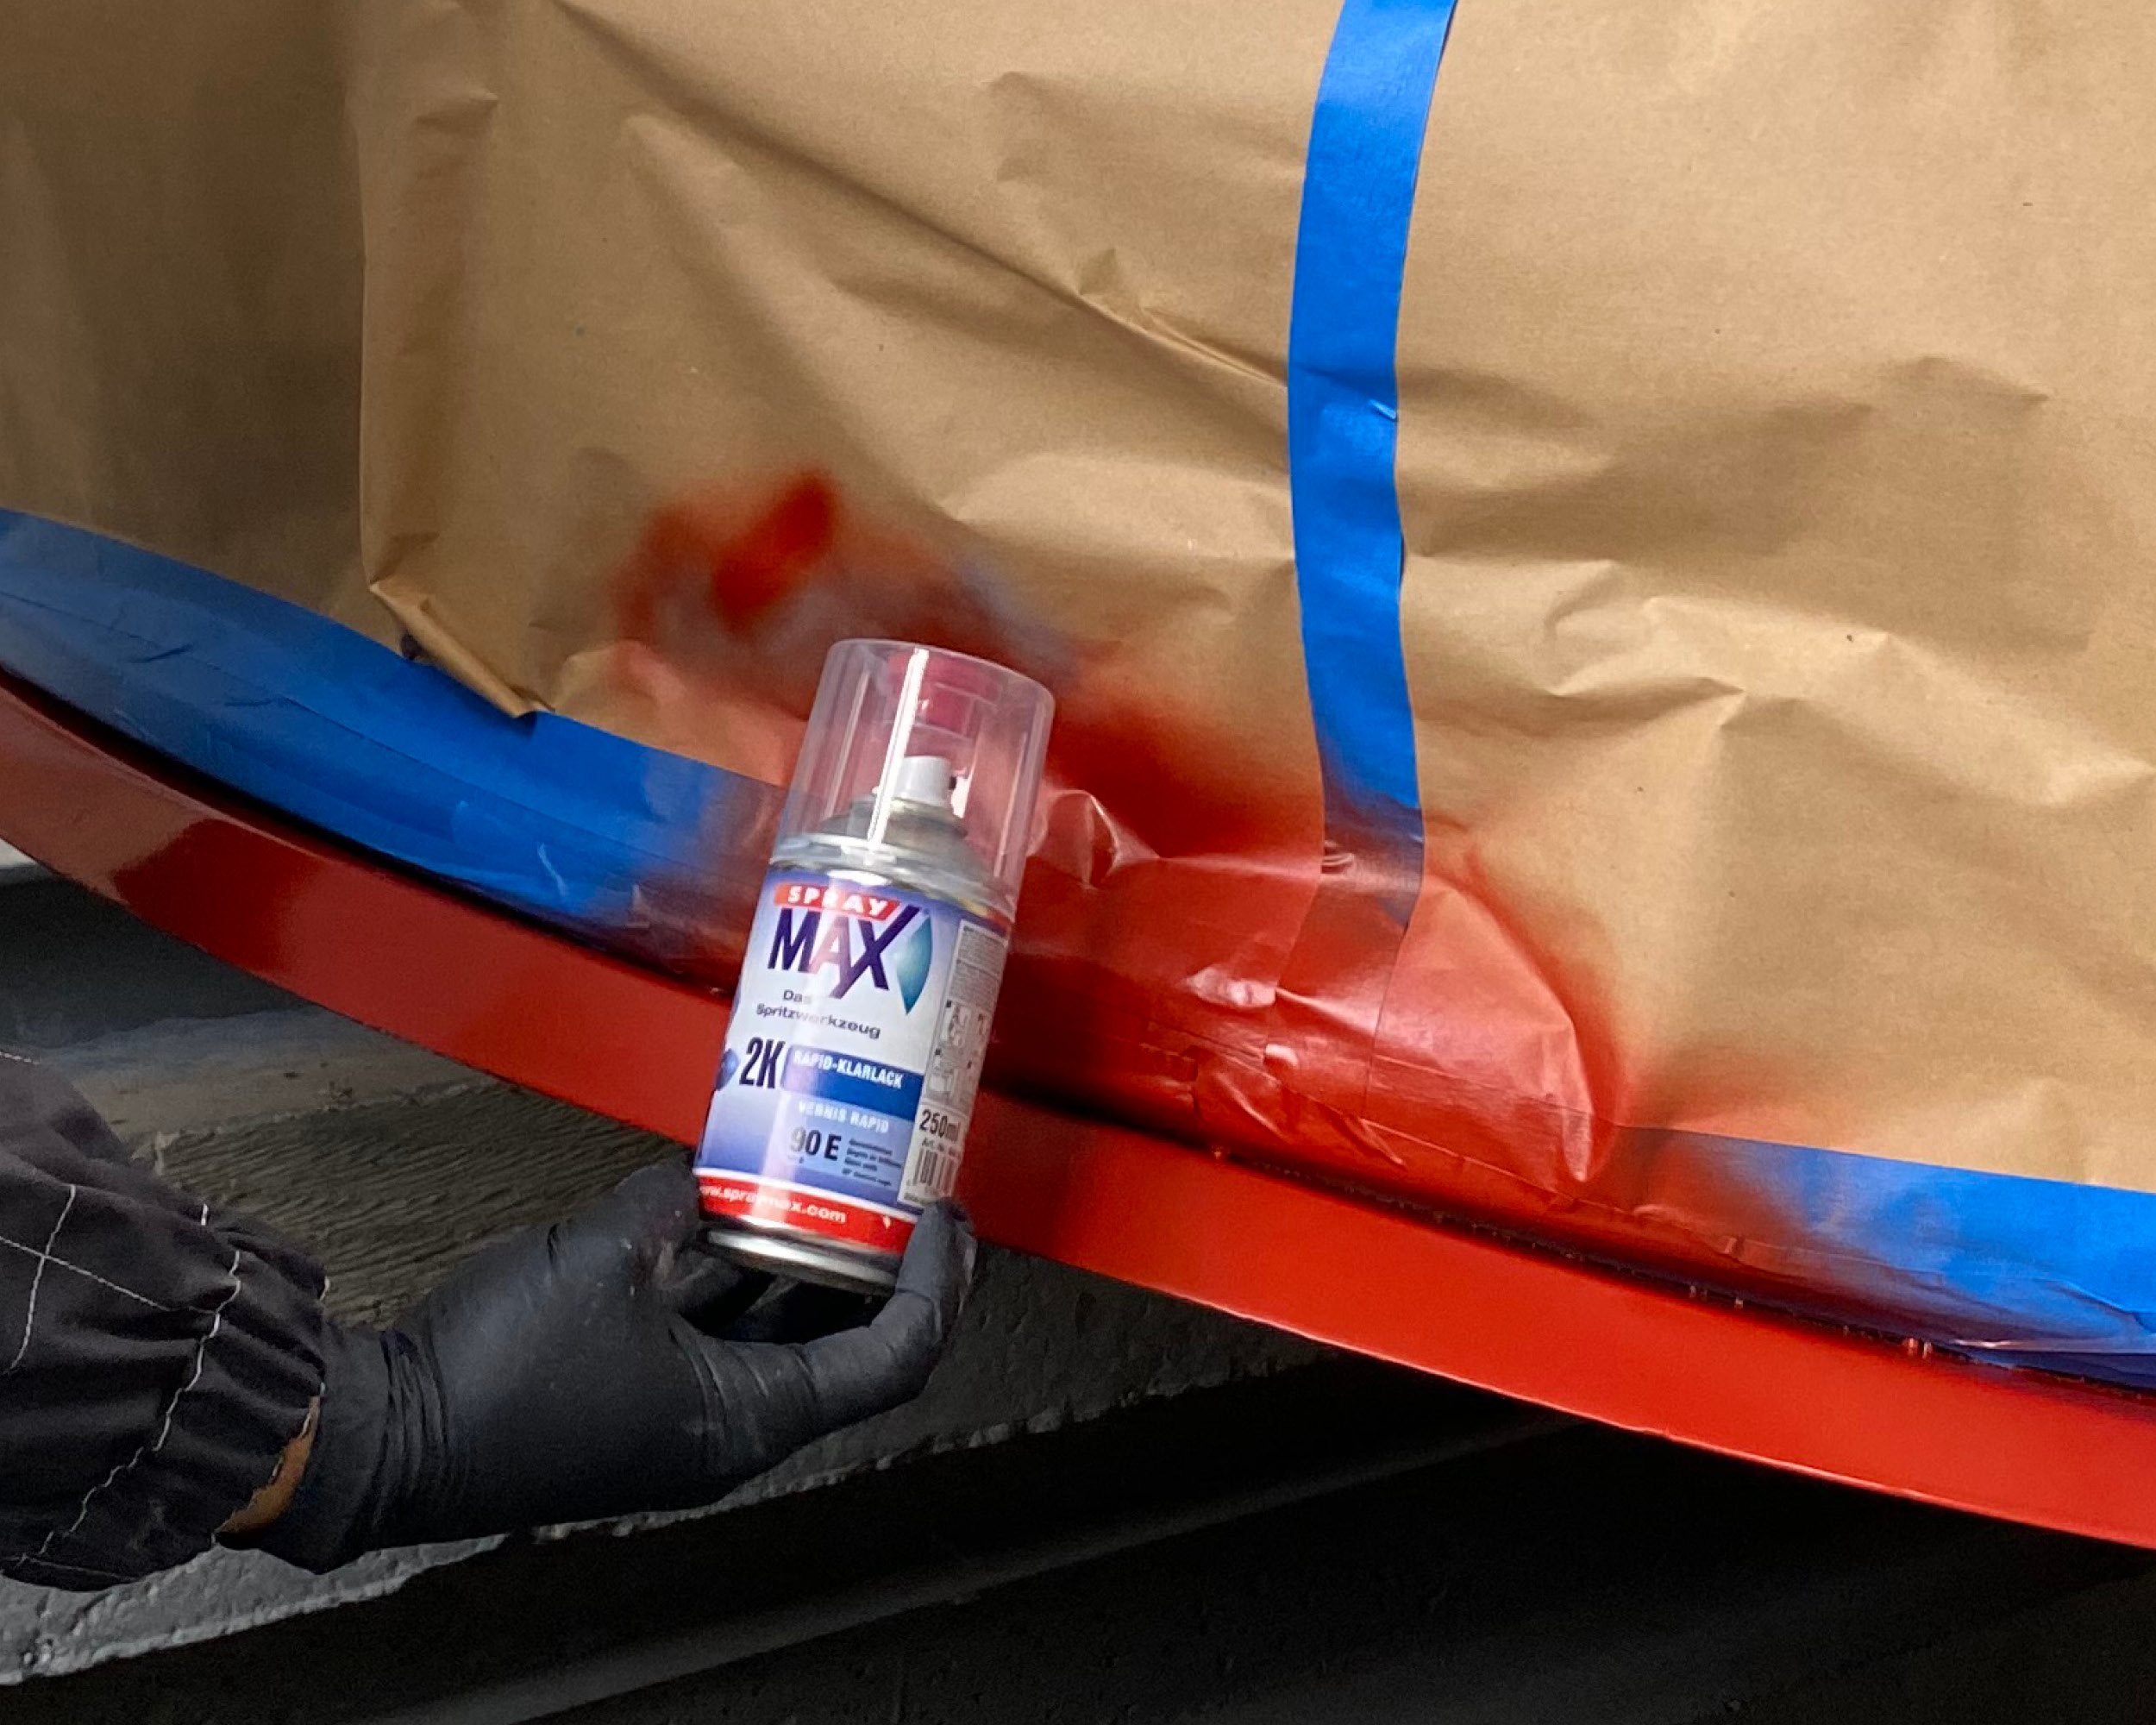
SprayMax 2K ou 1K Vernis, 2 couches, laisser évaporer entre les couches.
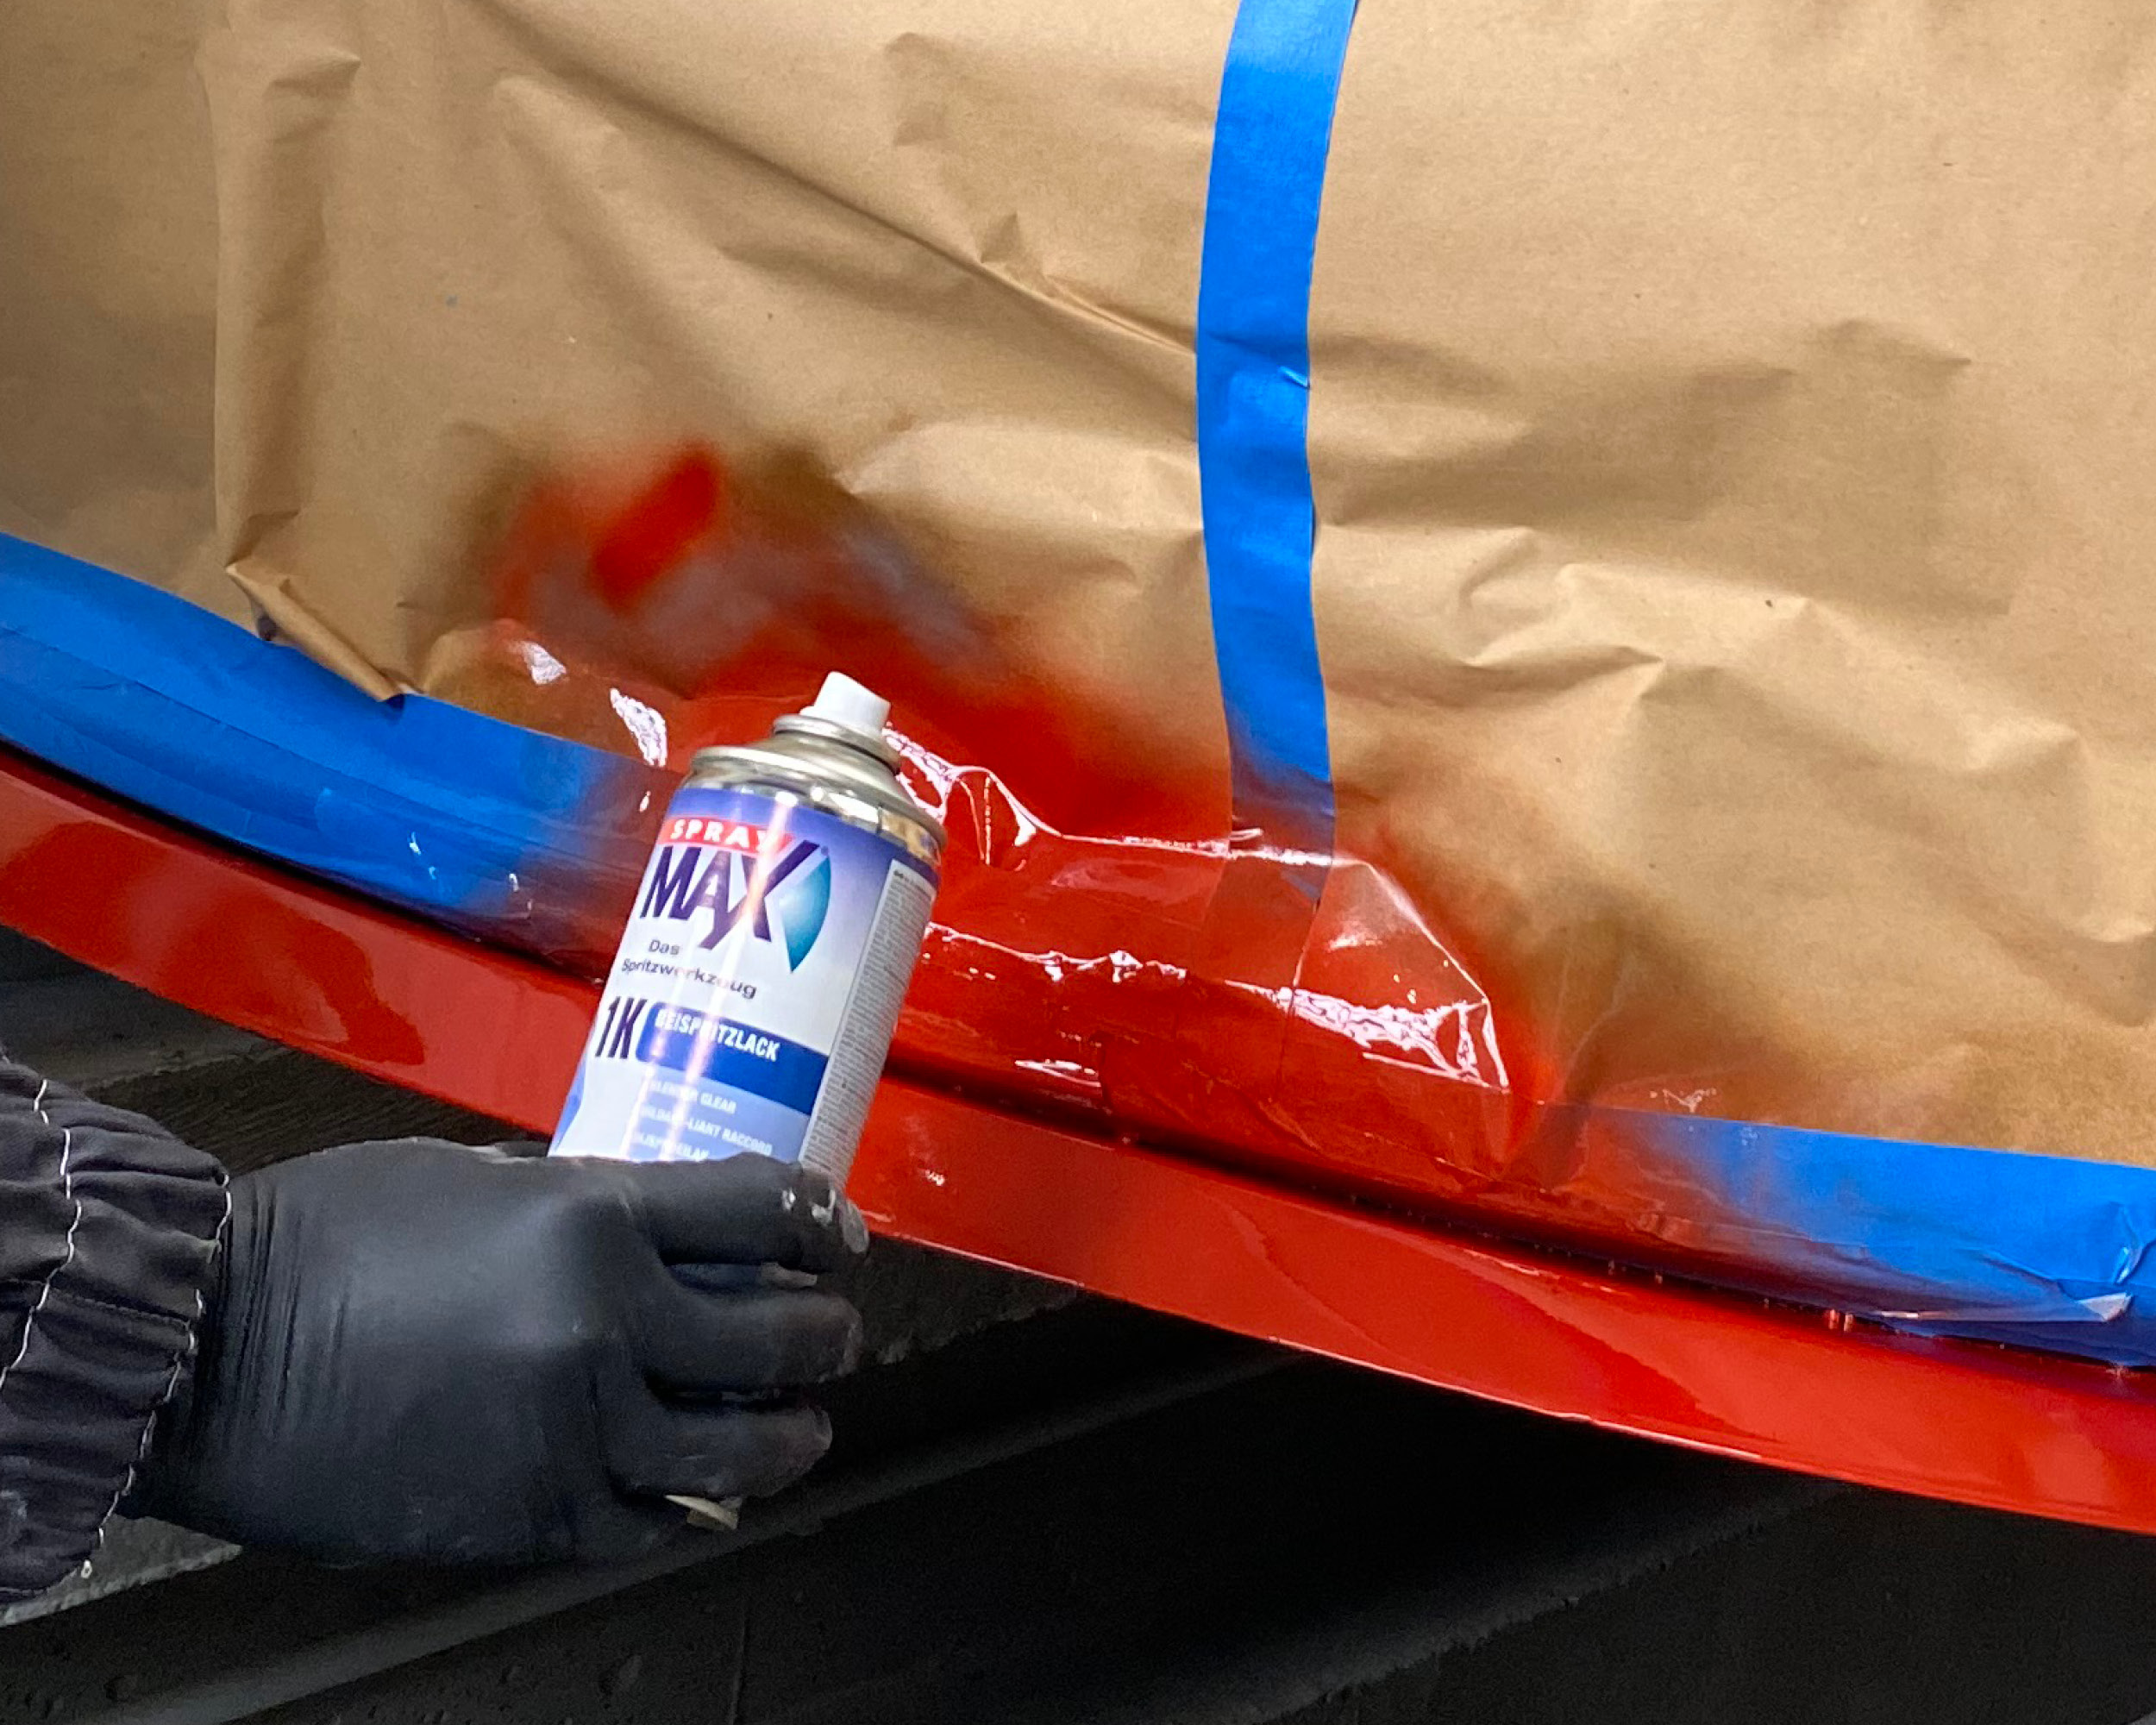
Fusionner les pourtours du vernis avec le Liant-raccord 1K 3680093.
IR Séchage env. 15 min
Détergent riche en substances actives pour éliminer en profondeur les traces de silicone, les graisses, huiles, cires, le goudron et le noir de ...
Promoteur d‘adhérence idéal pour des revêtements ultérieurs sur la plupart des plastiques (voir la notice technique).
Apprêt universel à séchage rapide 2K pour les emplois de peinture de haute qualité sur voiture. Idéal pour les petits travaux de peinture et pour la ...
Pour le remplissage d‘une couleur spécifique de couche de fond à base de solvant 1K disponible des marques et qualités qui sont offertes par les ...