Surface preparation
Primers/ Fillers
Body filler
Fillers
Fill In/ FillClean® cans
Top coats
Clear coats/ Spot blender
Accessories
Sand the damaged area, then clean with silicone remover. Apply plastic adhesion promoter.
Shake up UV Primer, apply with approx. 1-2 sprays (40-50 µm), then flash-off for approx. 1 minute.
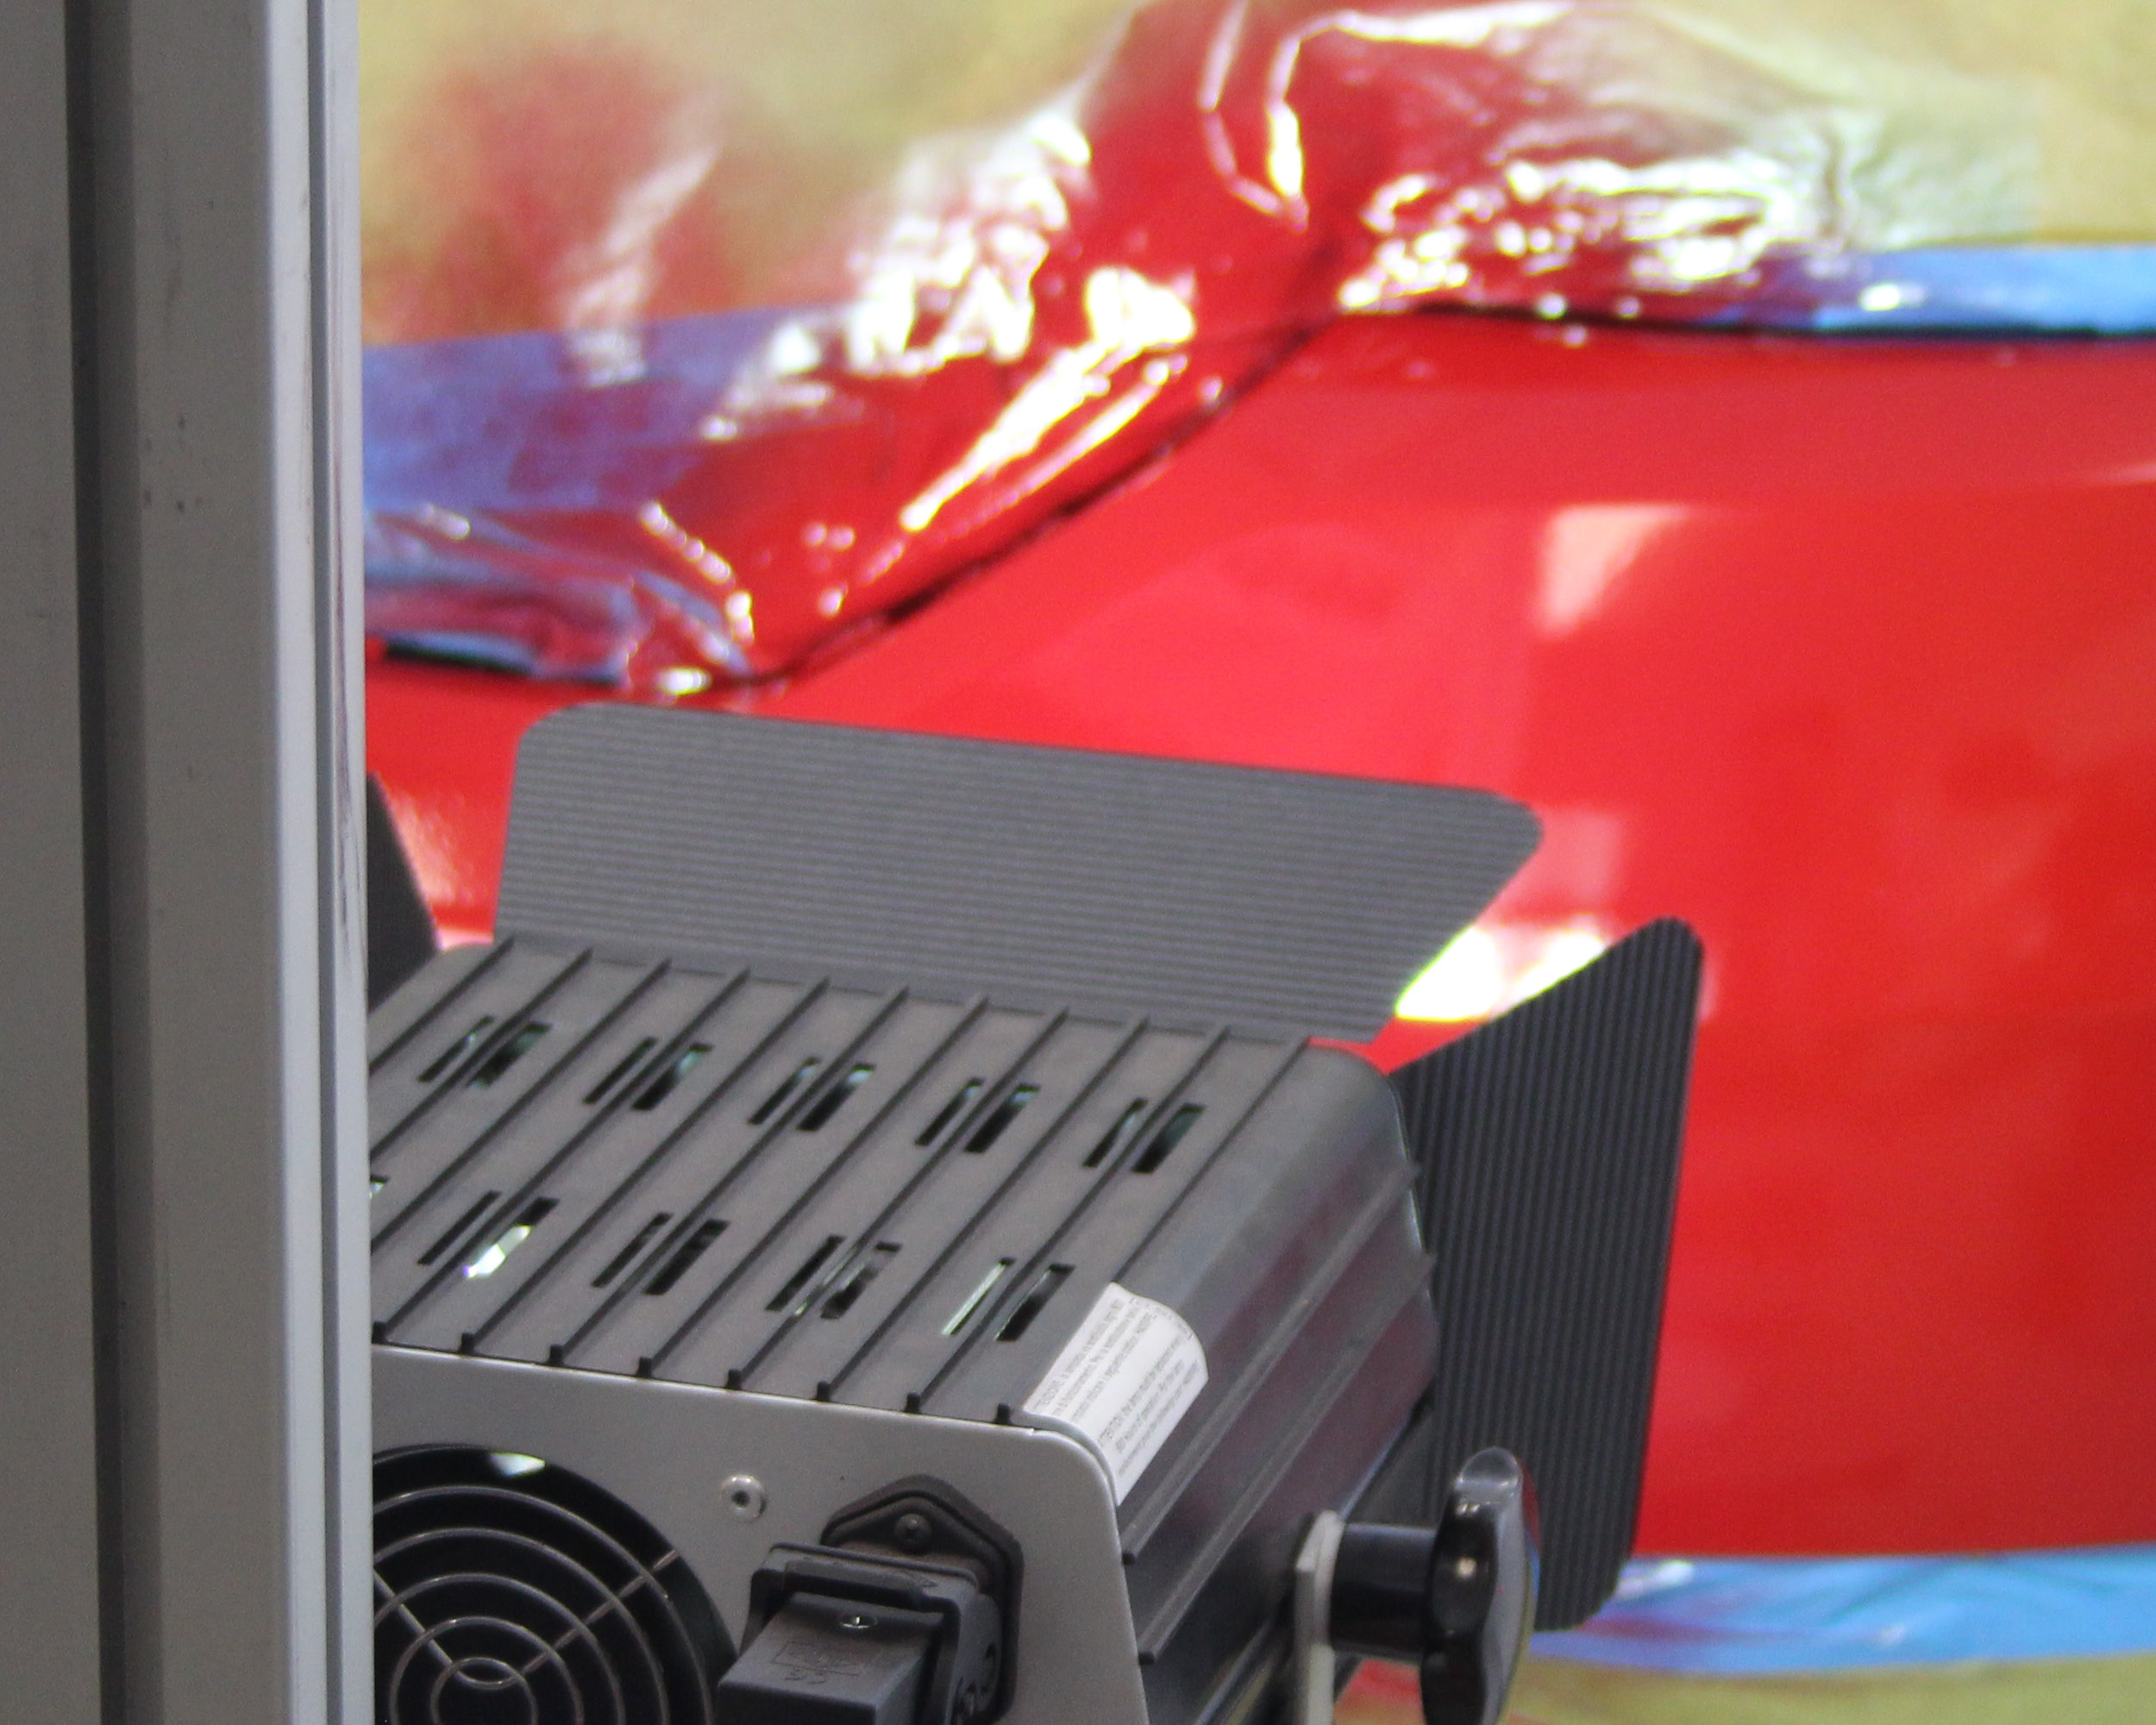
Dry UV Primer with UV lamp for 4 minutes. (UV-A lamp light wavelength 365-395 nm).
After drying, remove any adhesive film that may have formed with special UV cleaner, sand the surface, matte the edge zones.
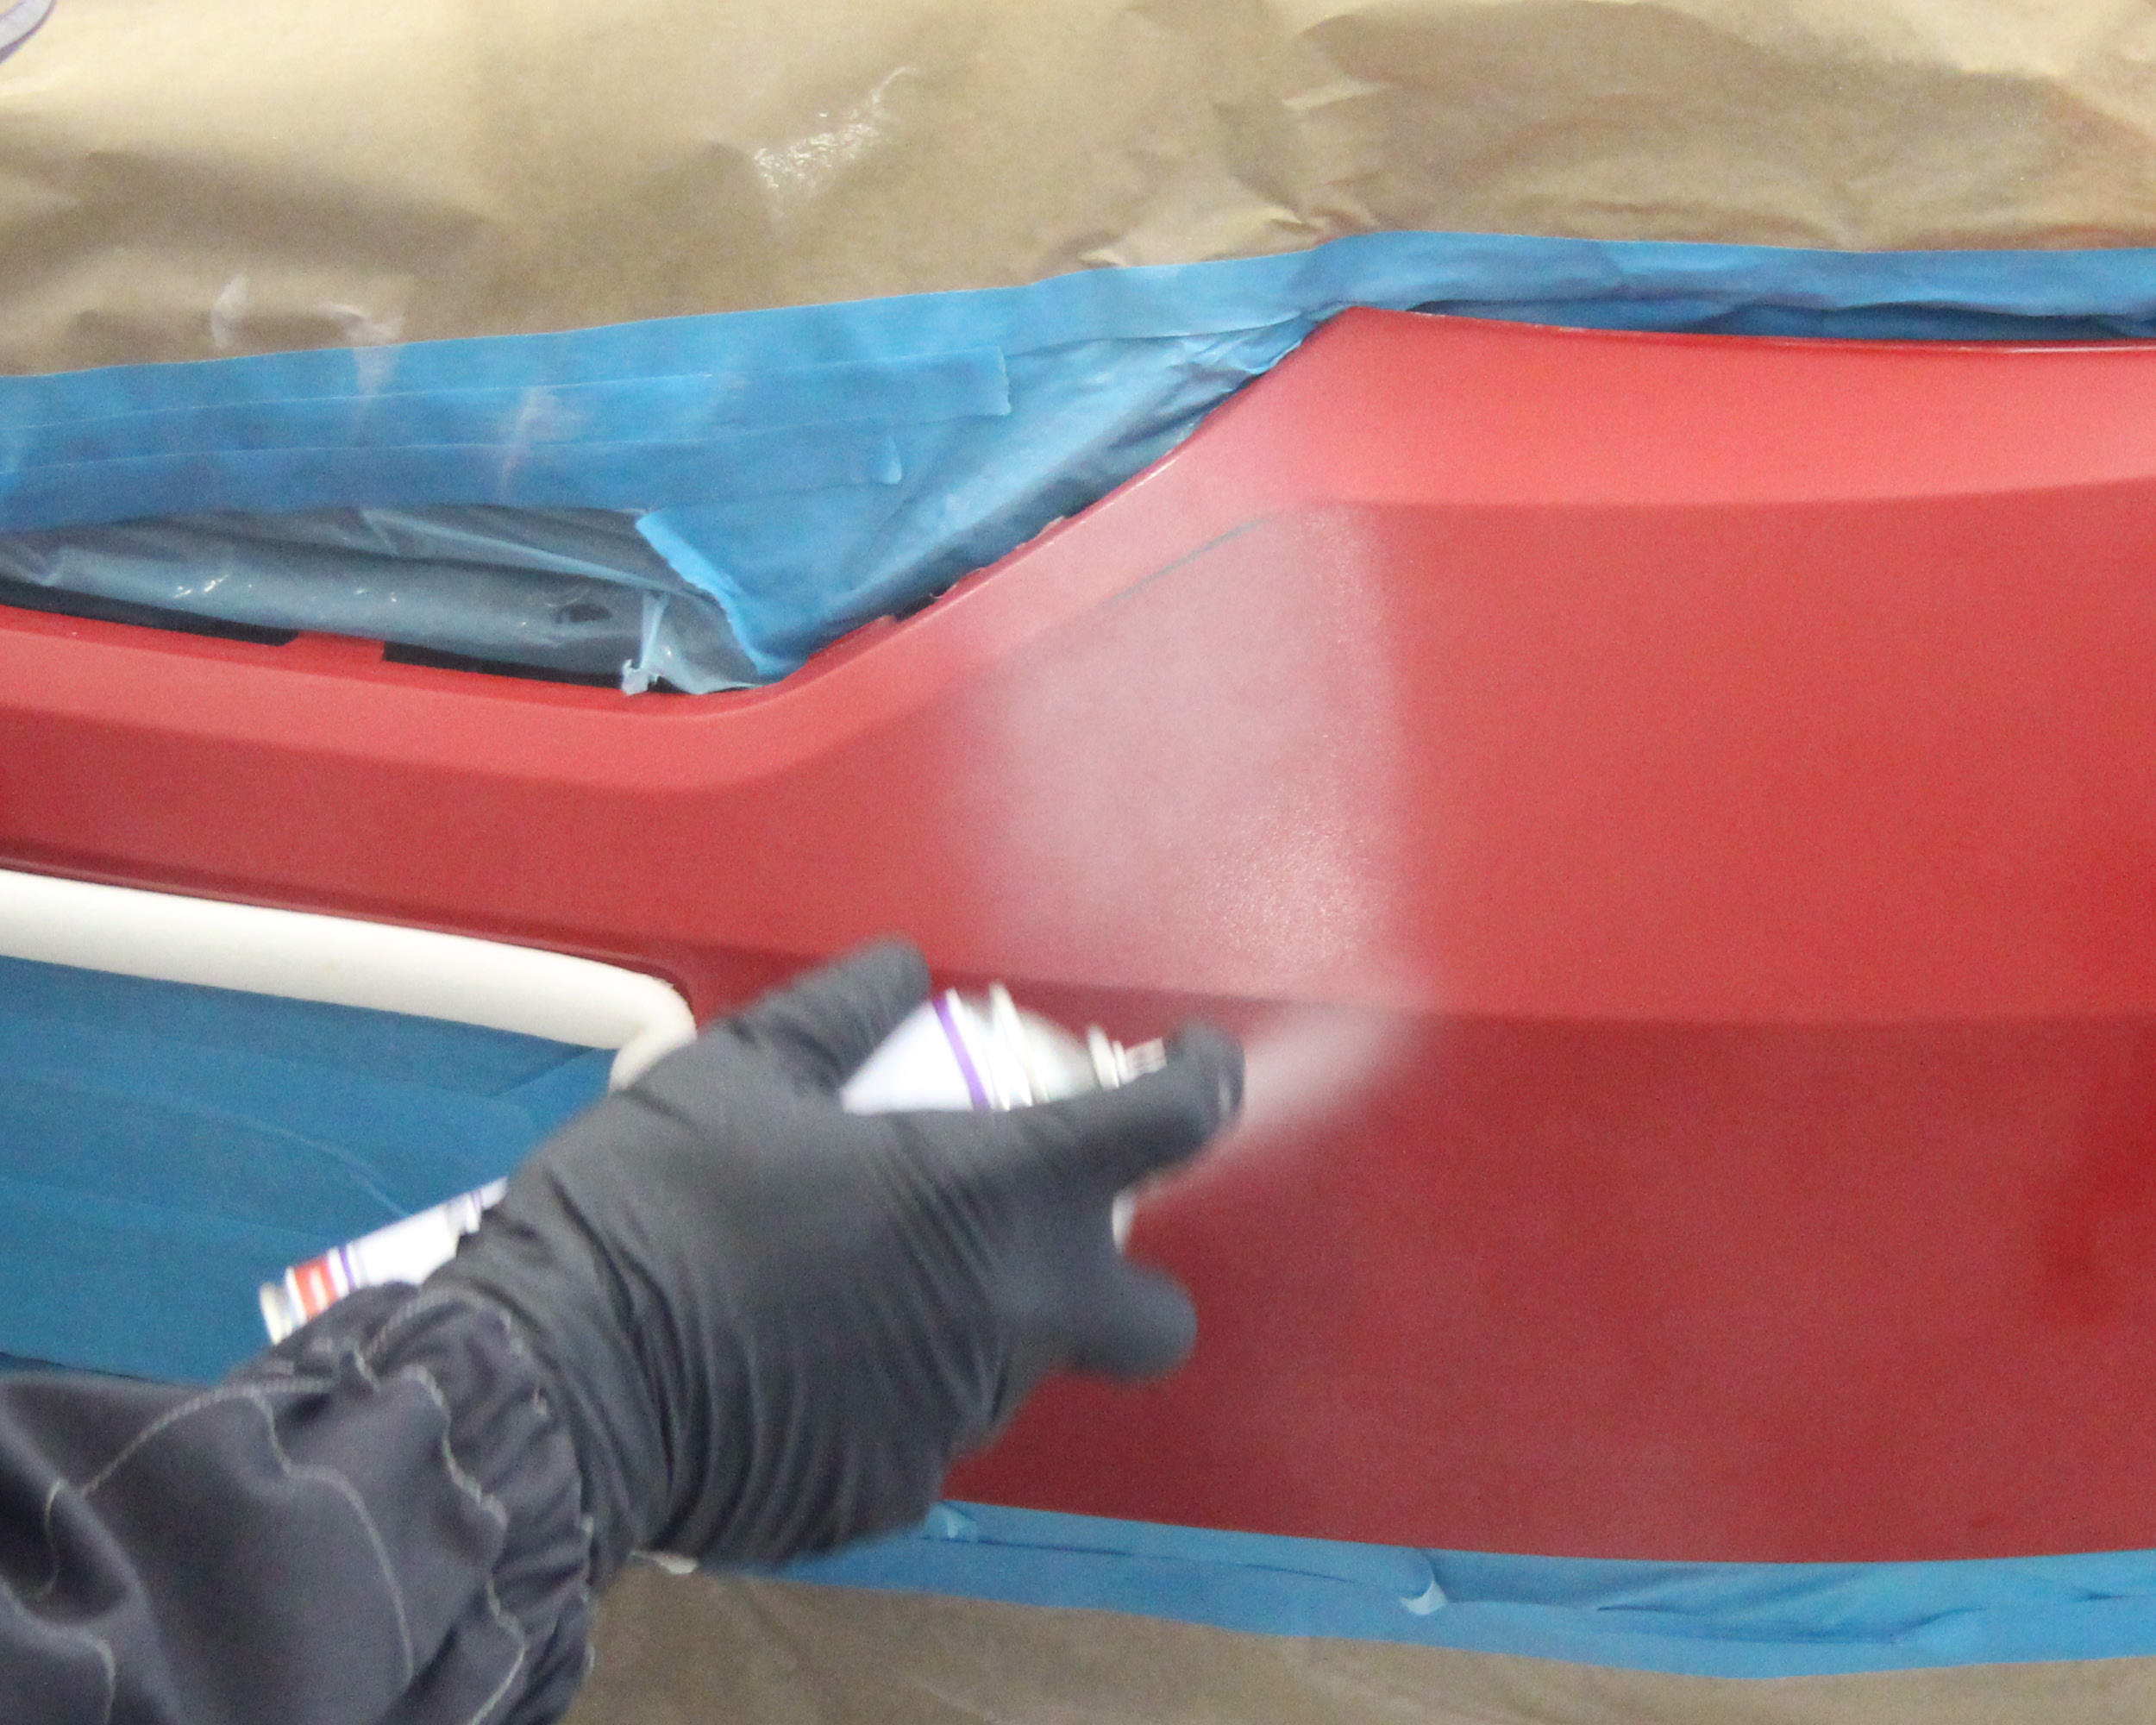
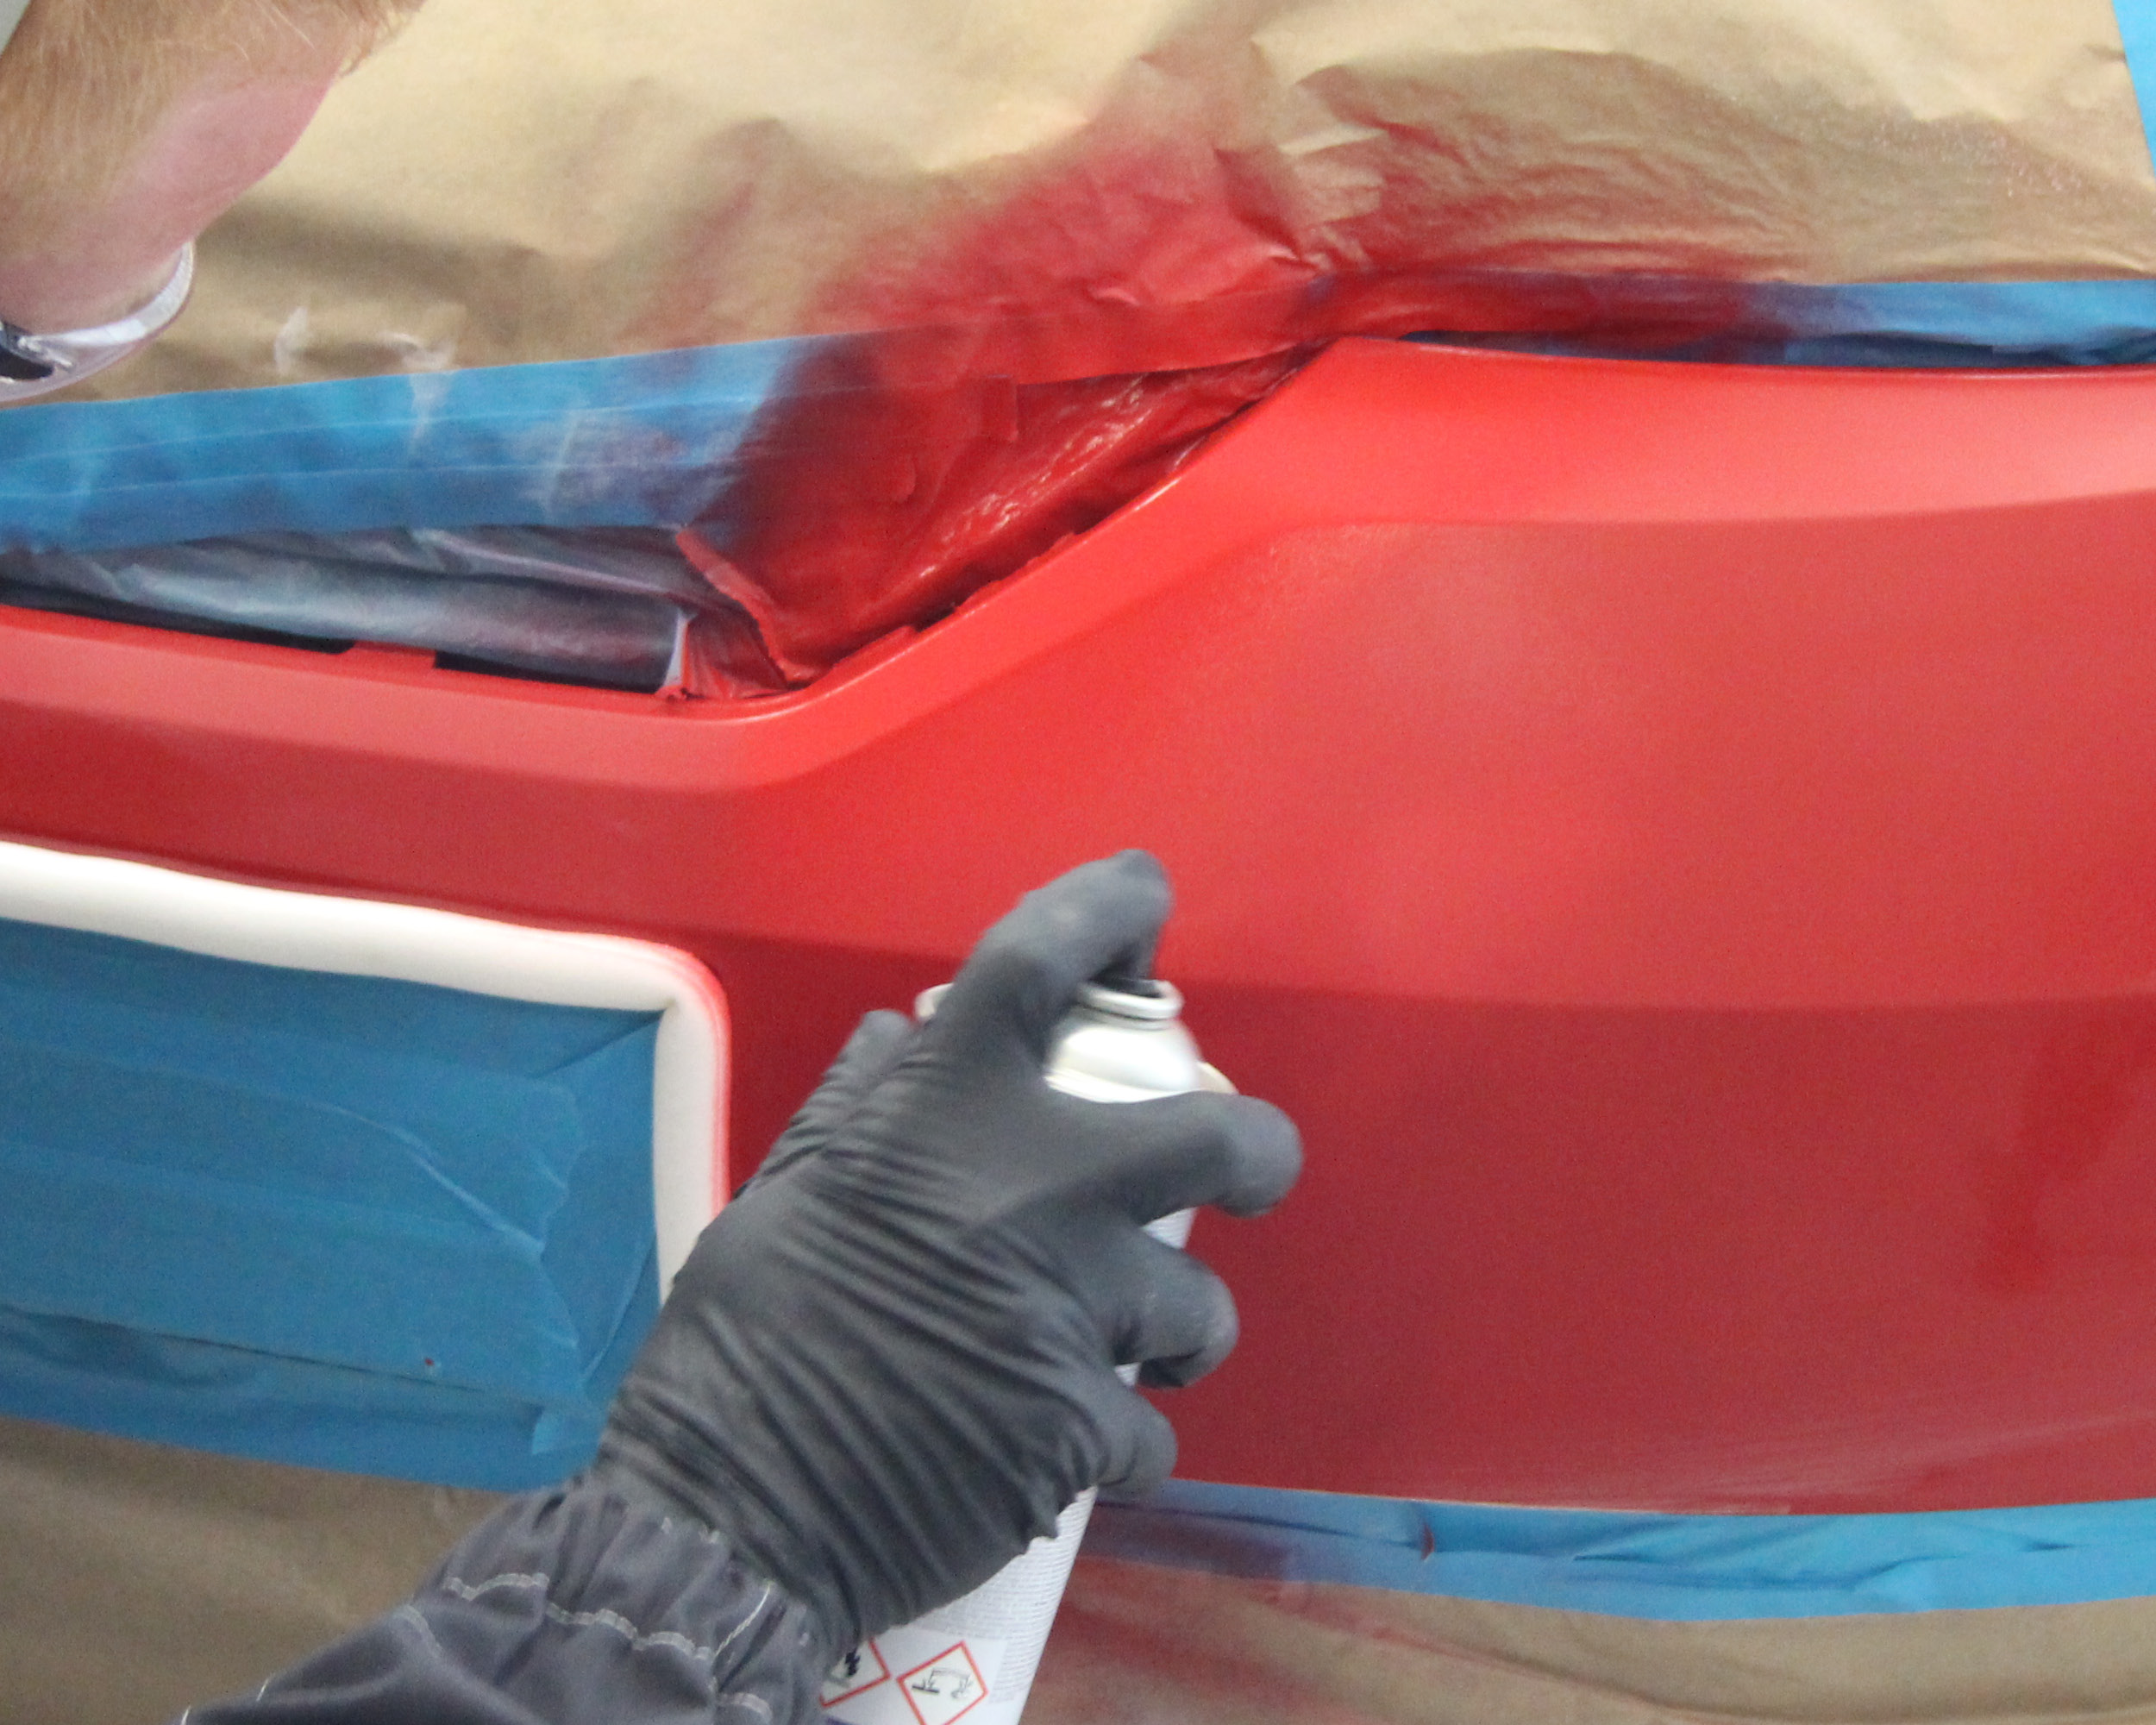
Apply the basecoat in 2-3 coats. Air dry.
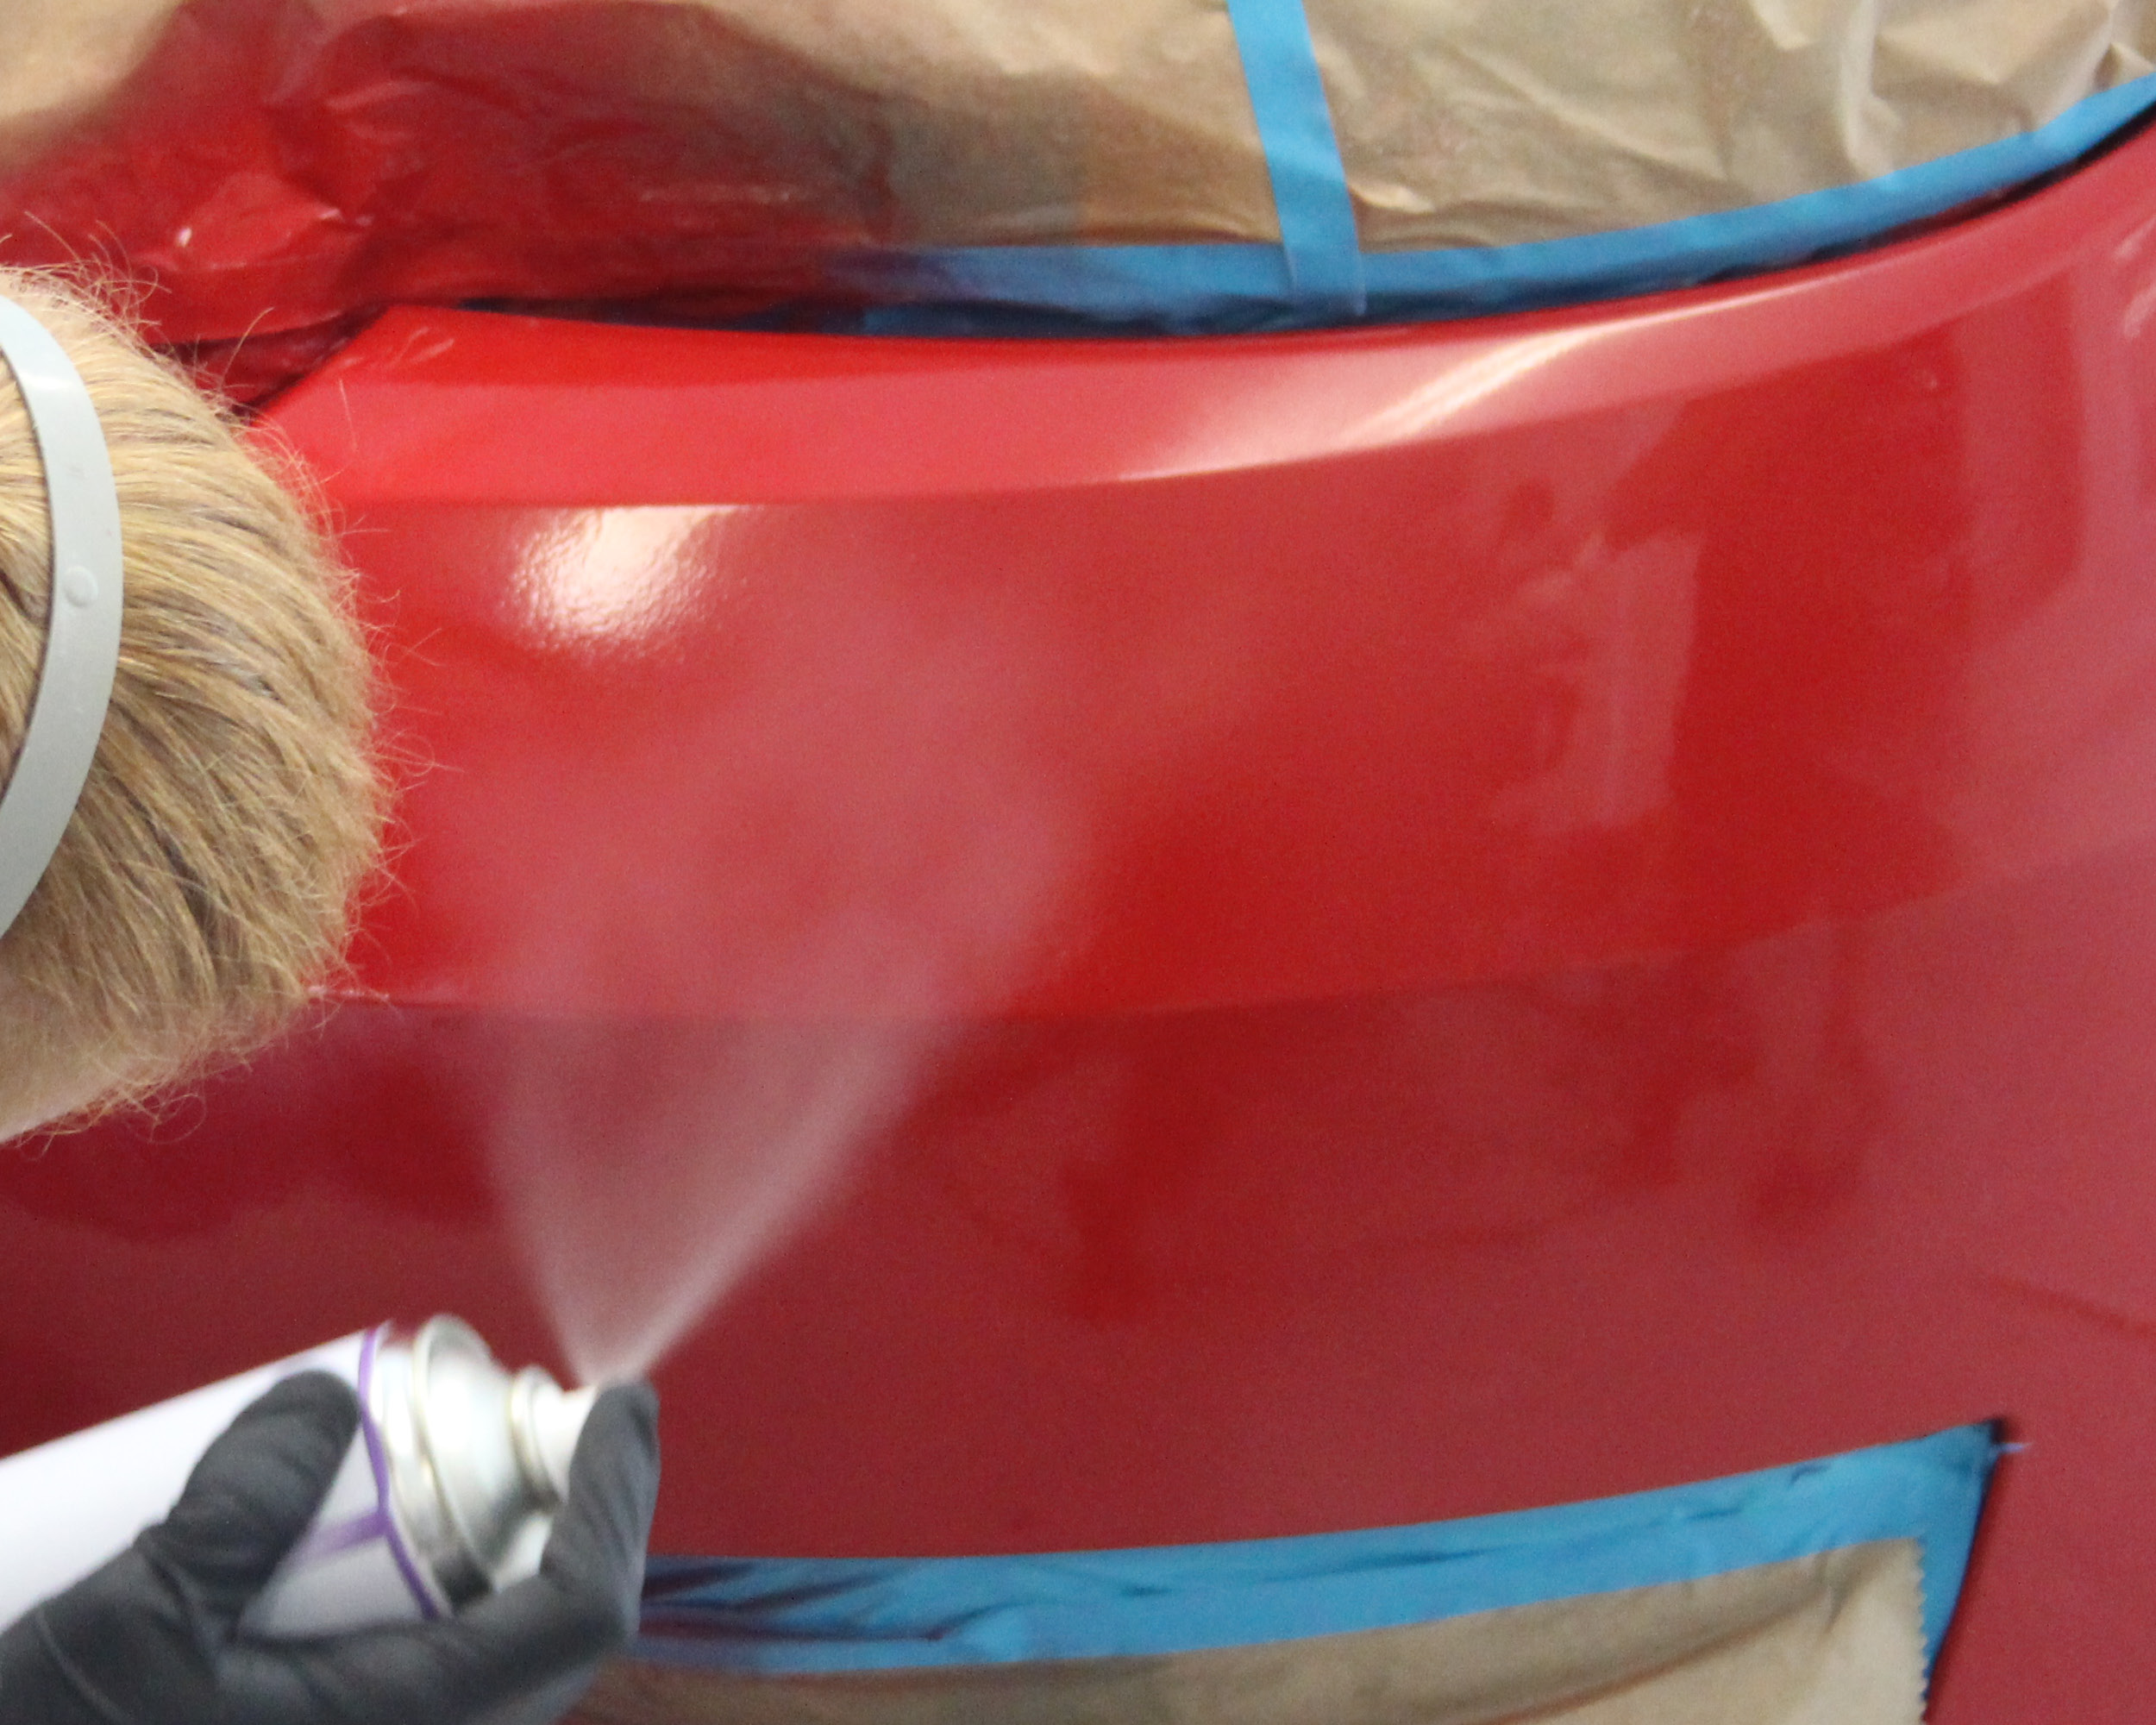
Apply 1-2 coats of UV clear with intermediate exhaust air. Allow 1 minute flash time between coats.
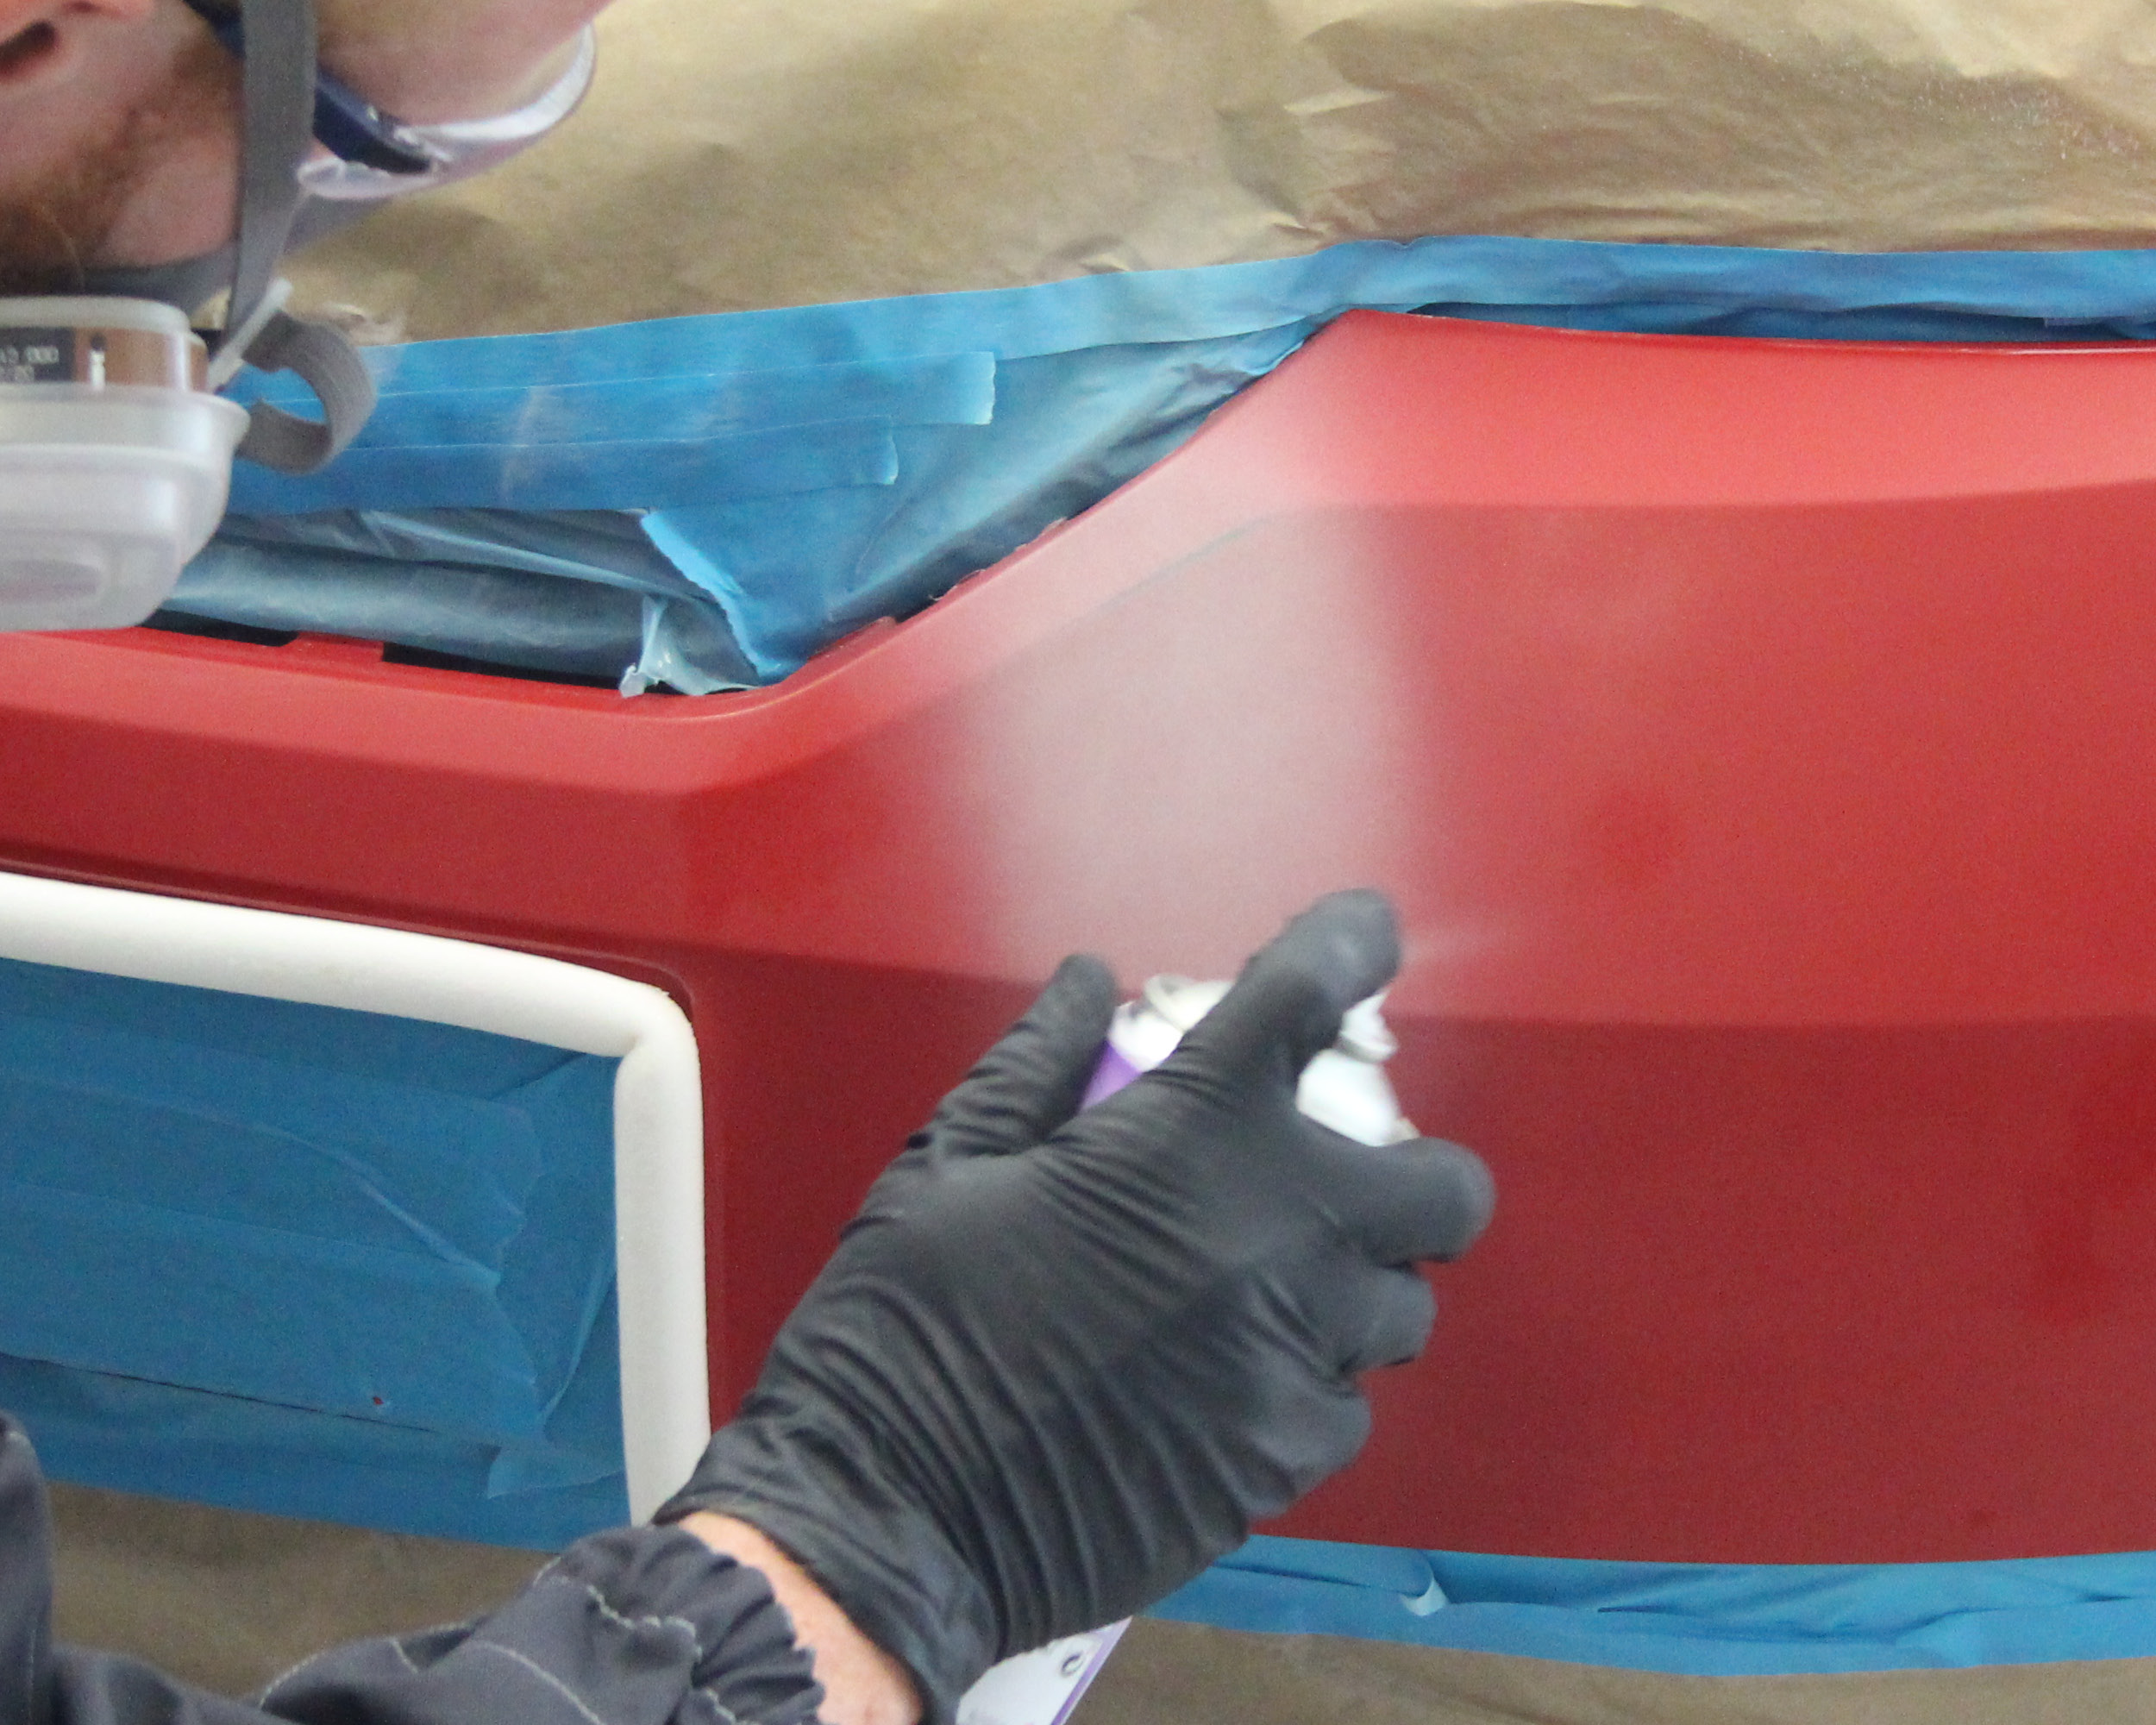
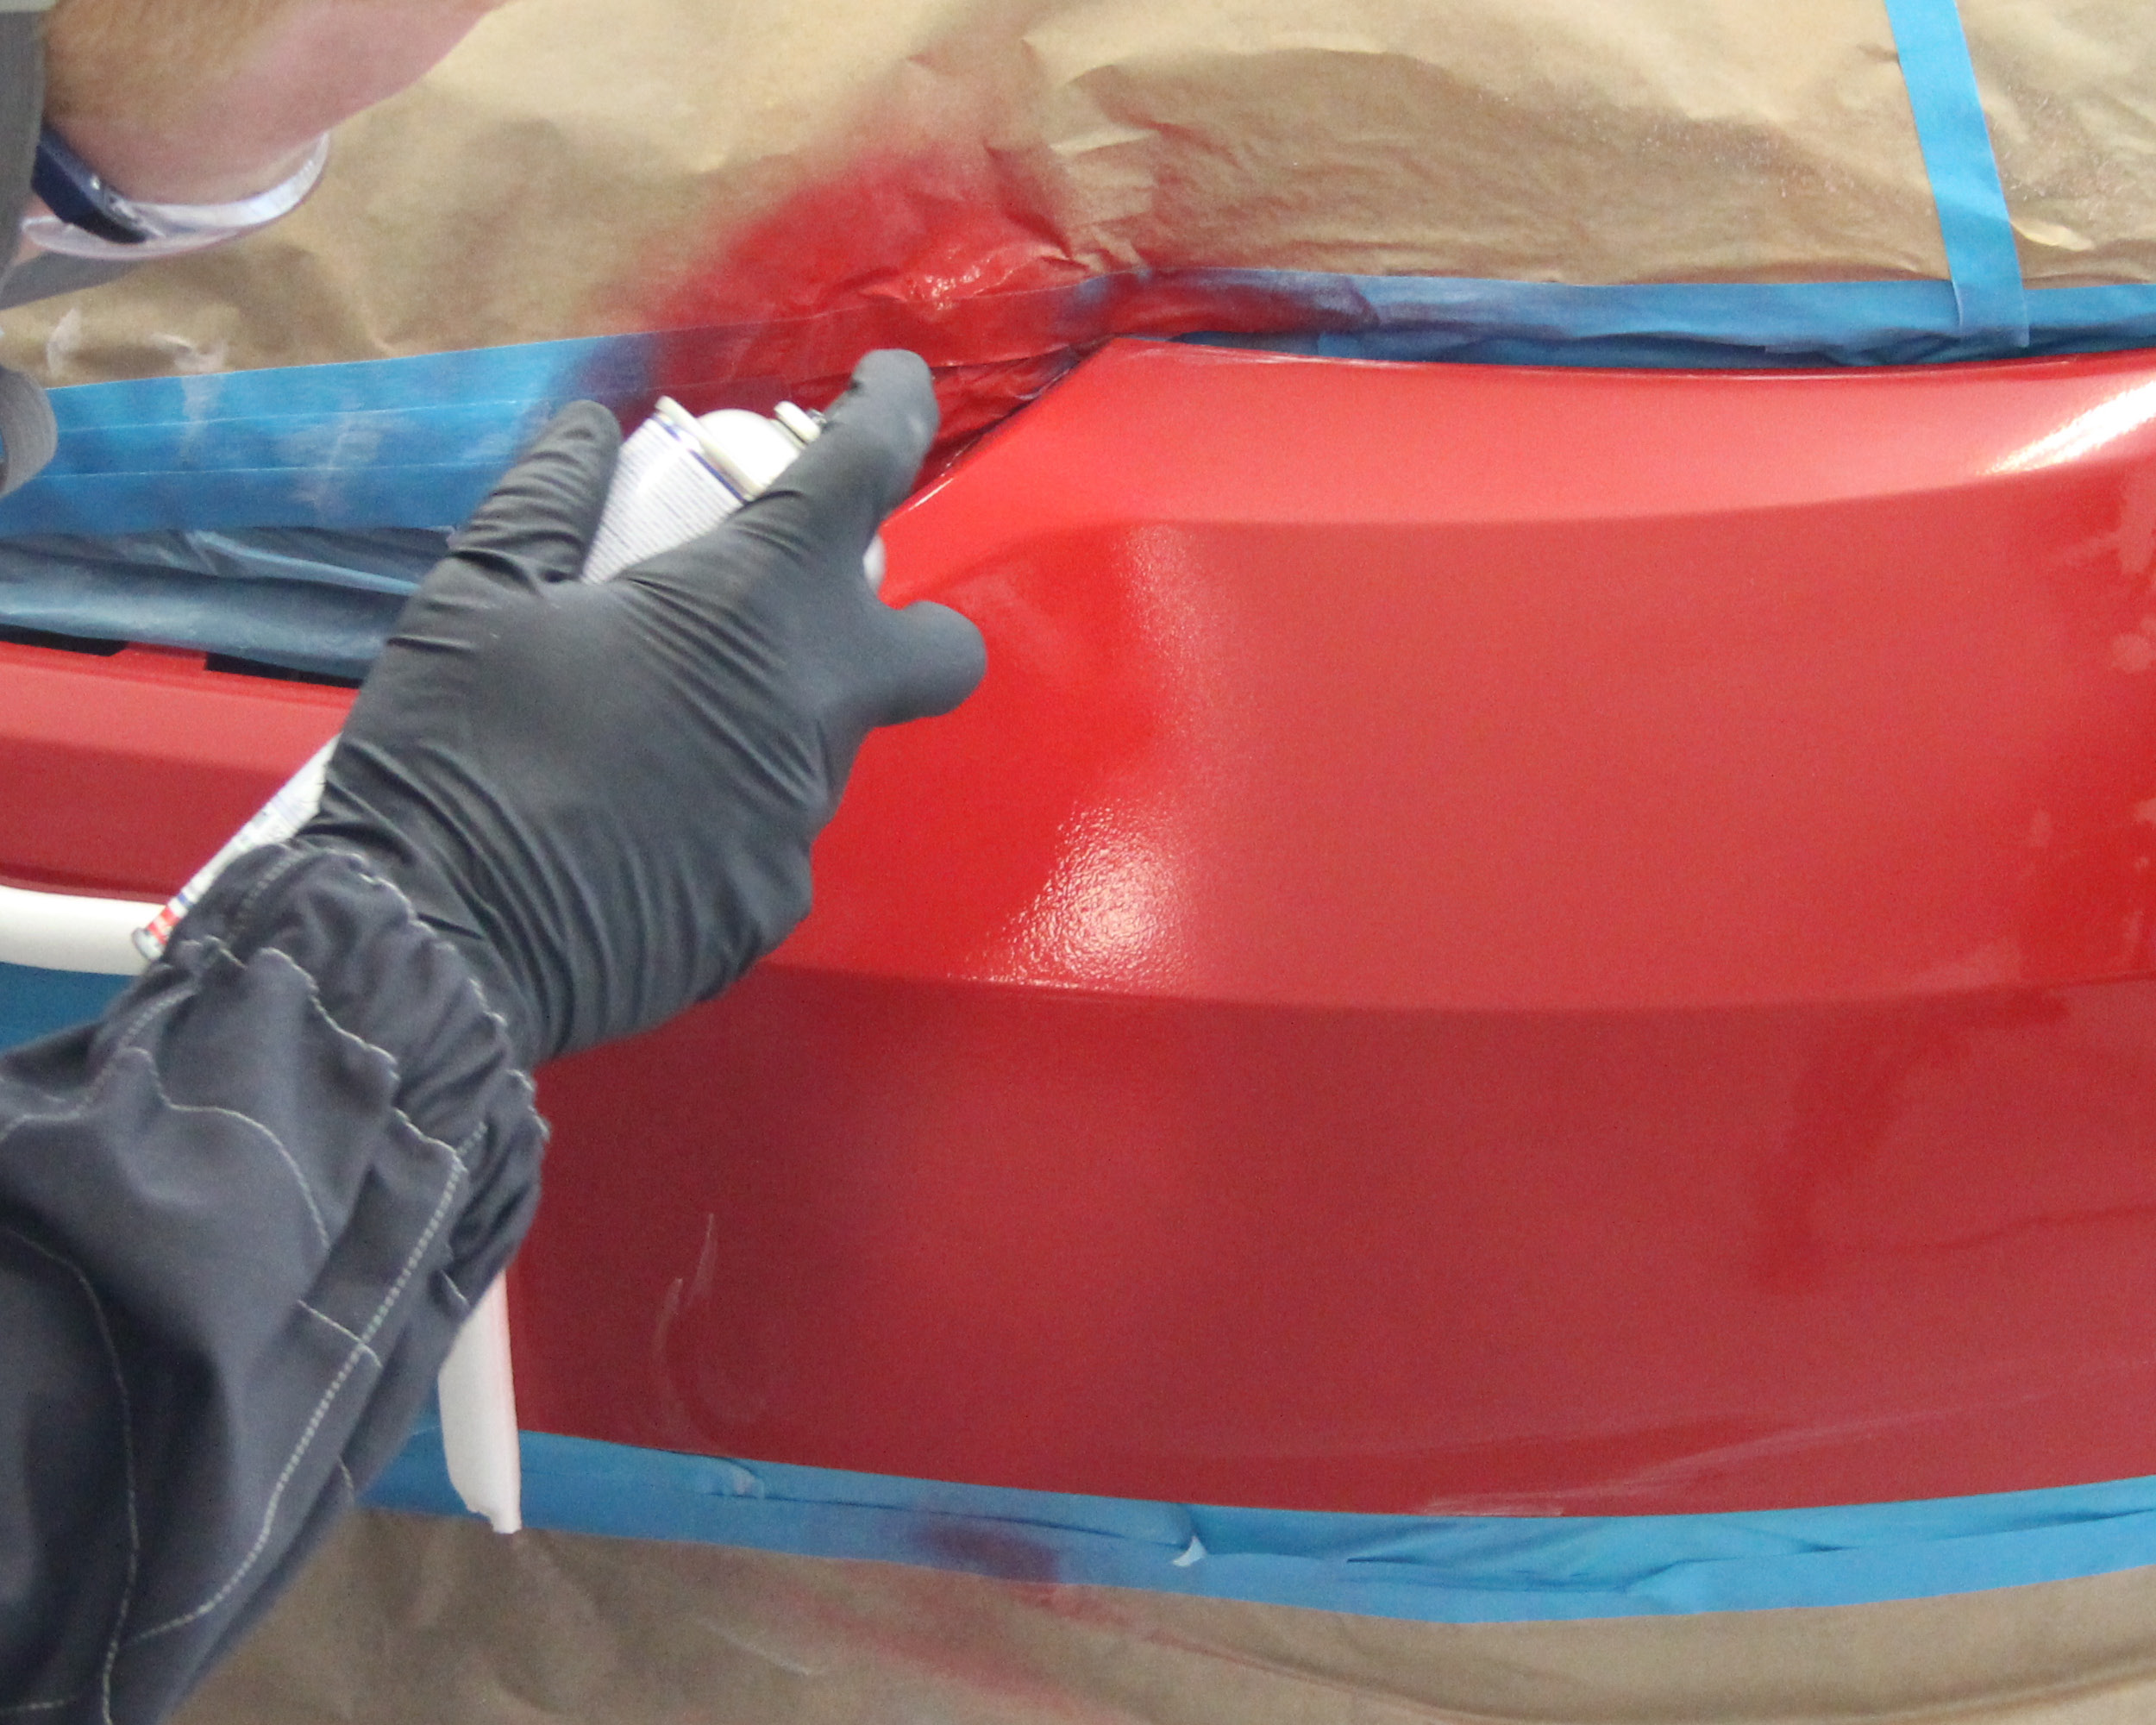
Immediately after the UV clearcoat, apply UV Blender over the clear including edge areas. Allow to flash off for 1 minute.
Dry the surface with a UV lamp for 4 minutes. (UV-A lamp light wavelength 365-395 nm).
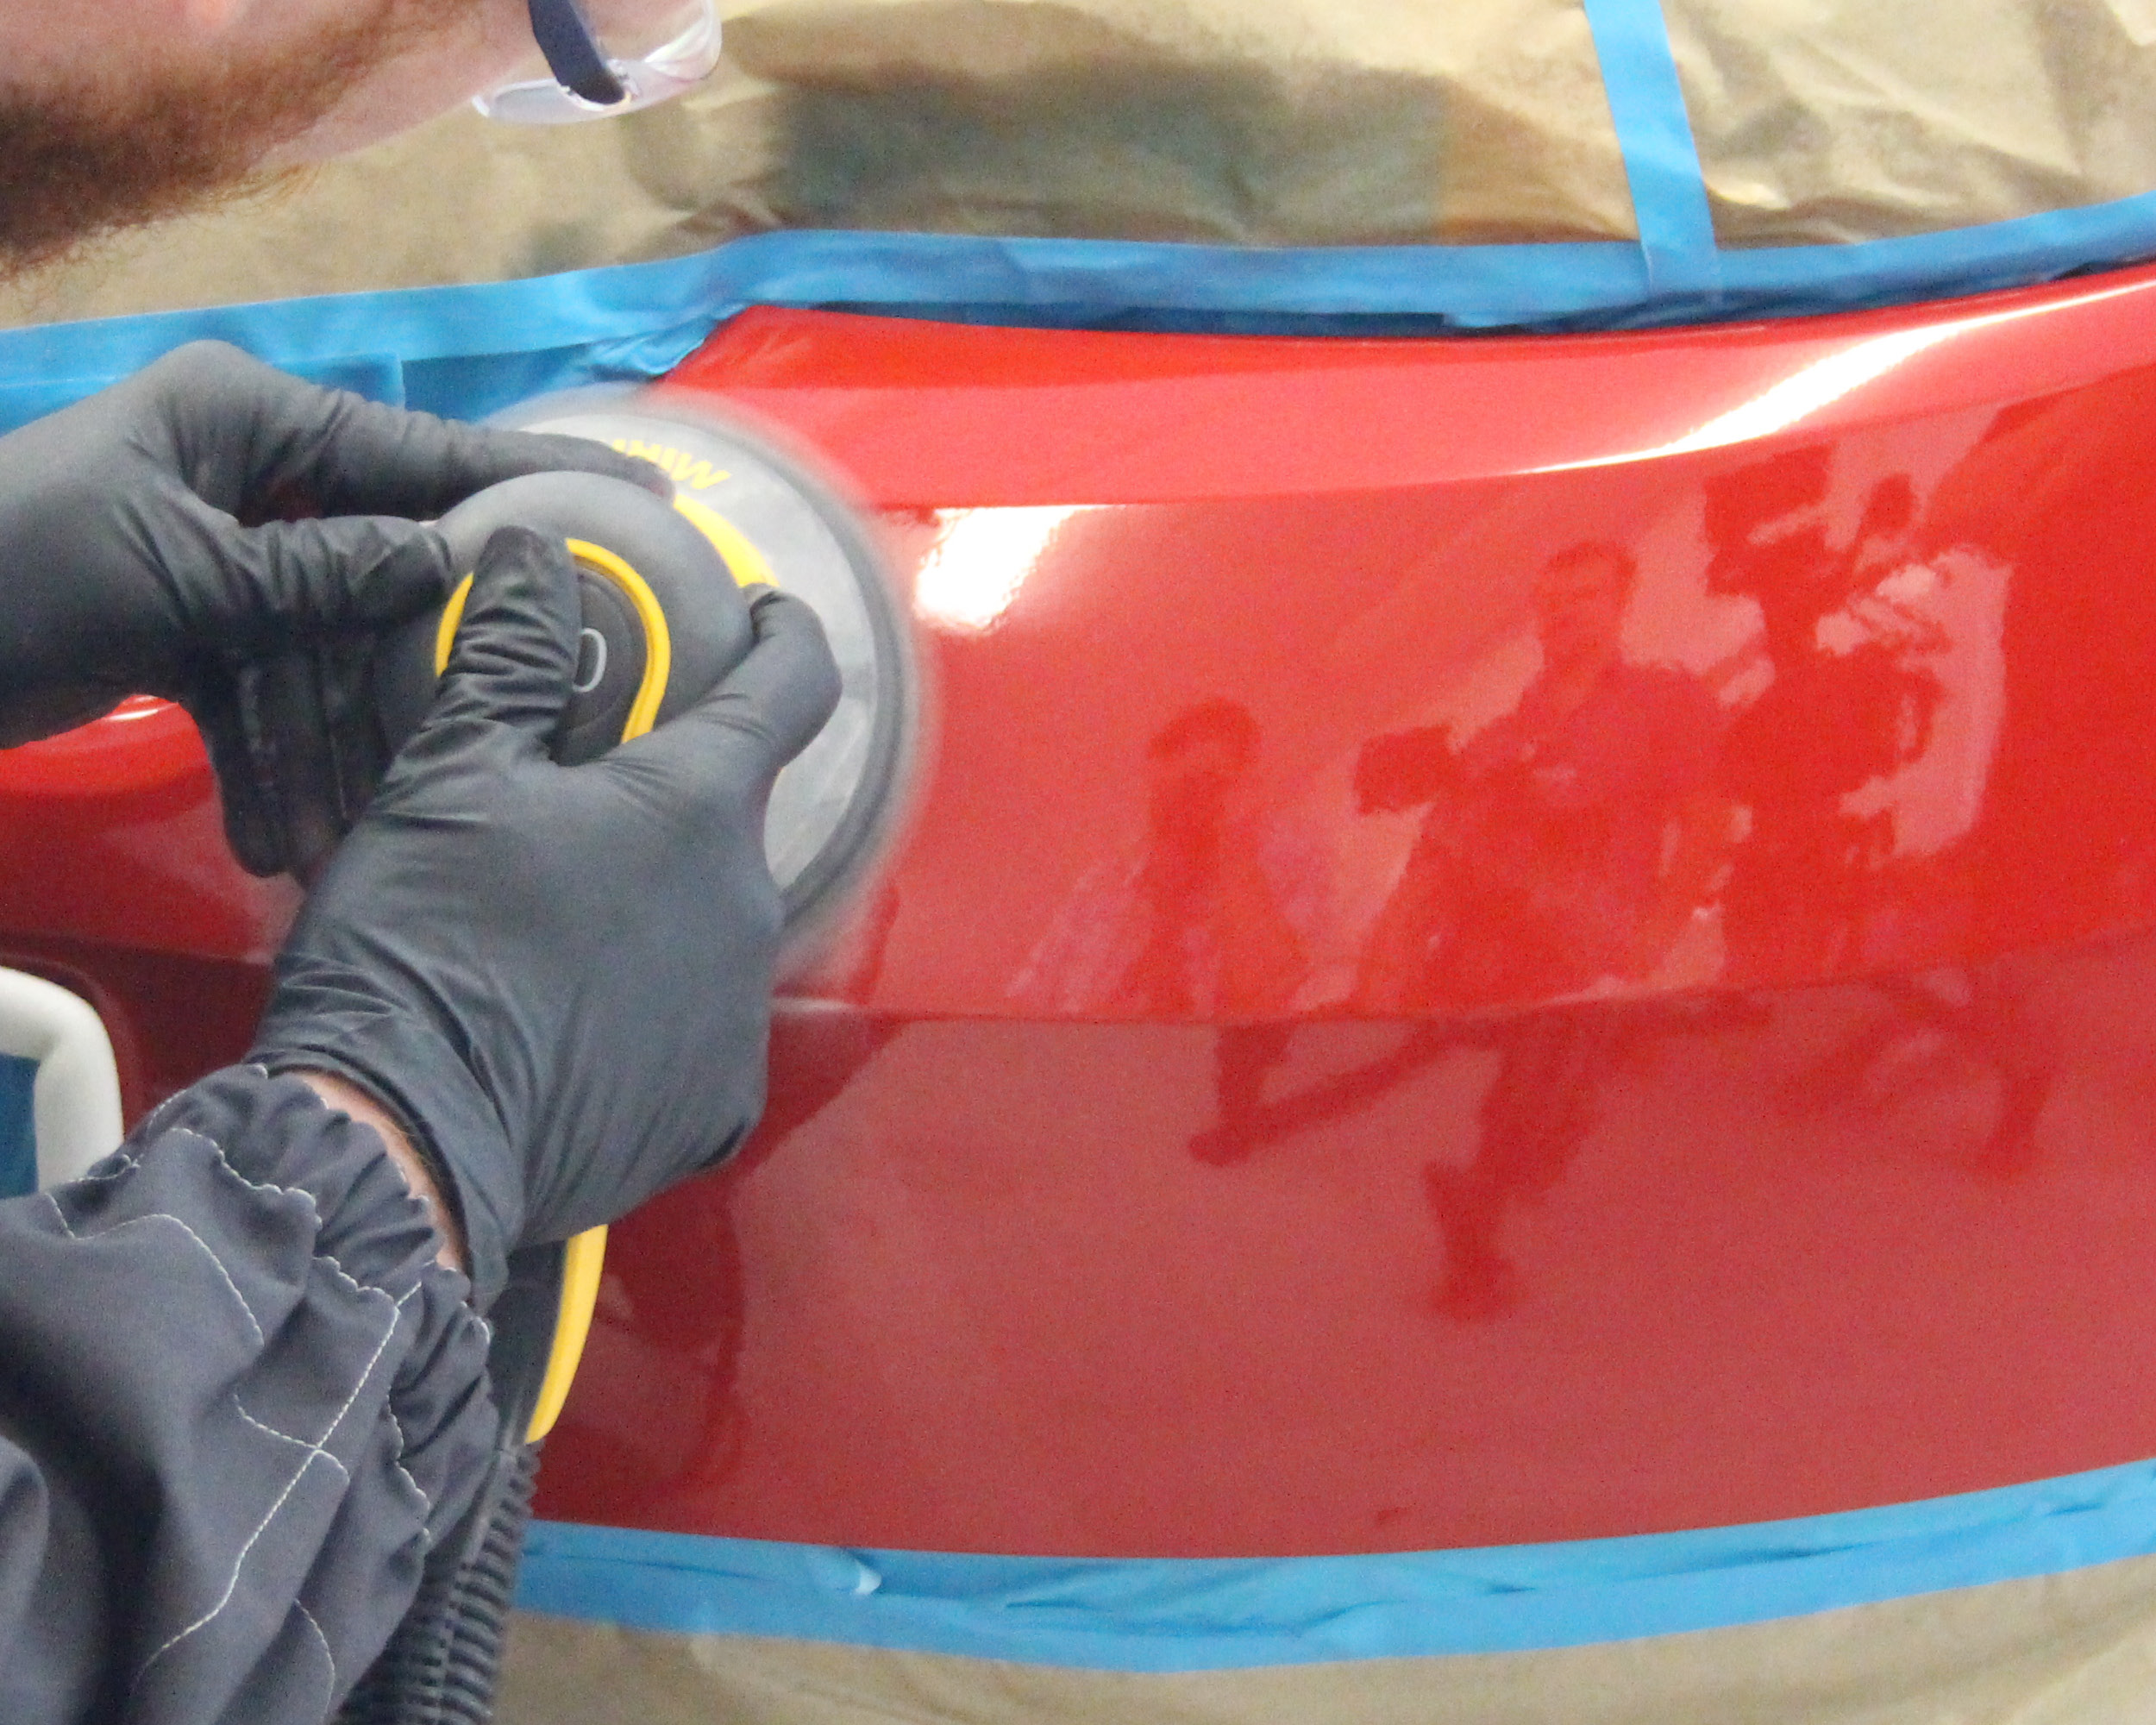
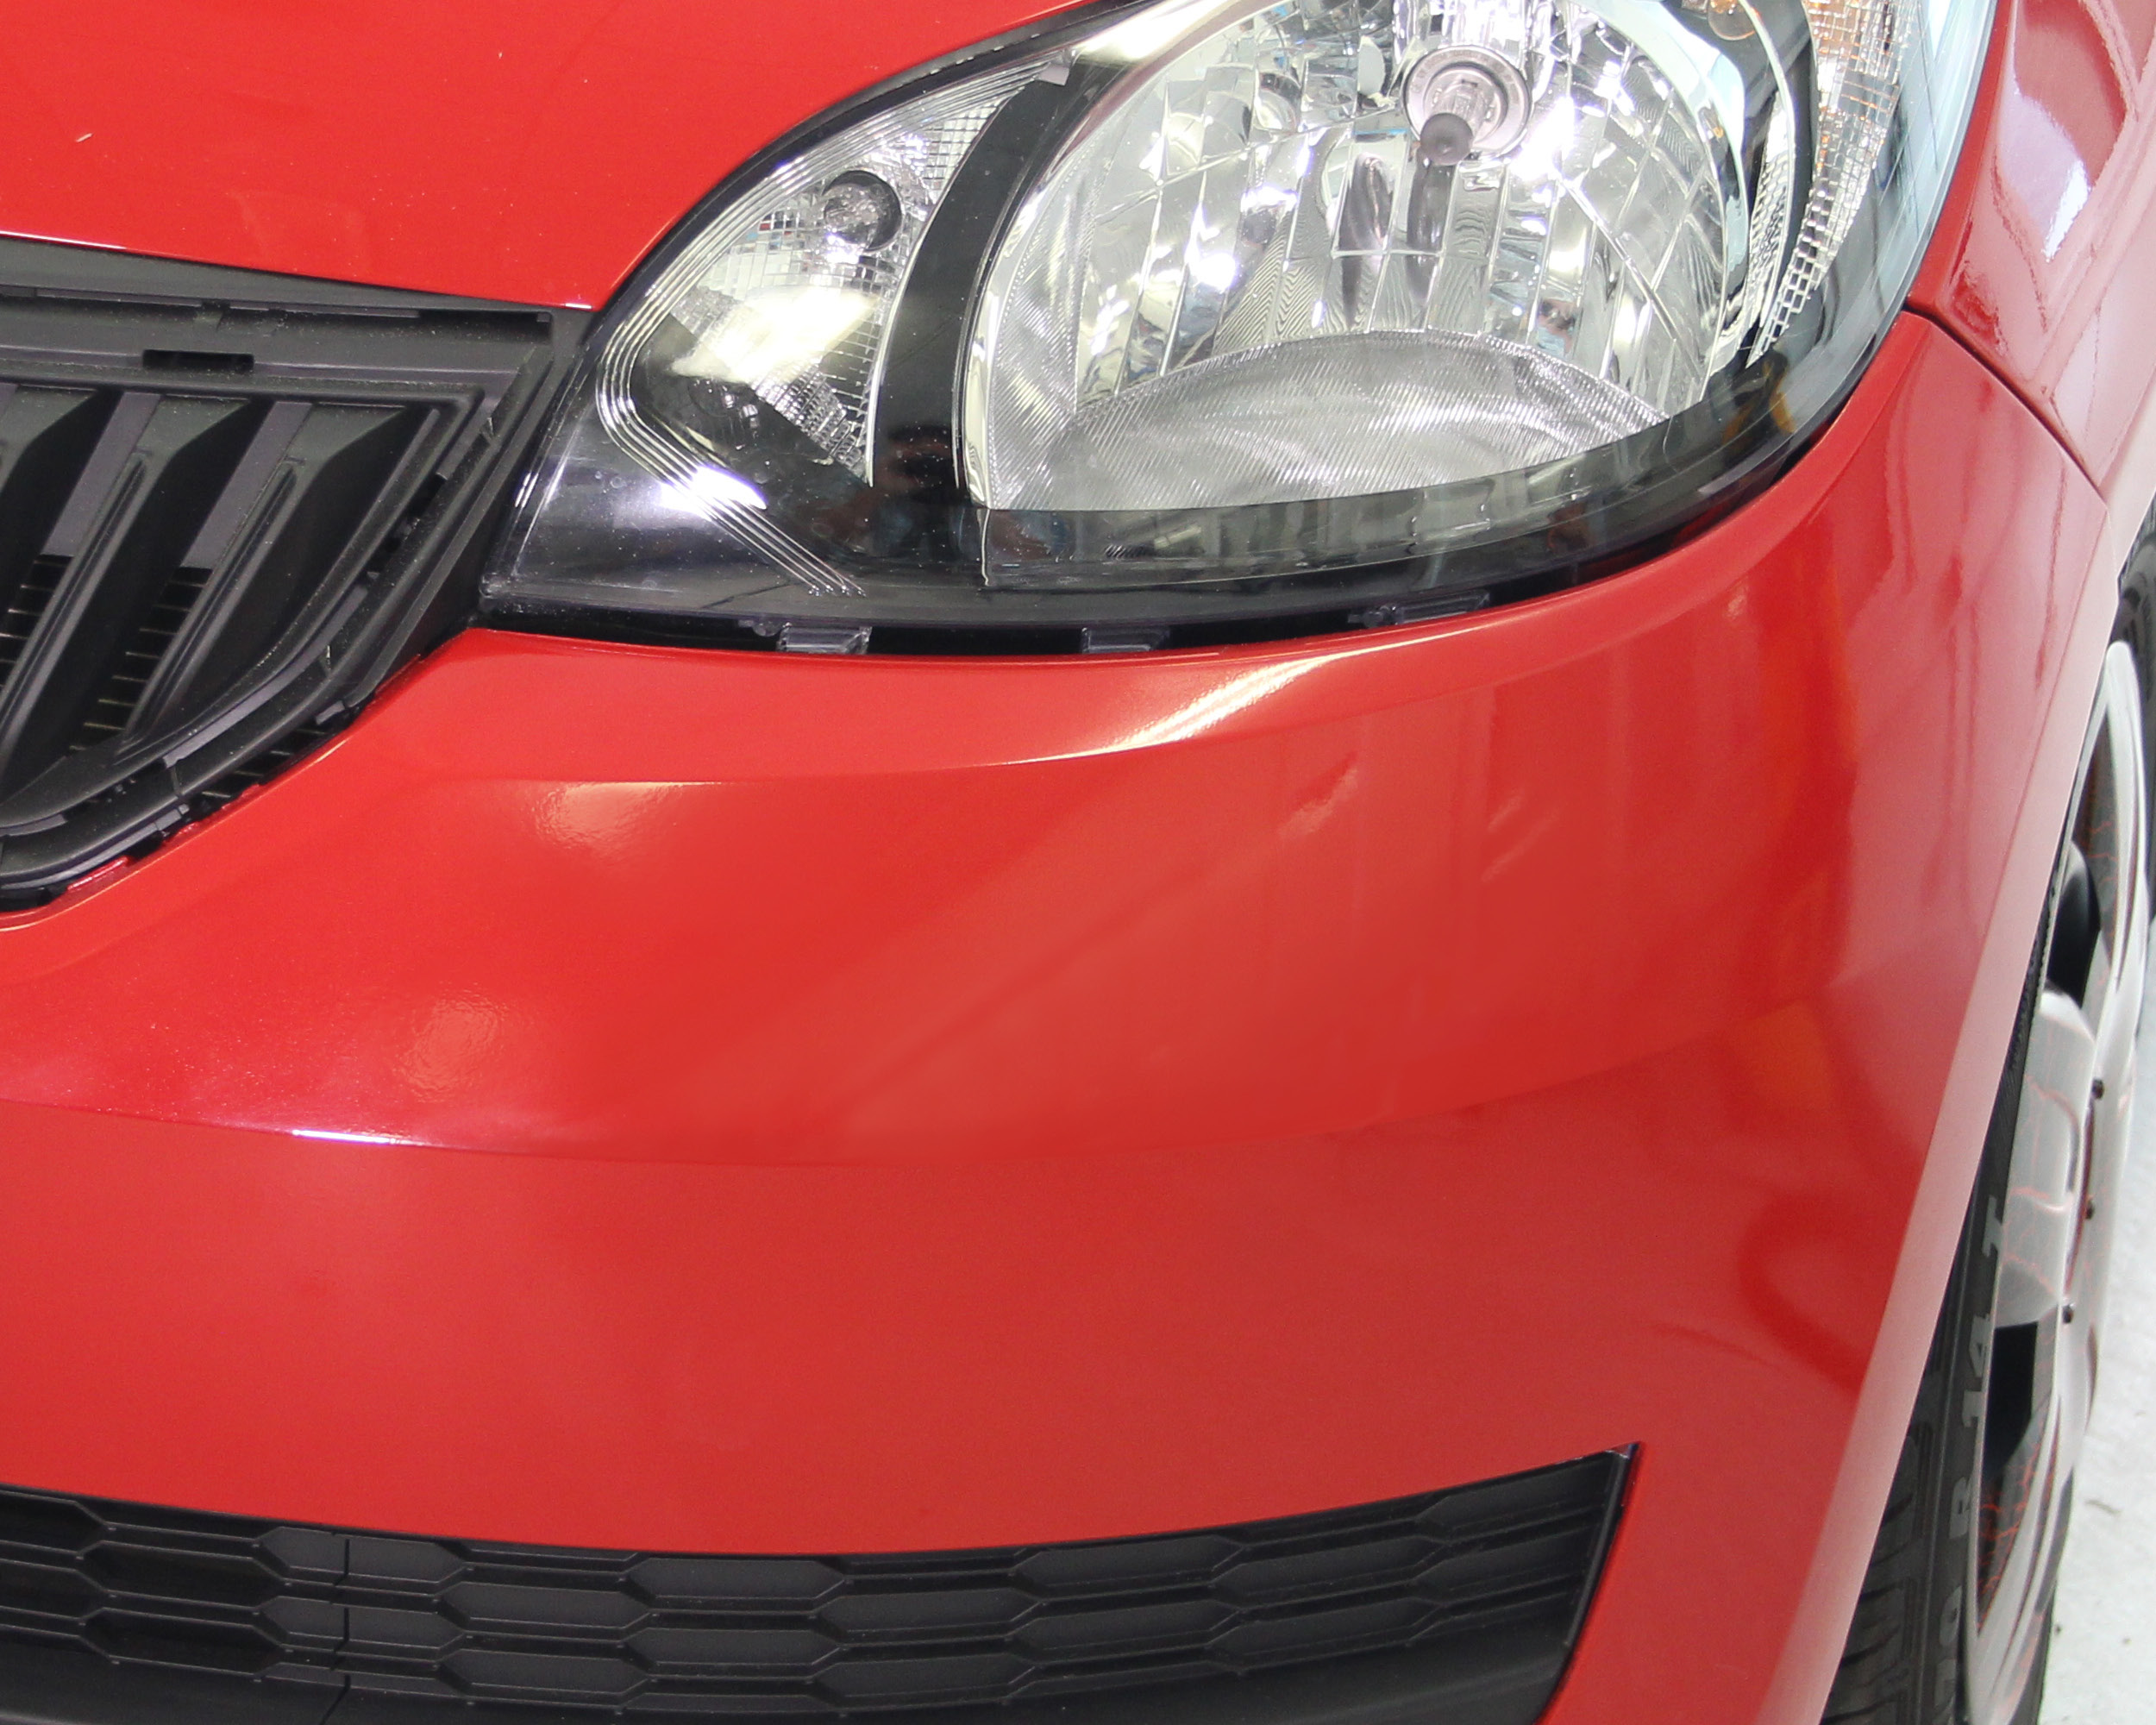
After polishing, finished lacquer repair.
Very efficient, high-yield UV-Filler highly suited for repair paintwork in industrial or trade situations.
SprayMax UV paint repair is a harmonised ...
UV Clearcoat for fast and long-term sealing of repairs and new paintwork. We recommend the use of UV-A lamps 400 Watt with lamps H400/PE - Cures at a ...
The UV Blender Thinner is a special product for homogenous paint edges in combination with SprayMax UV Clearcoat 680 059.
SprayMax-UV Paint Repair is ...