Surface Preparation
Primer / Primer Filler
Body filler
Fillers
Fill In/ FillClean® cans
Top Coats
Clear Coats and Spot Blender
Accessories
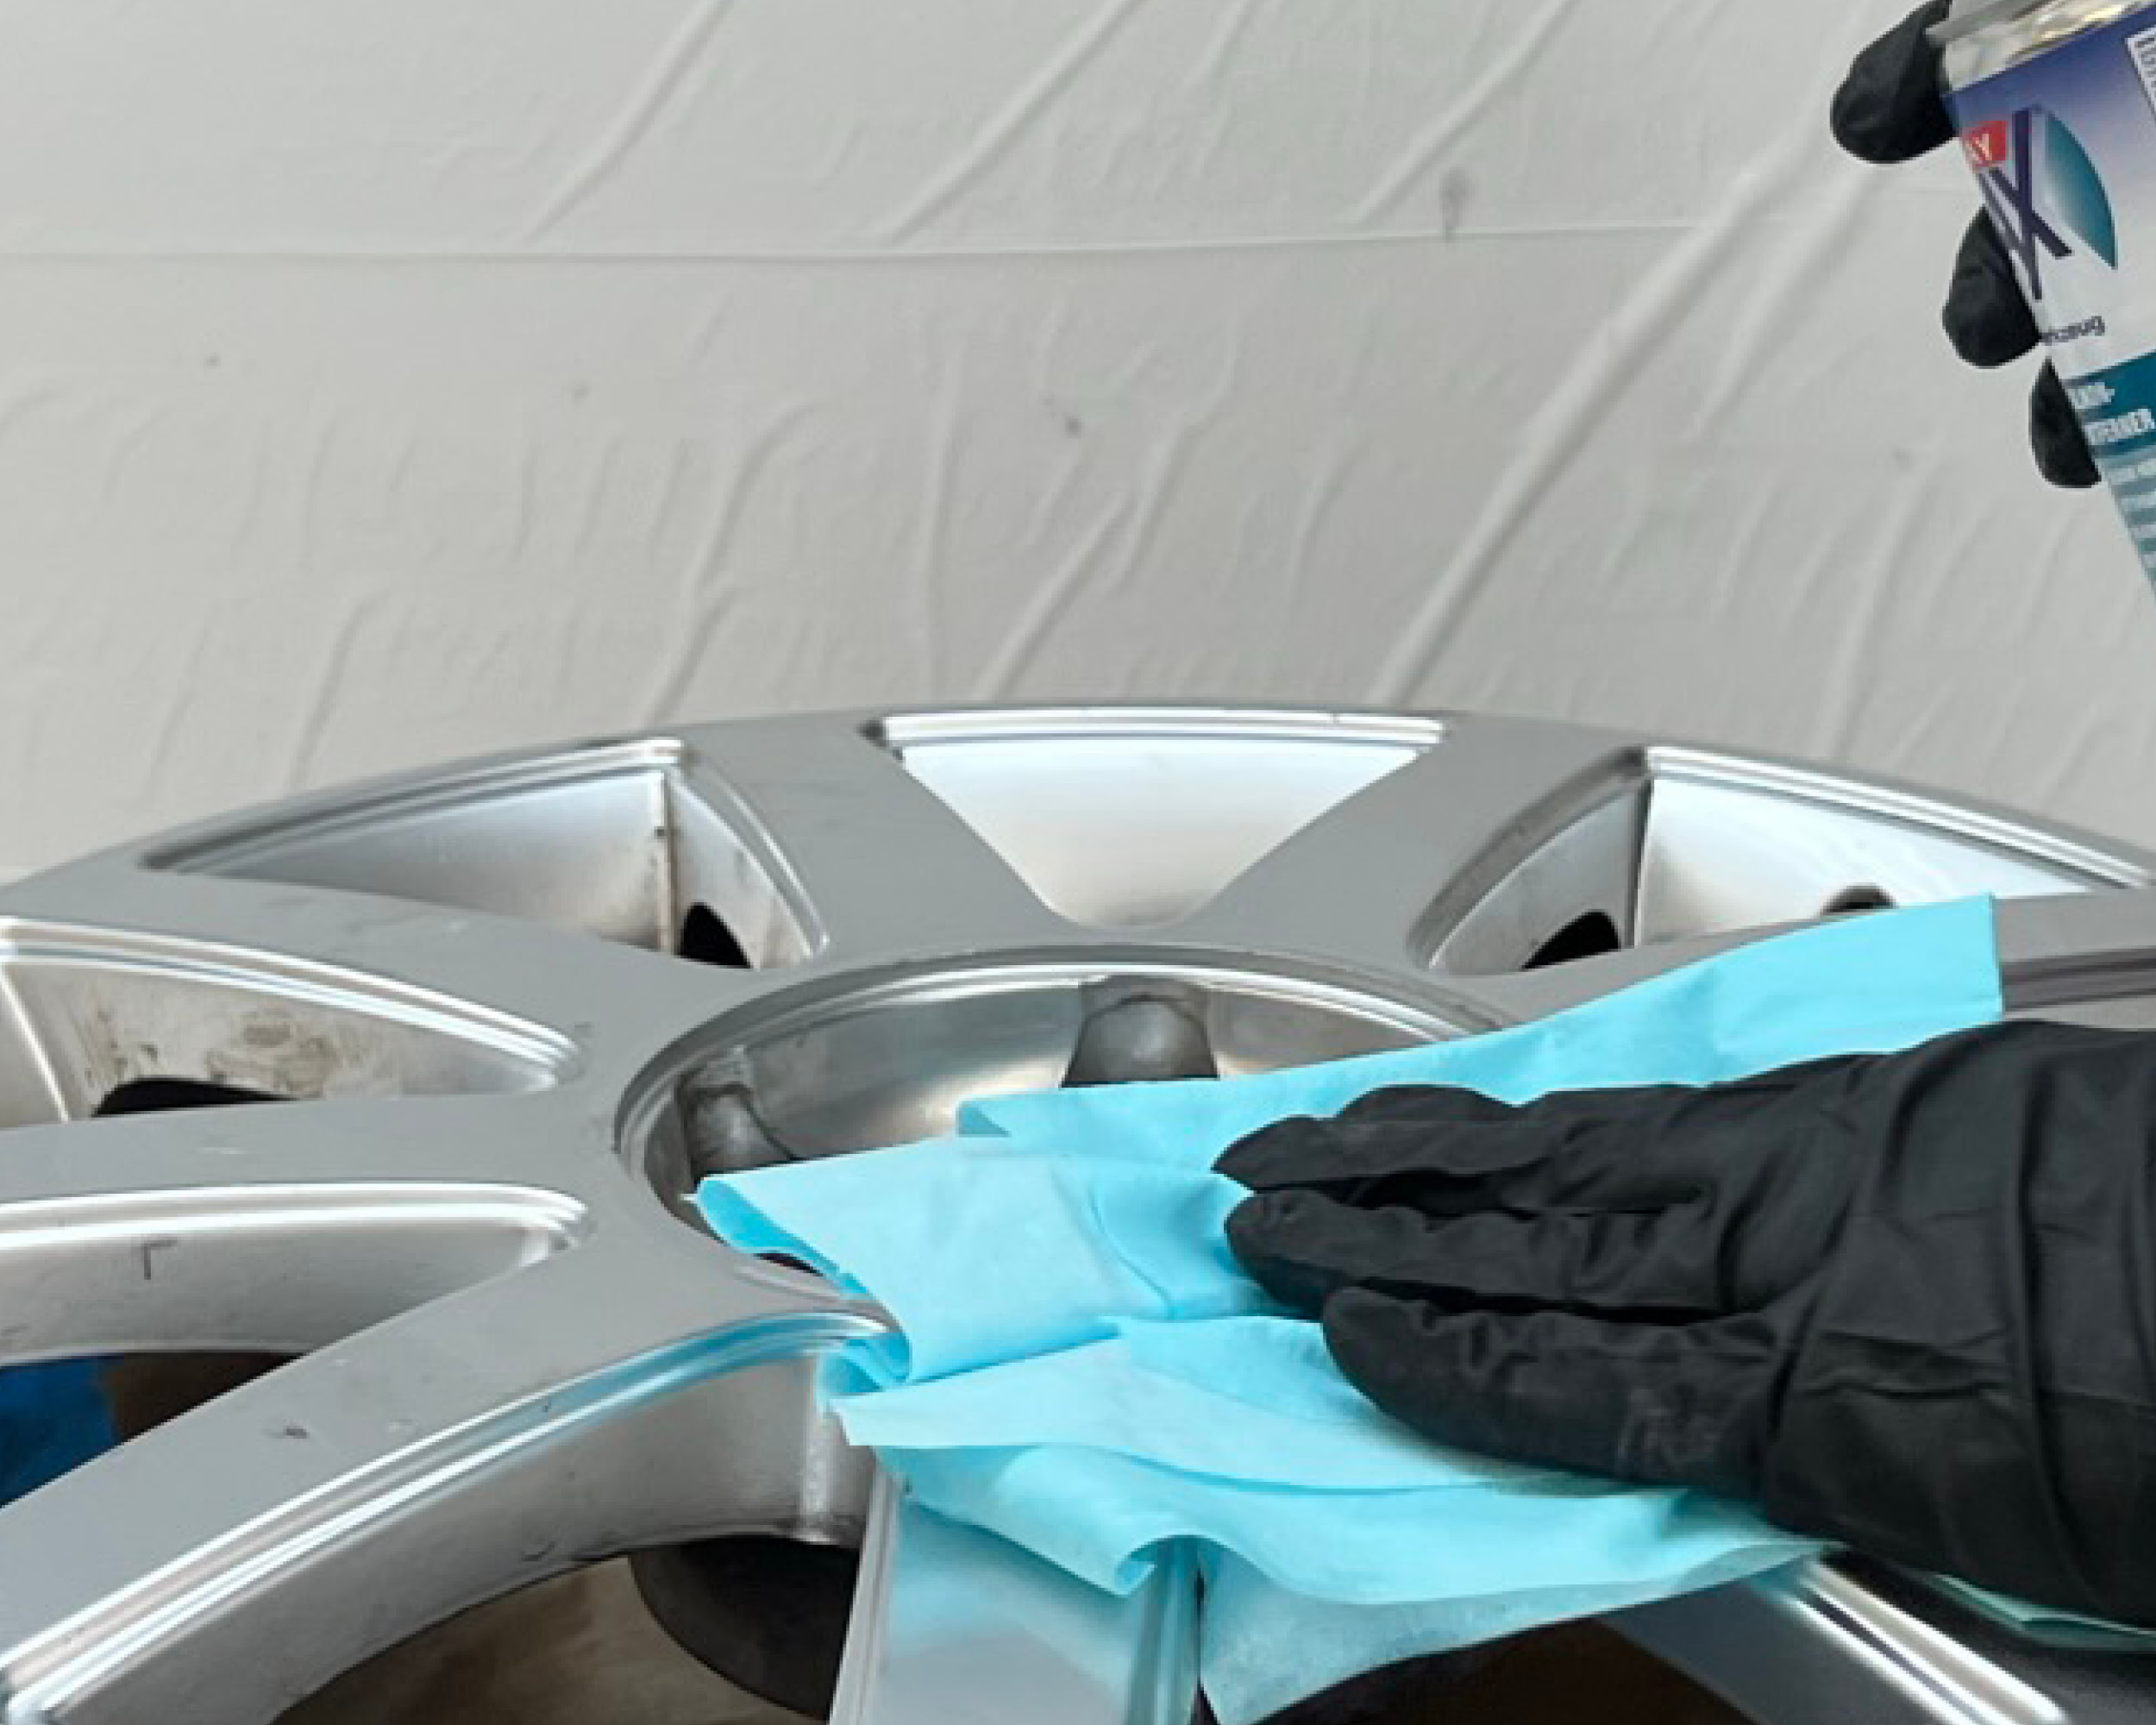
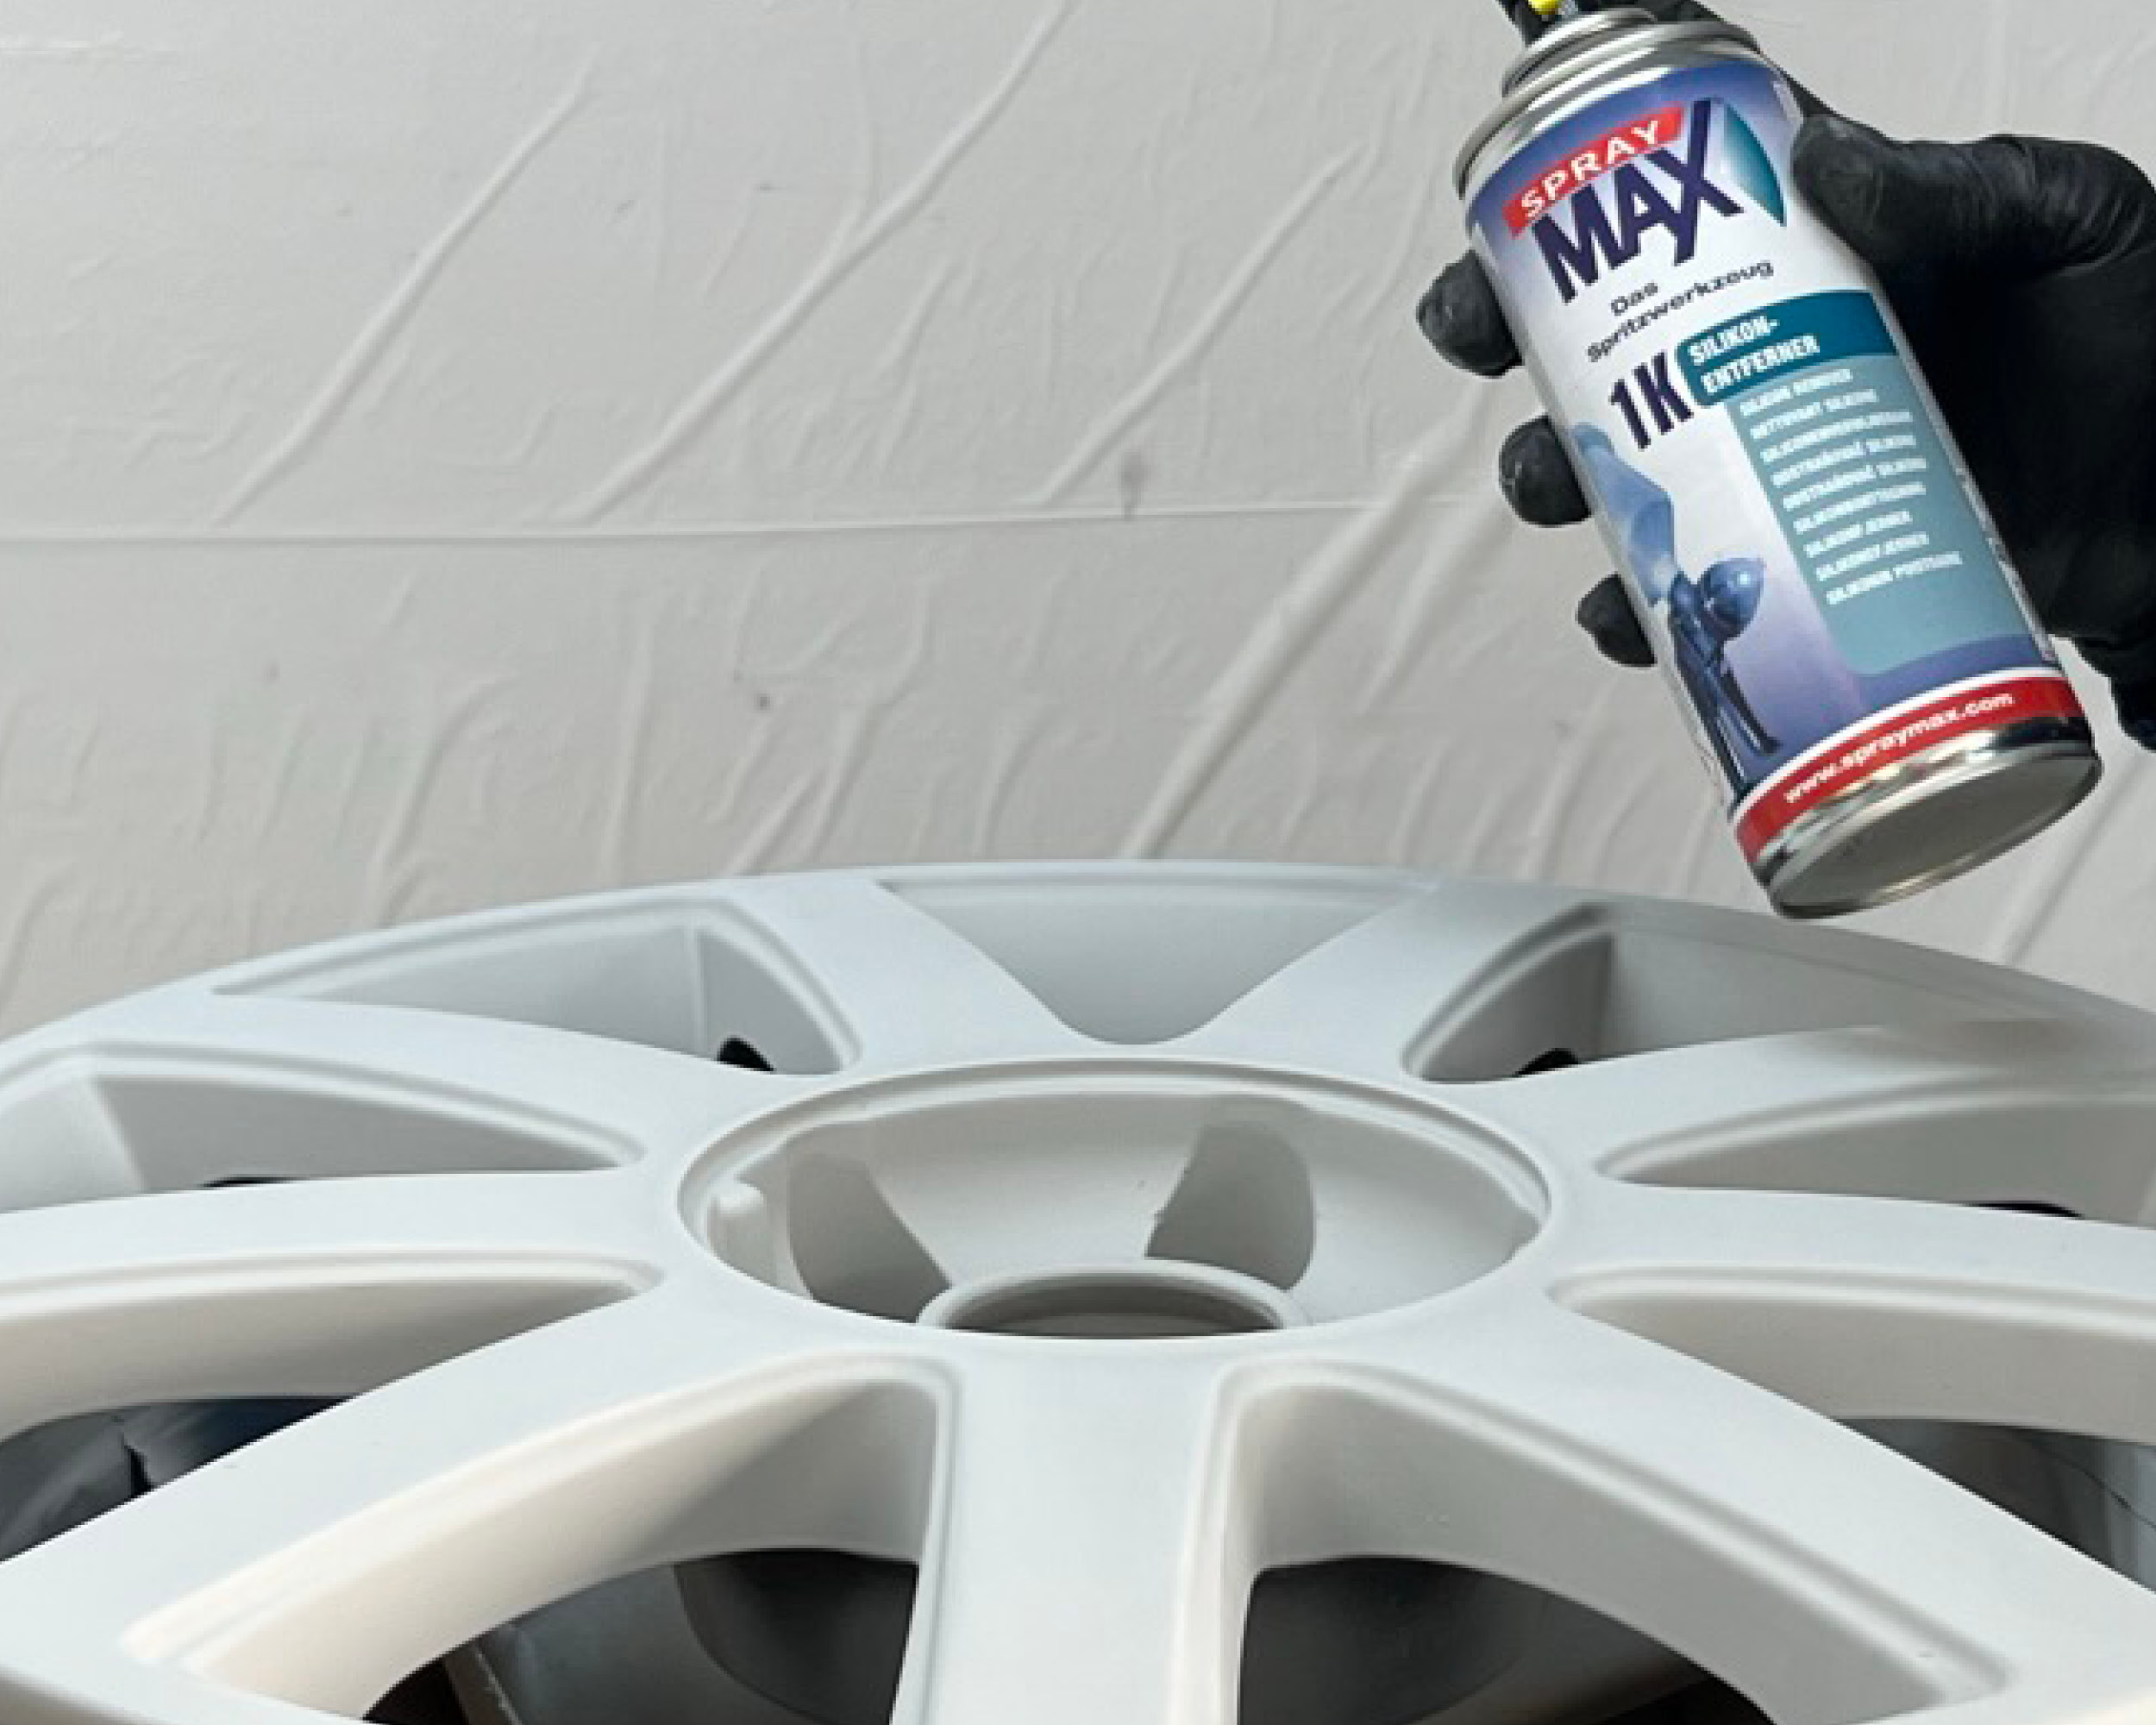
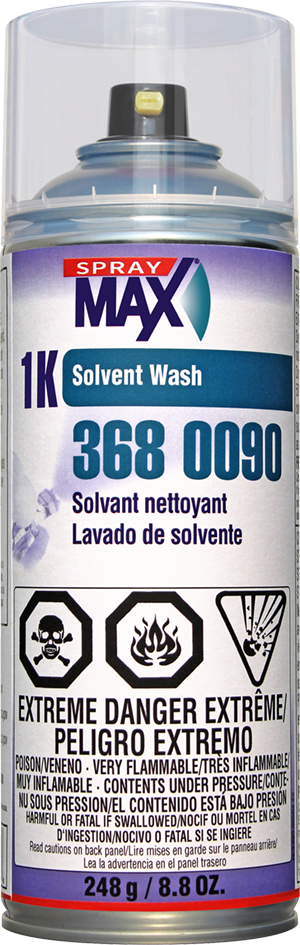
Clean rim with Solvent Wash 3680090.
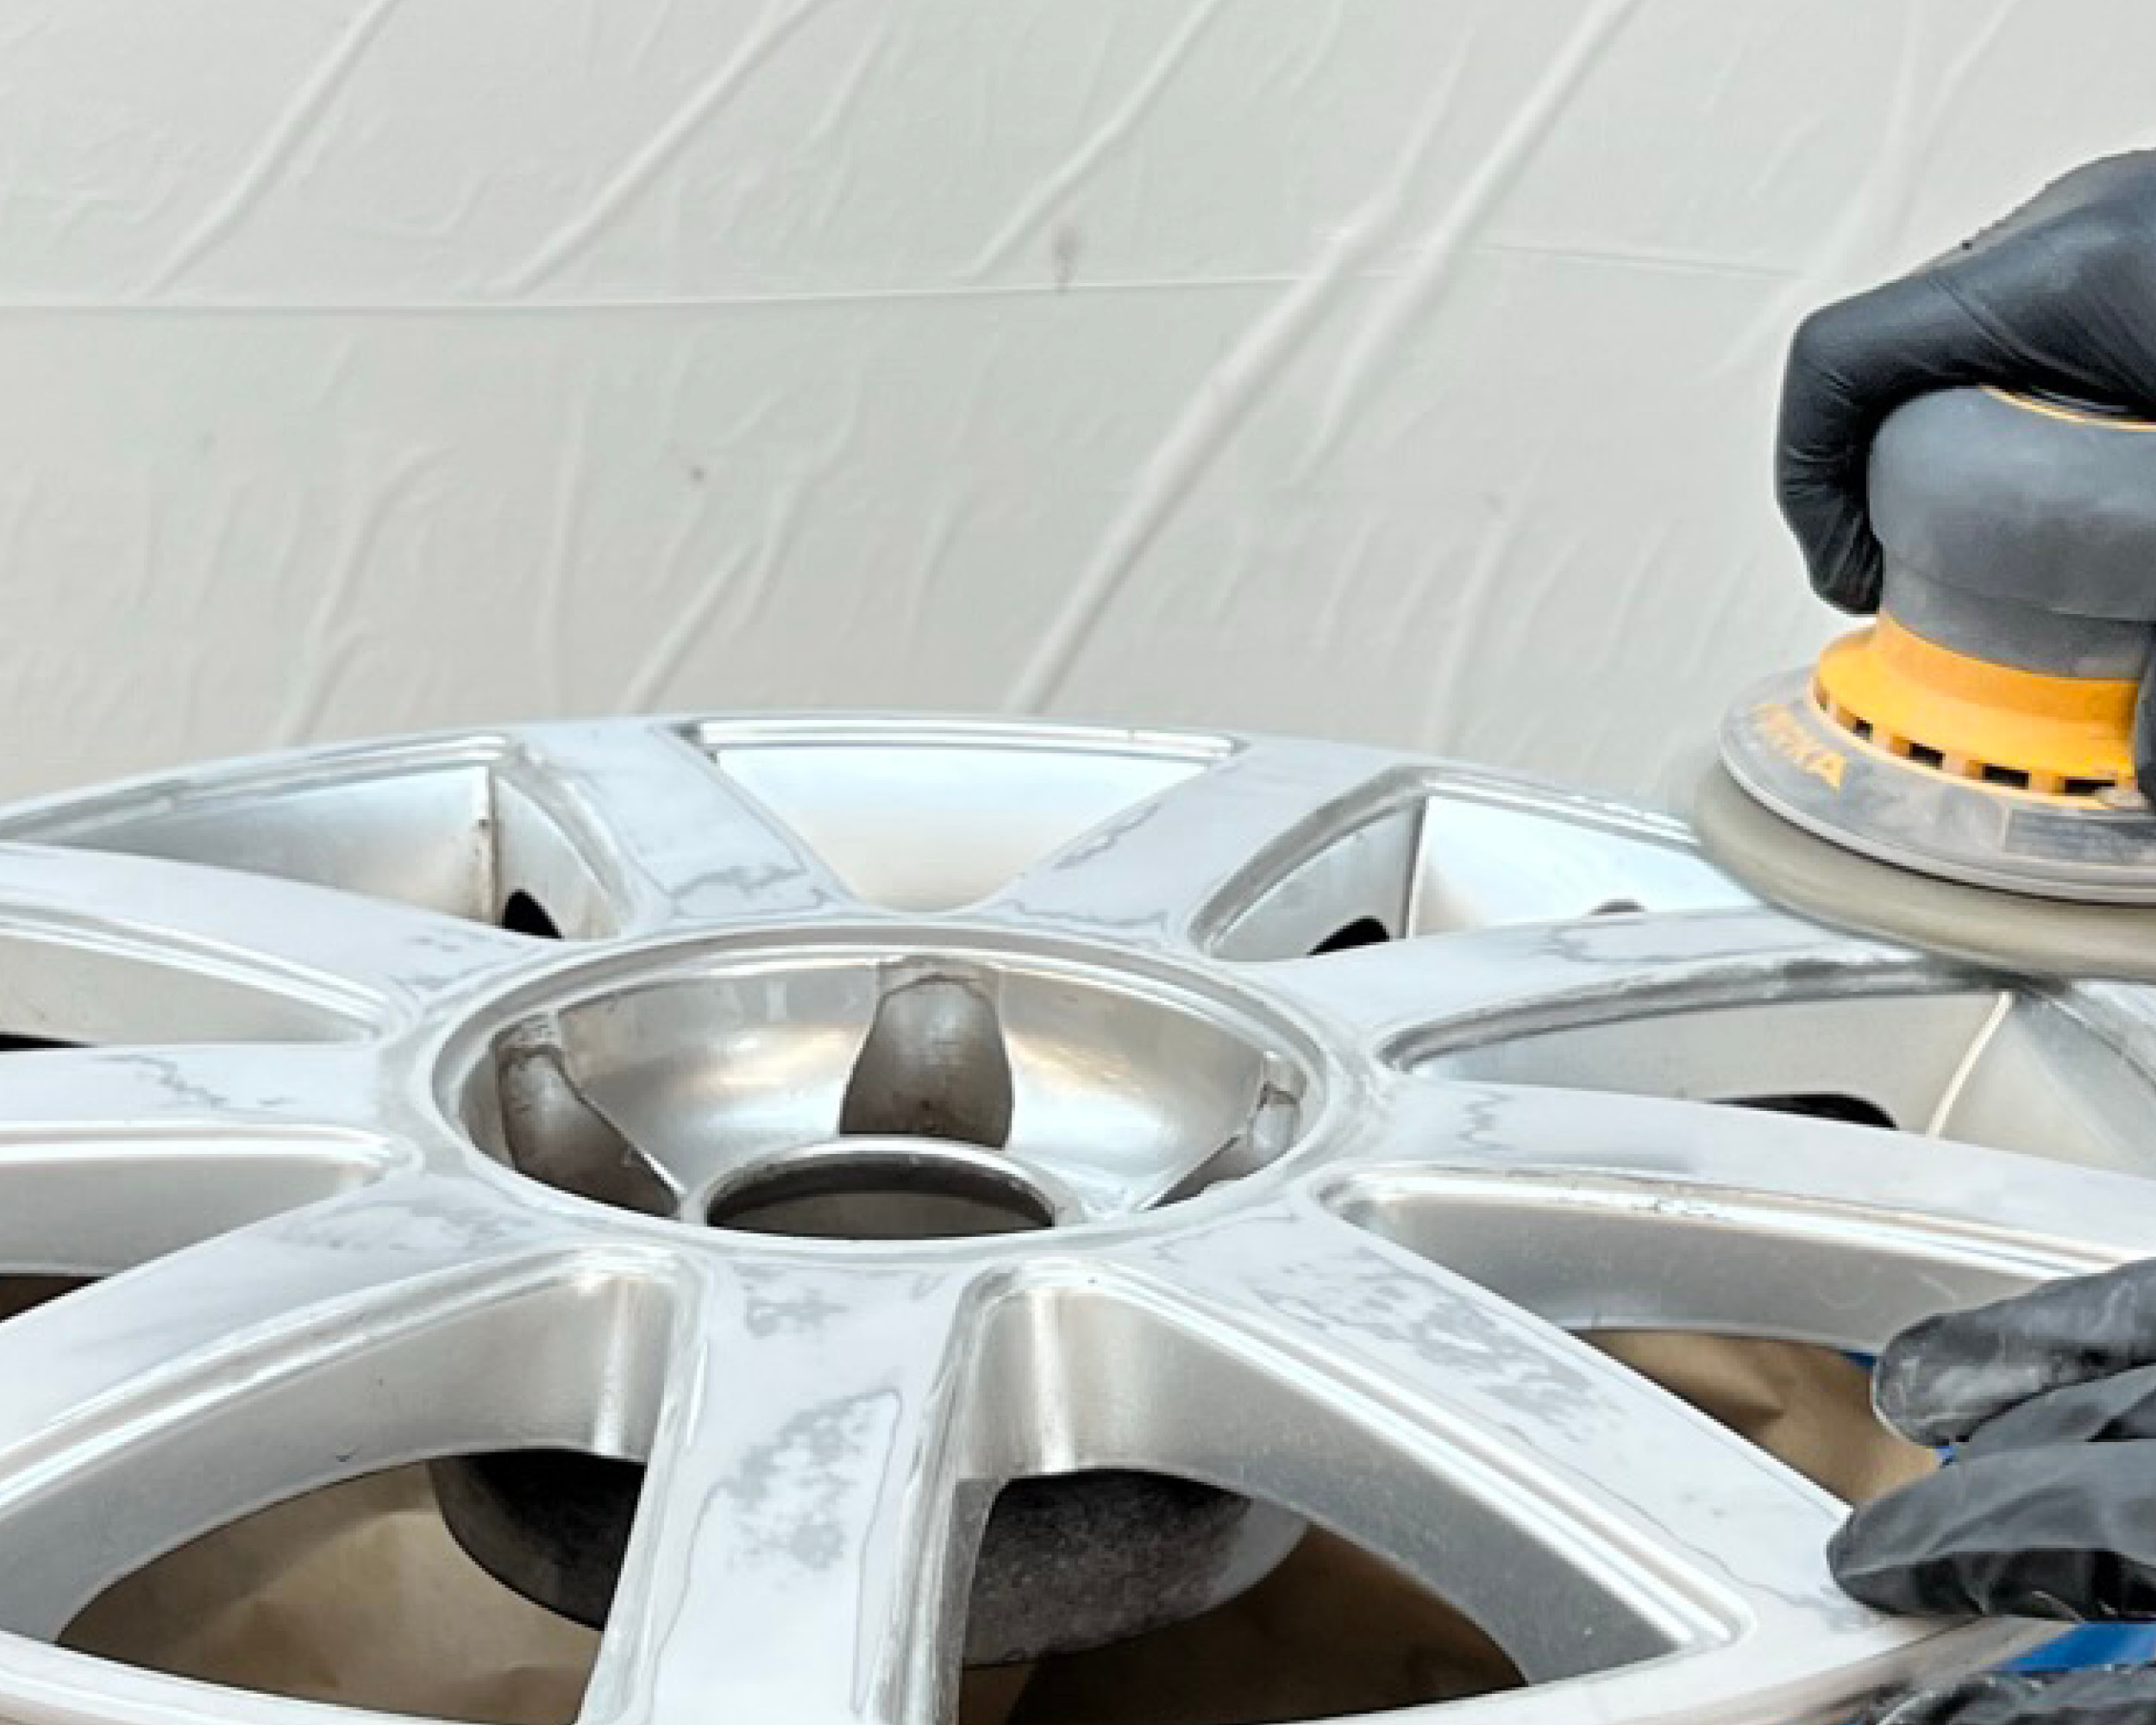
Machine or hand sand with P320.
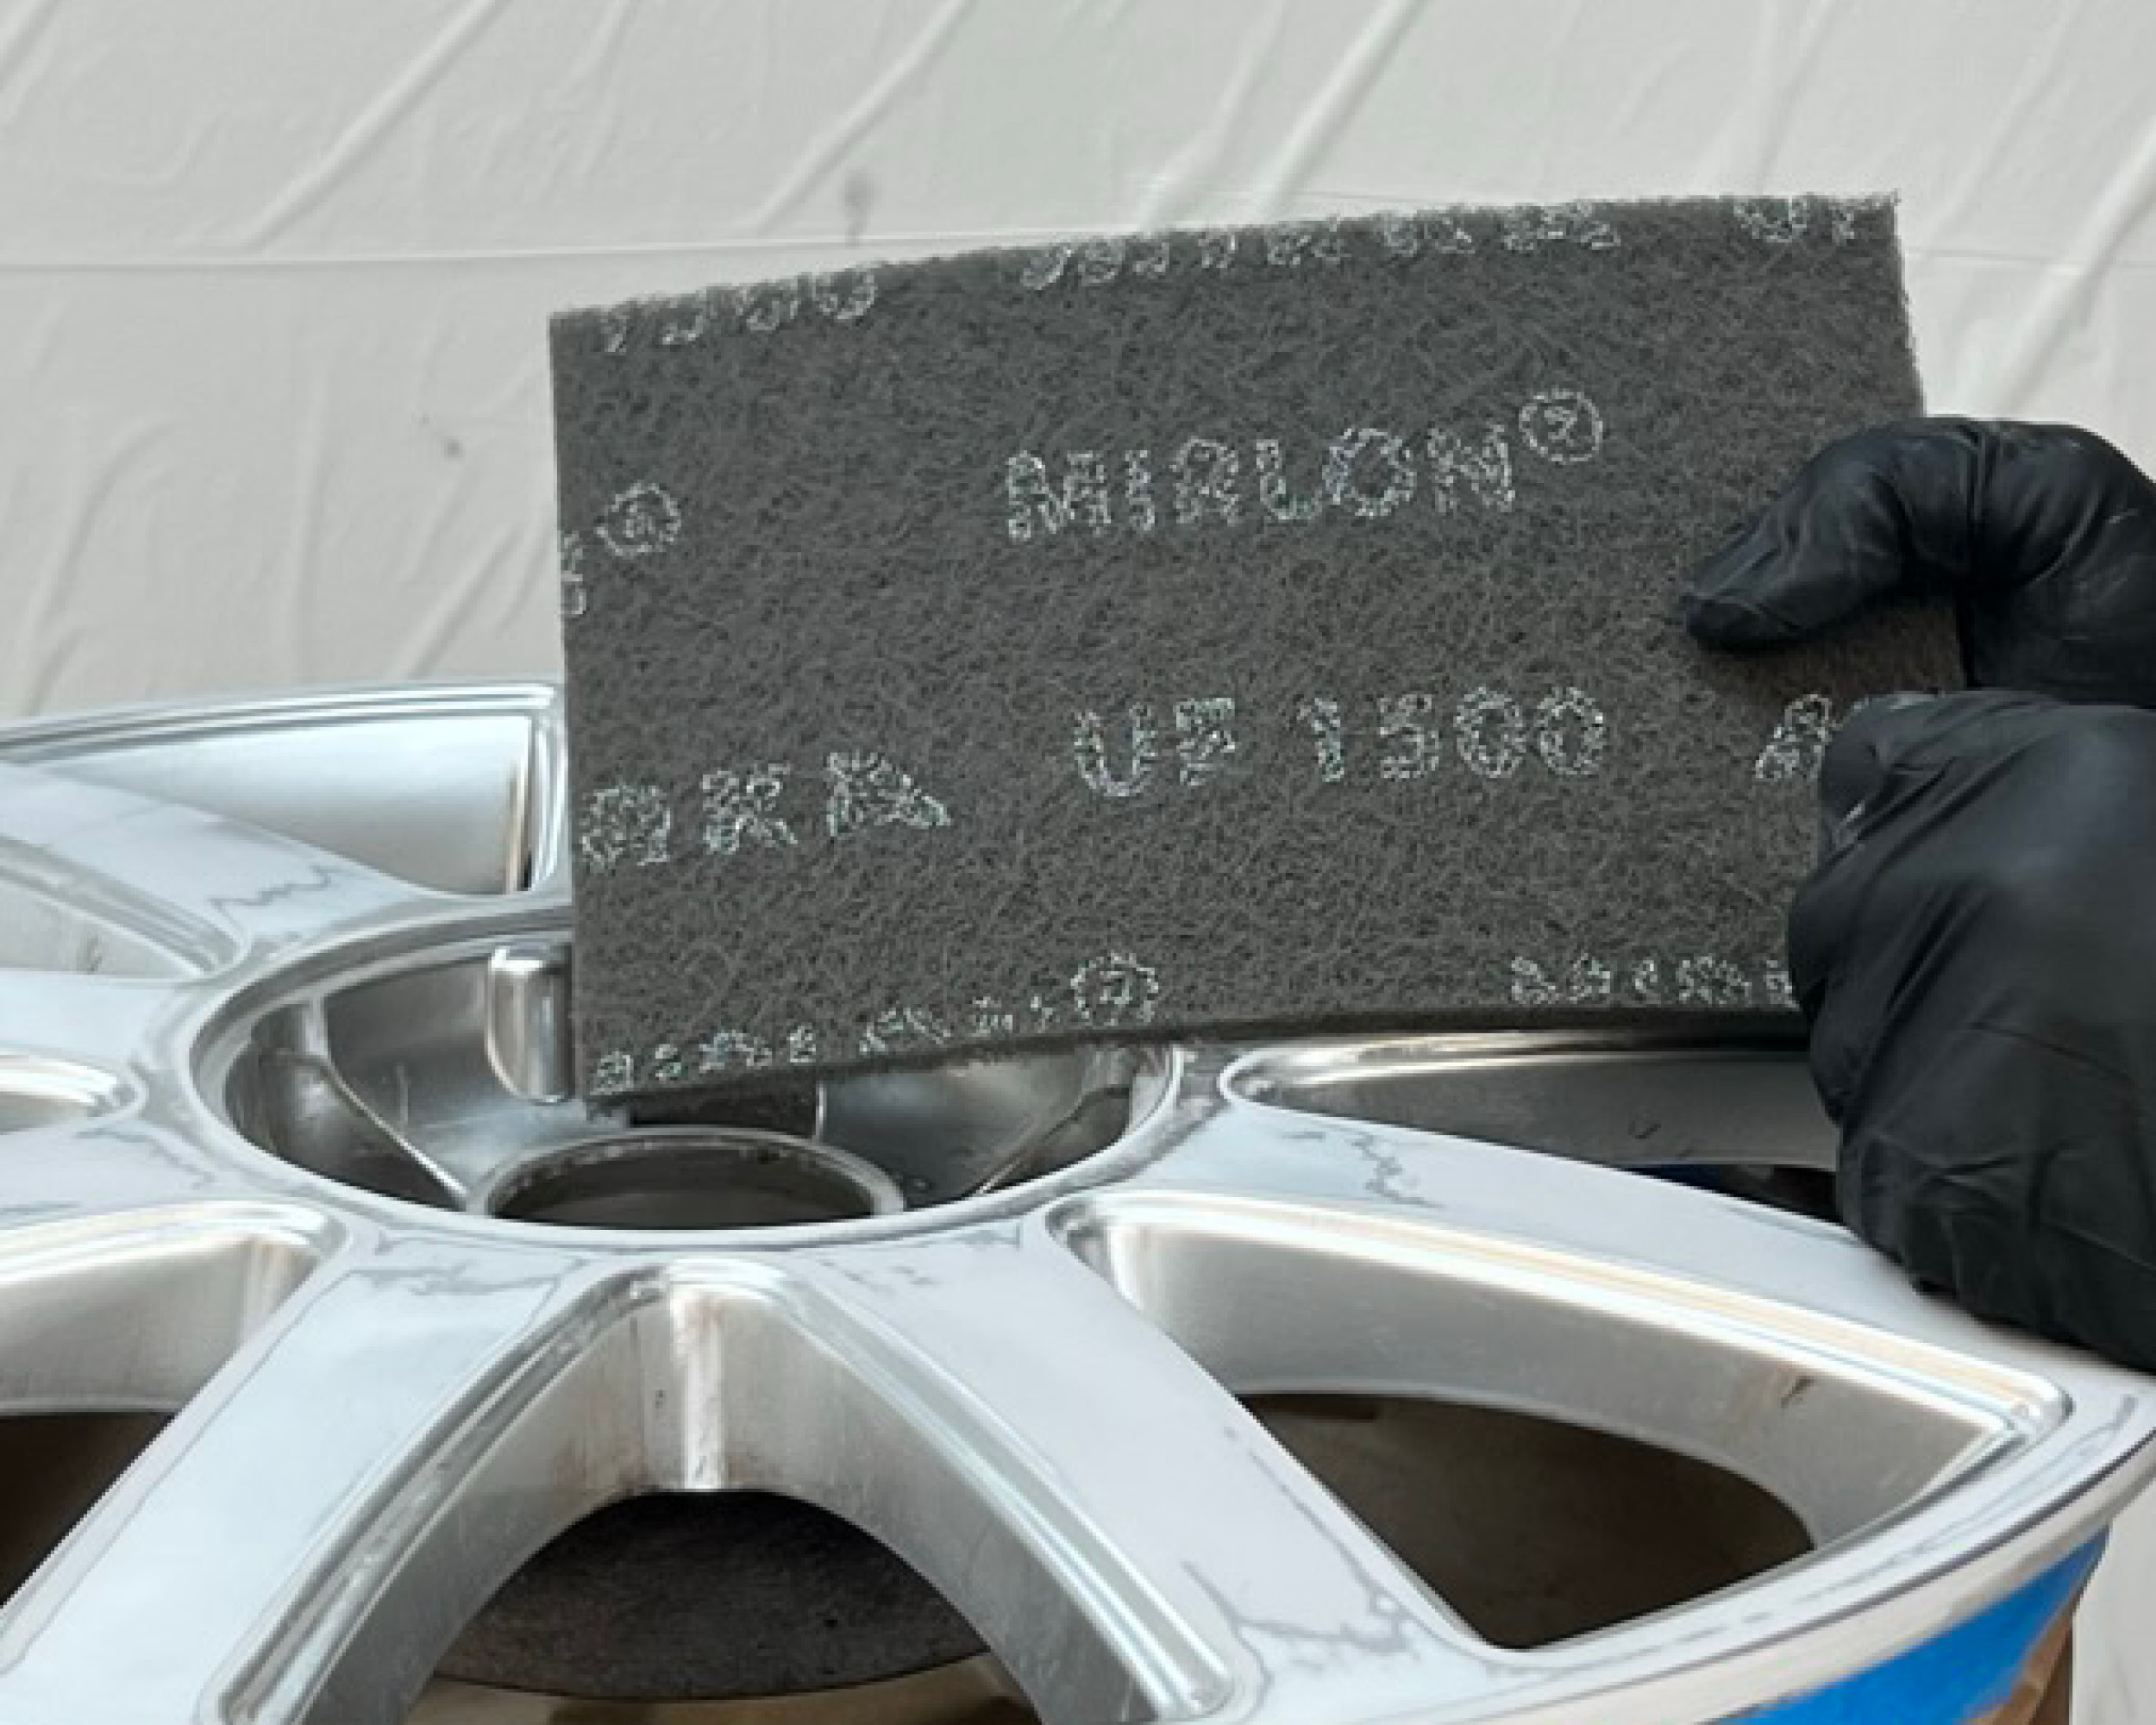
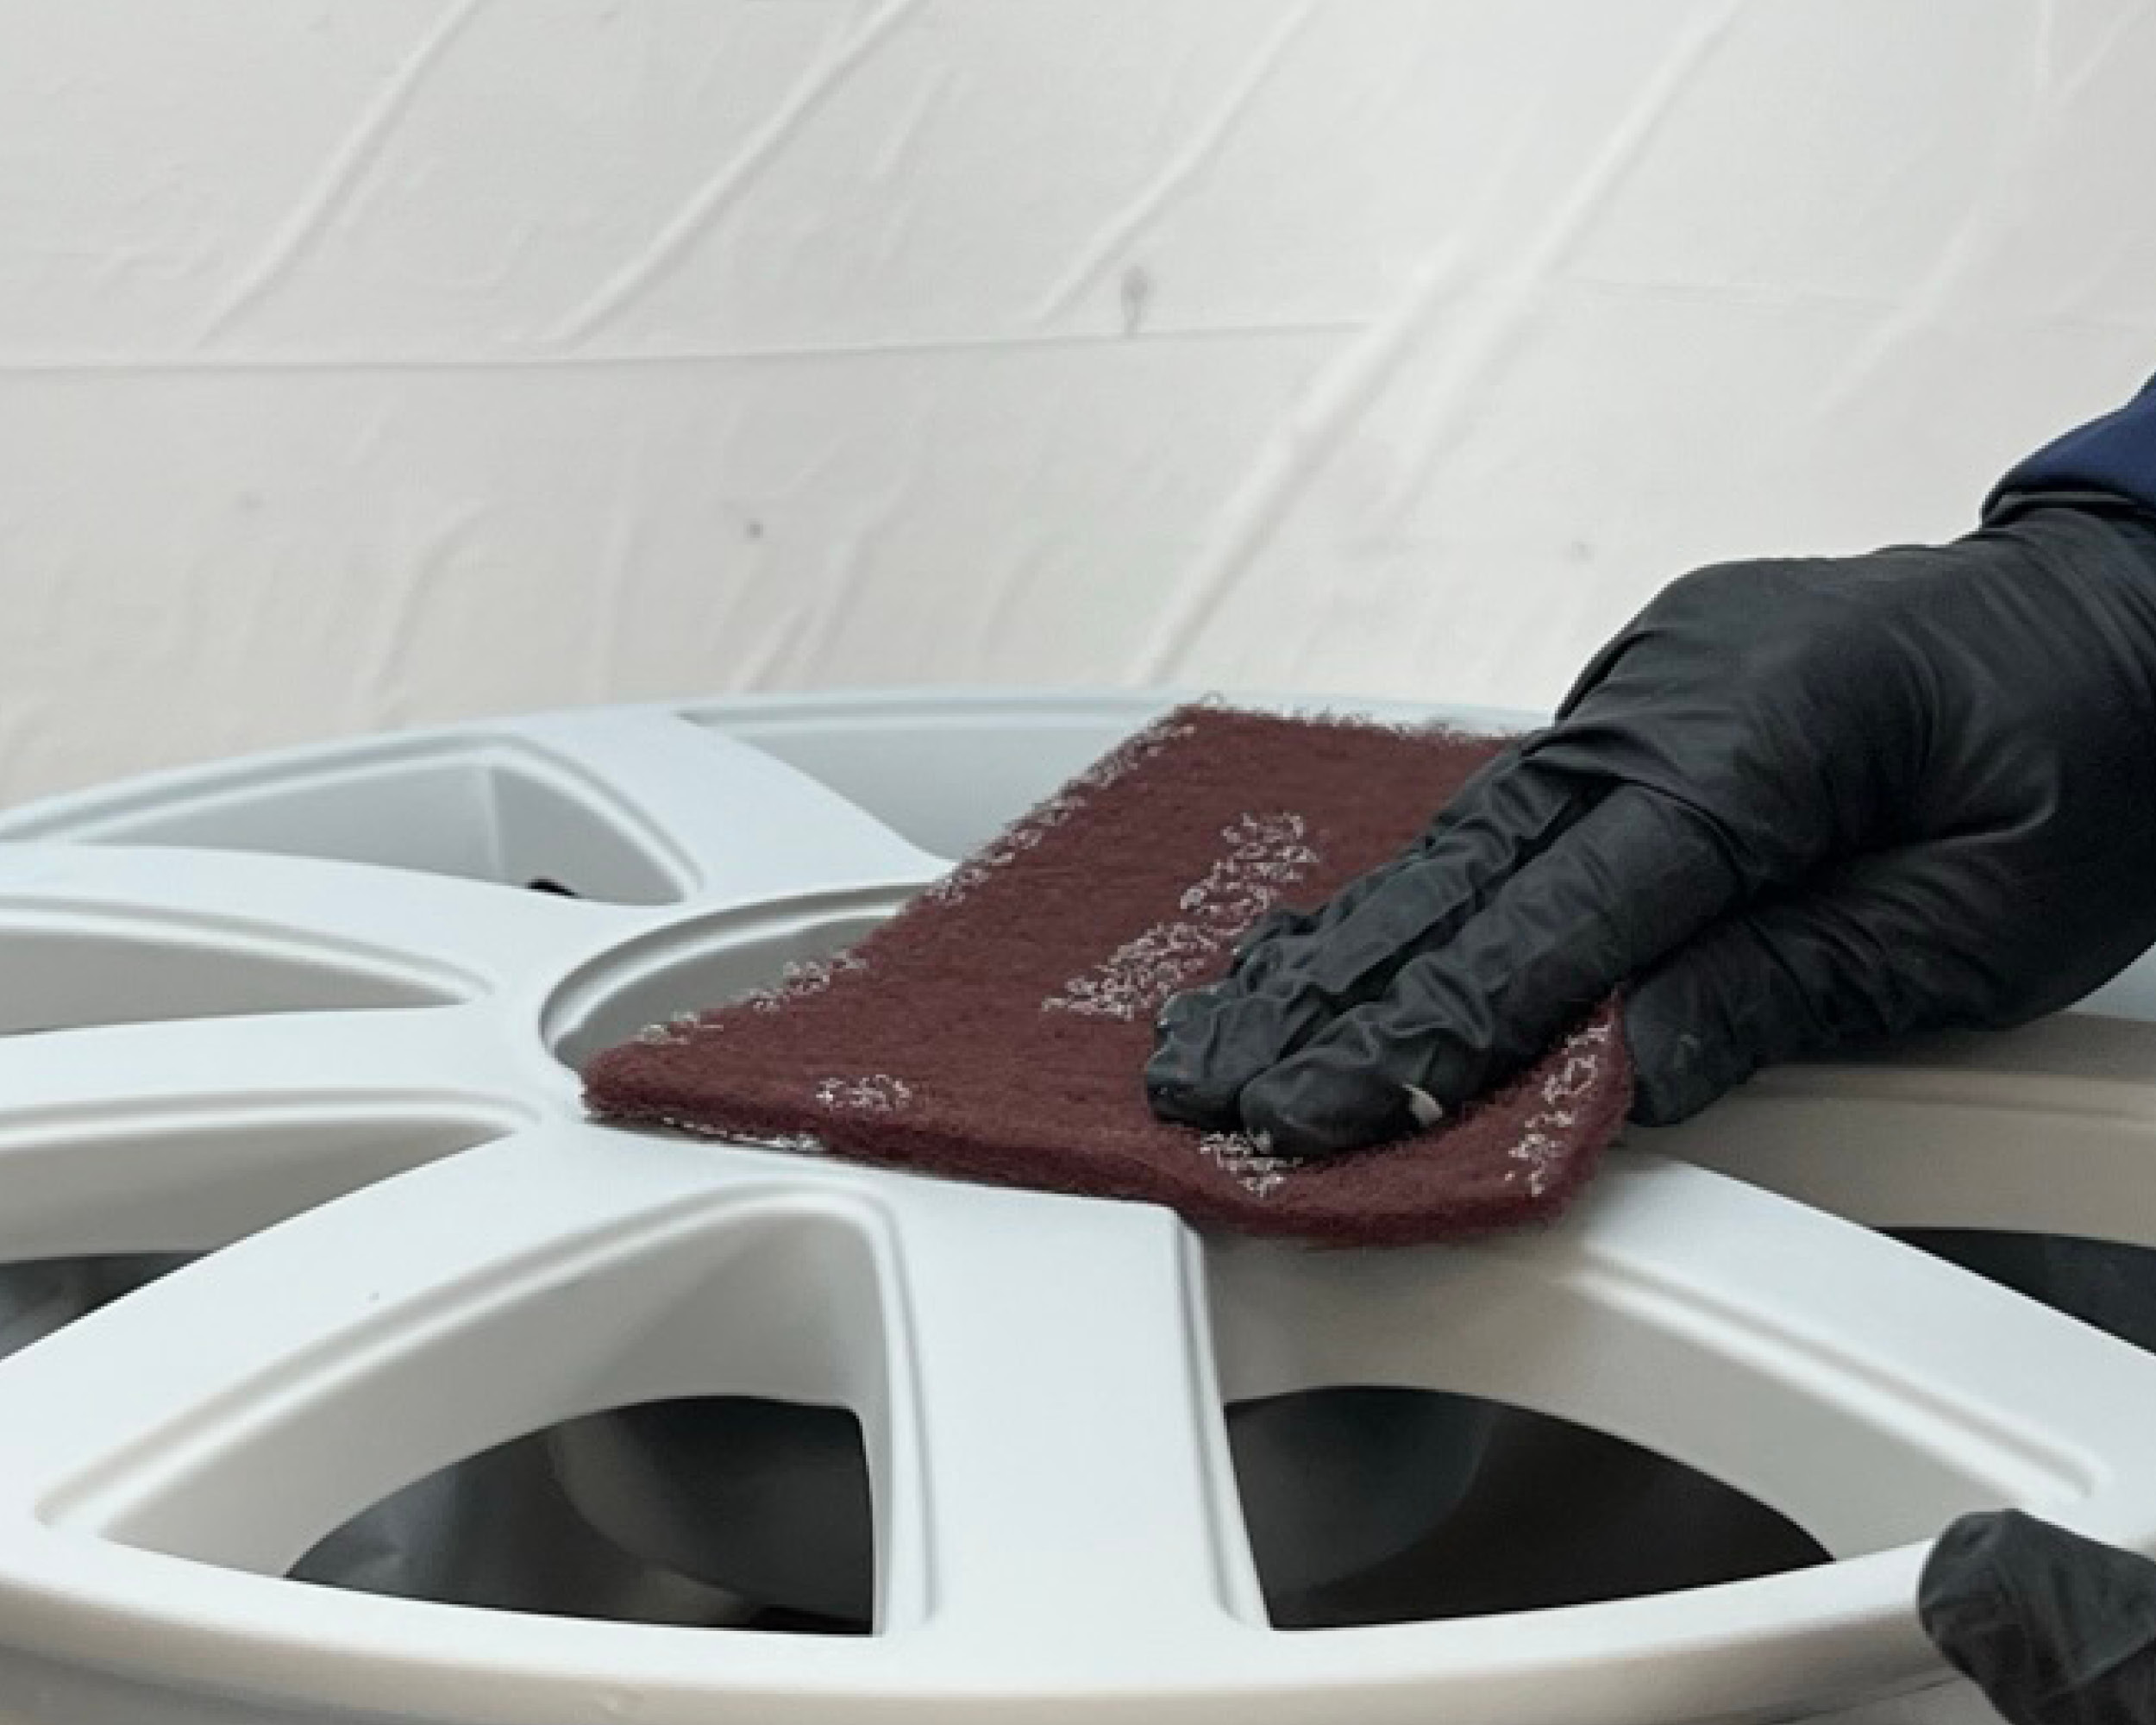
Scuff with a pad by hand.
Clean and wipe dry with Solvent Wash 3680090 after use a dust cloth to remove any remaining dust.
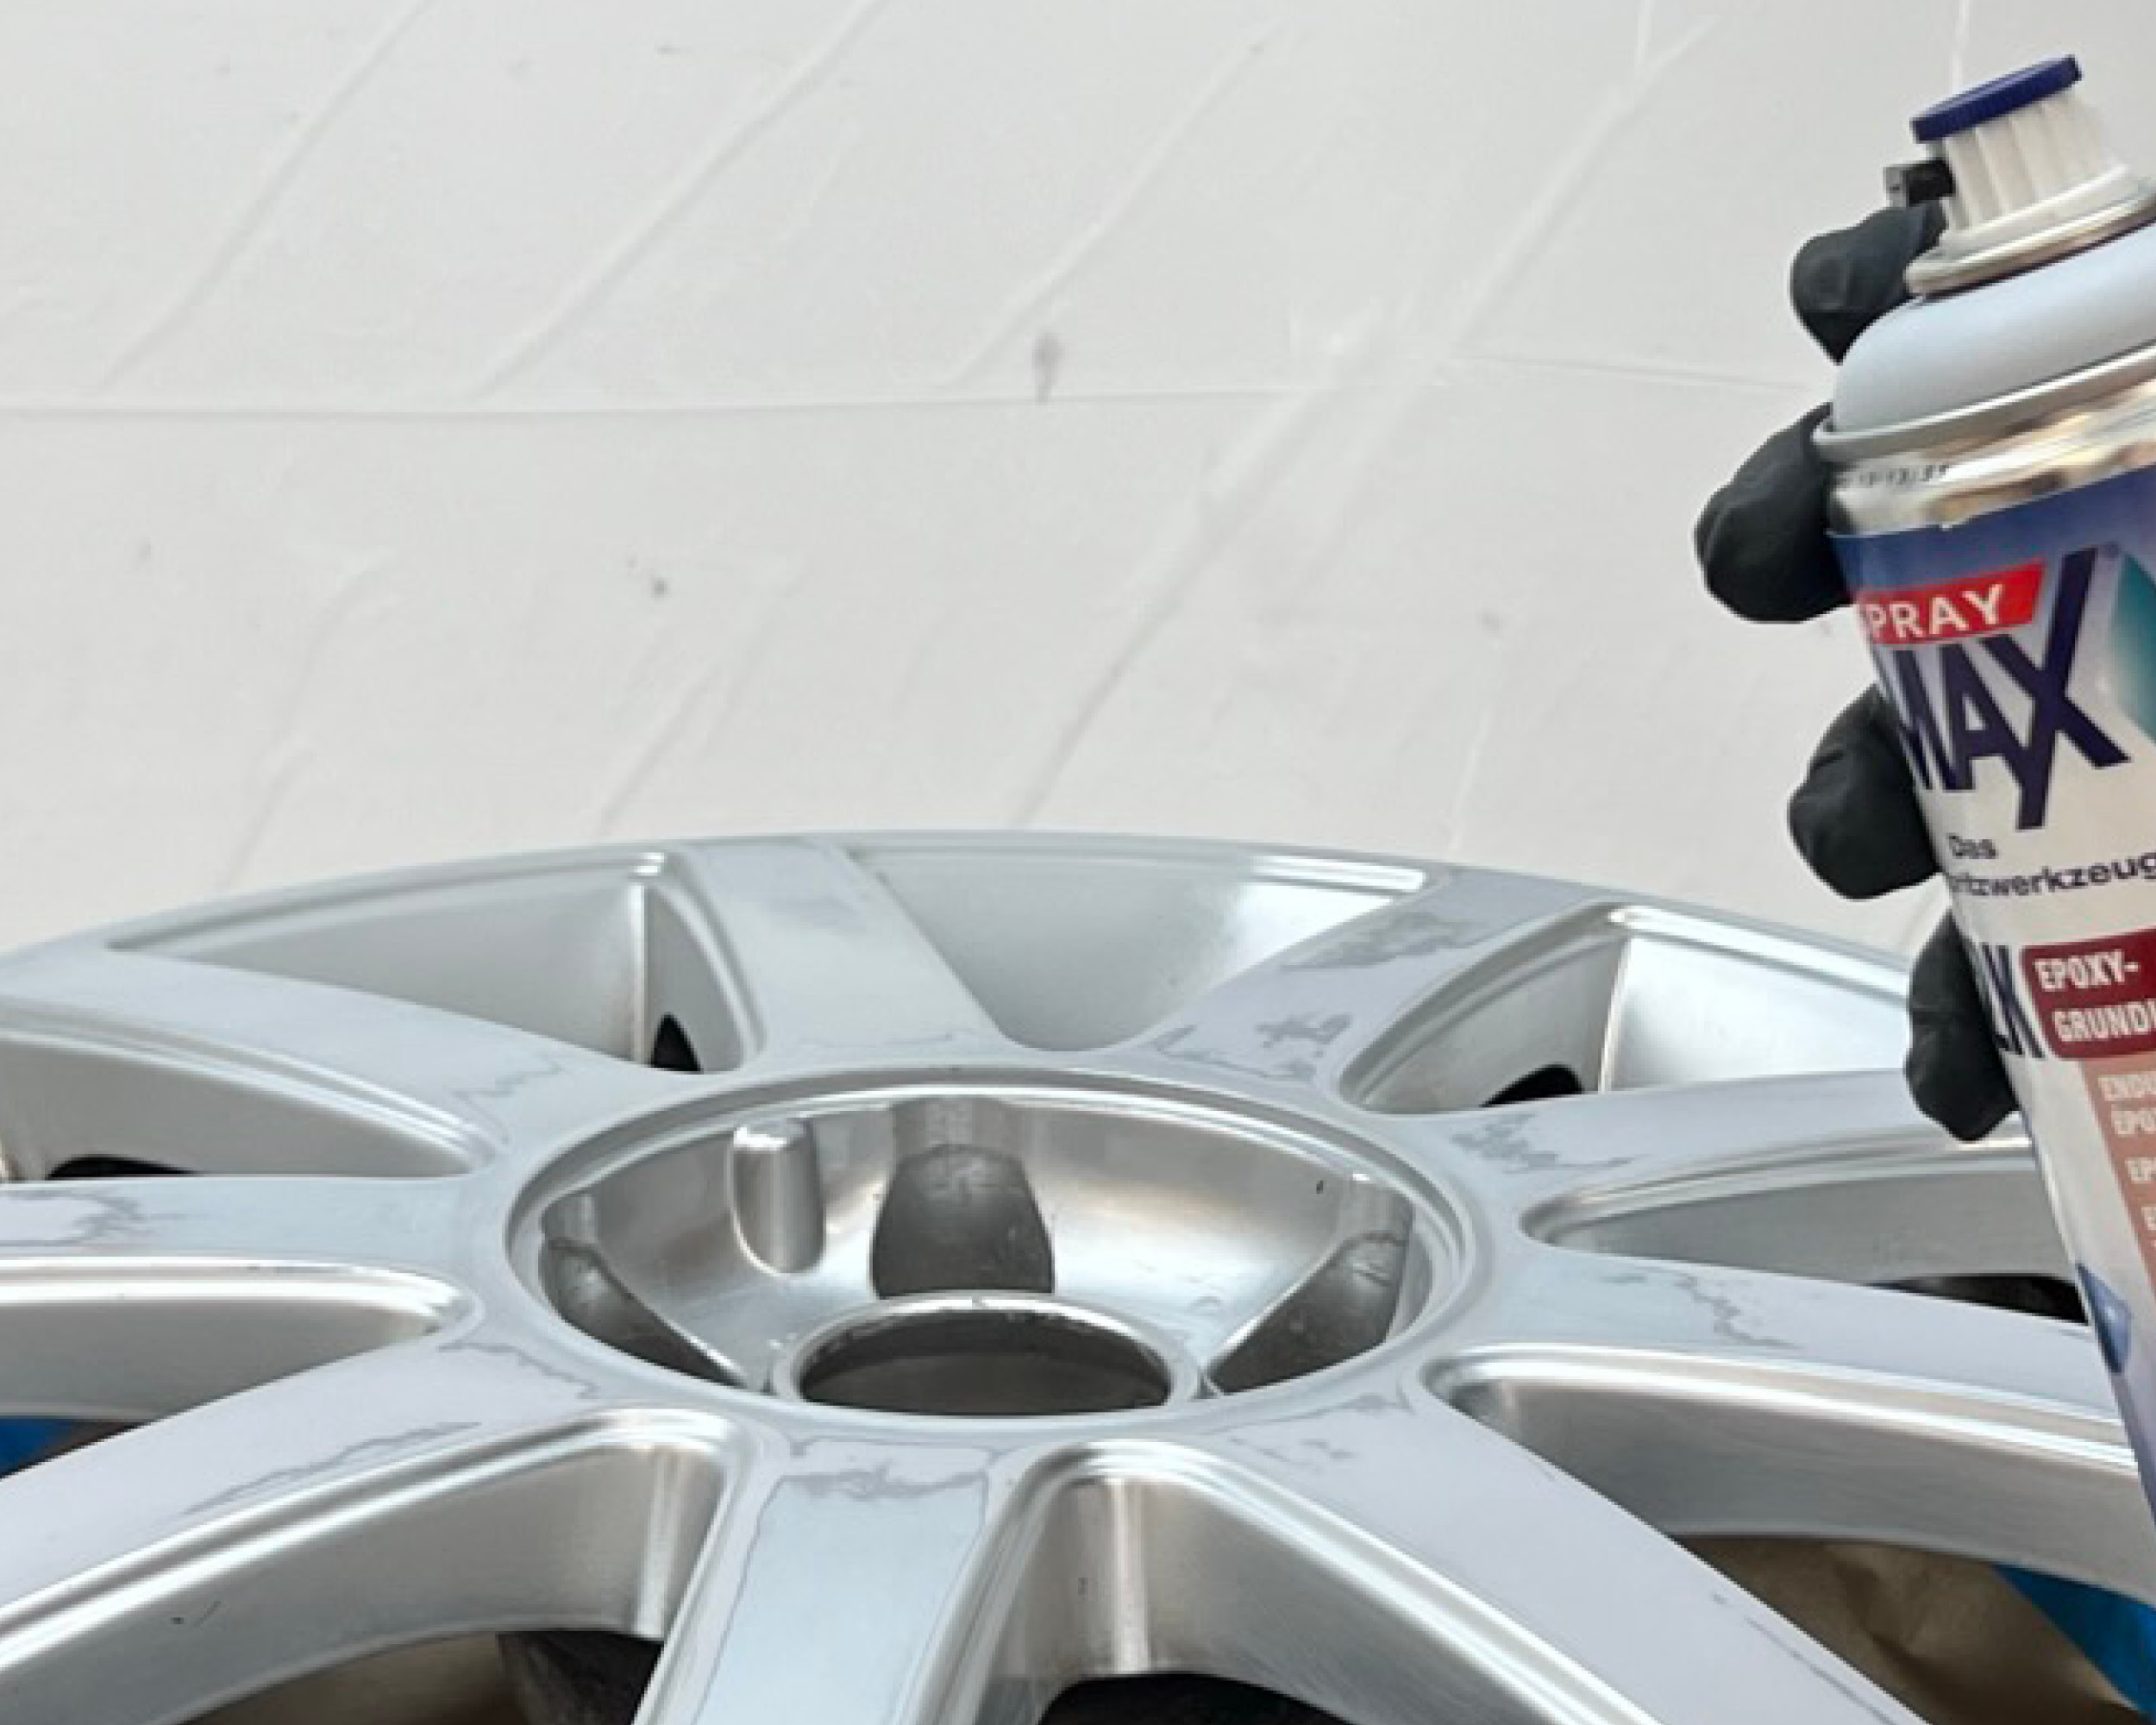
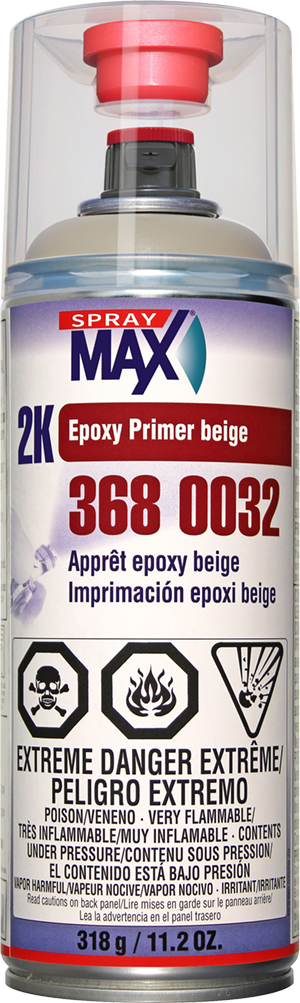
Apply 2K epoxy primer with 2-3 coats.
If the SprayMax epoxy is dried for more than one day, it needs to be scuffed before painting.
If scuffed clean again with Solvent Wash 3680090.
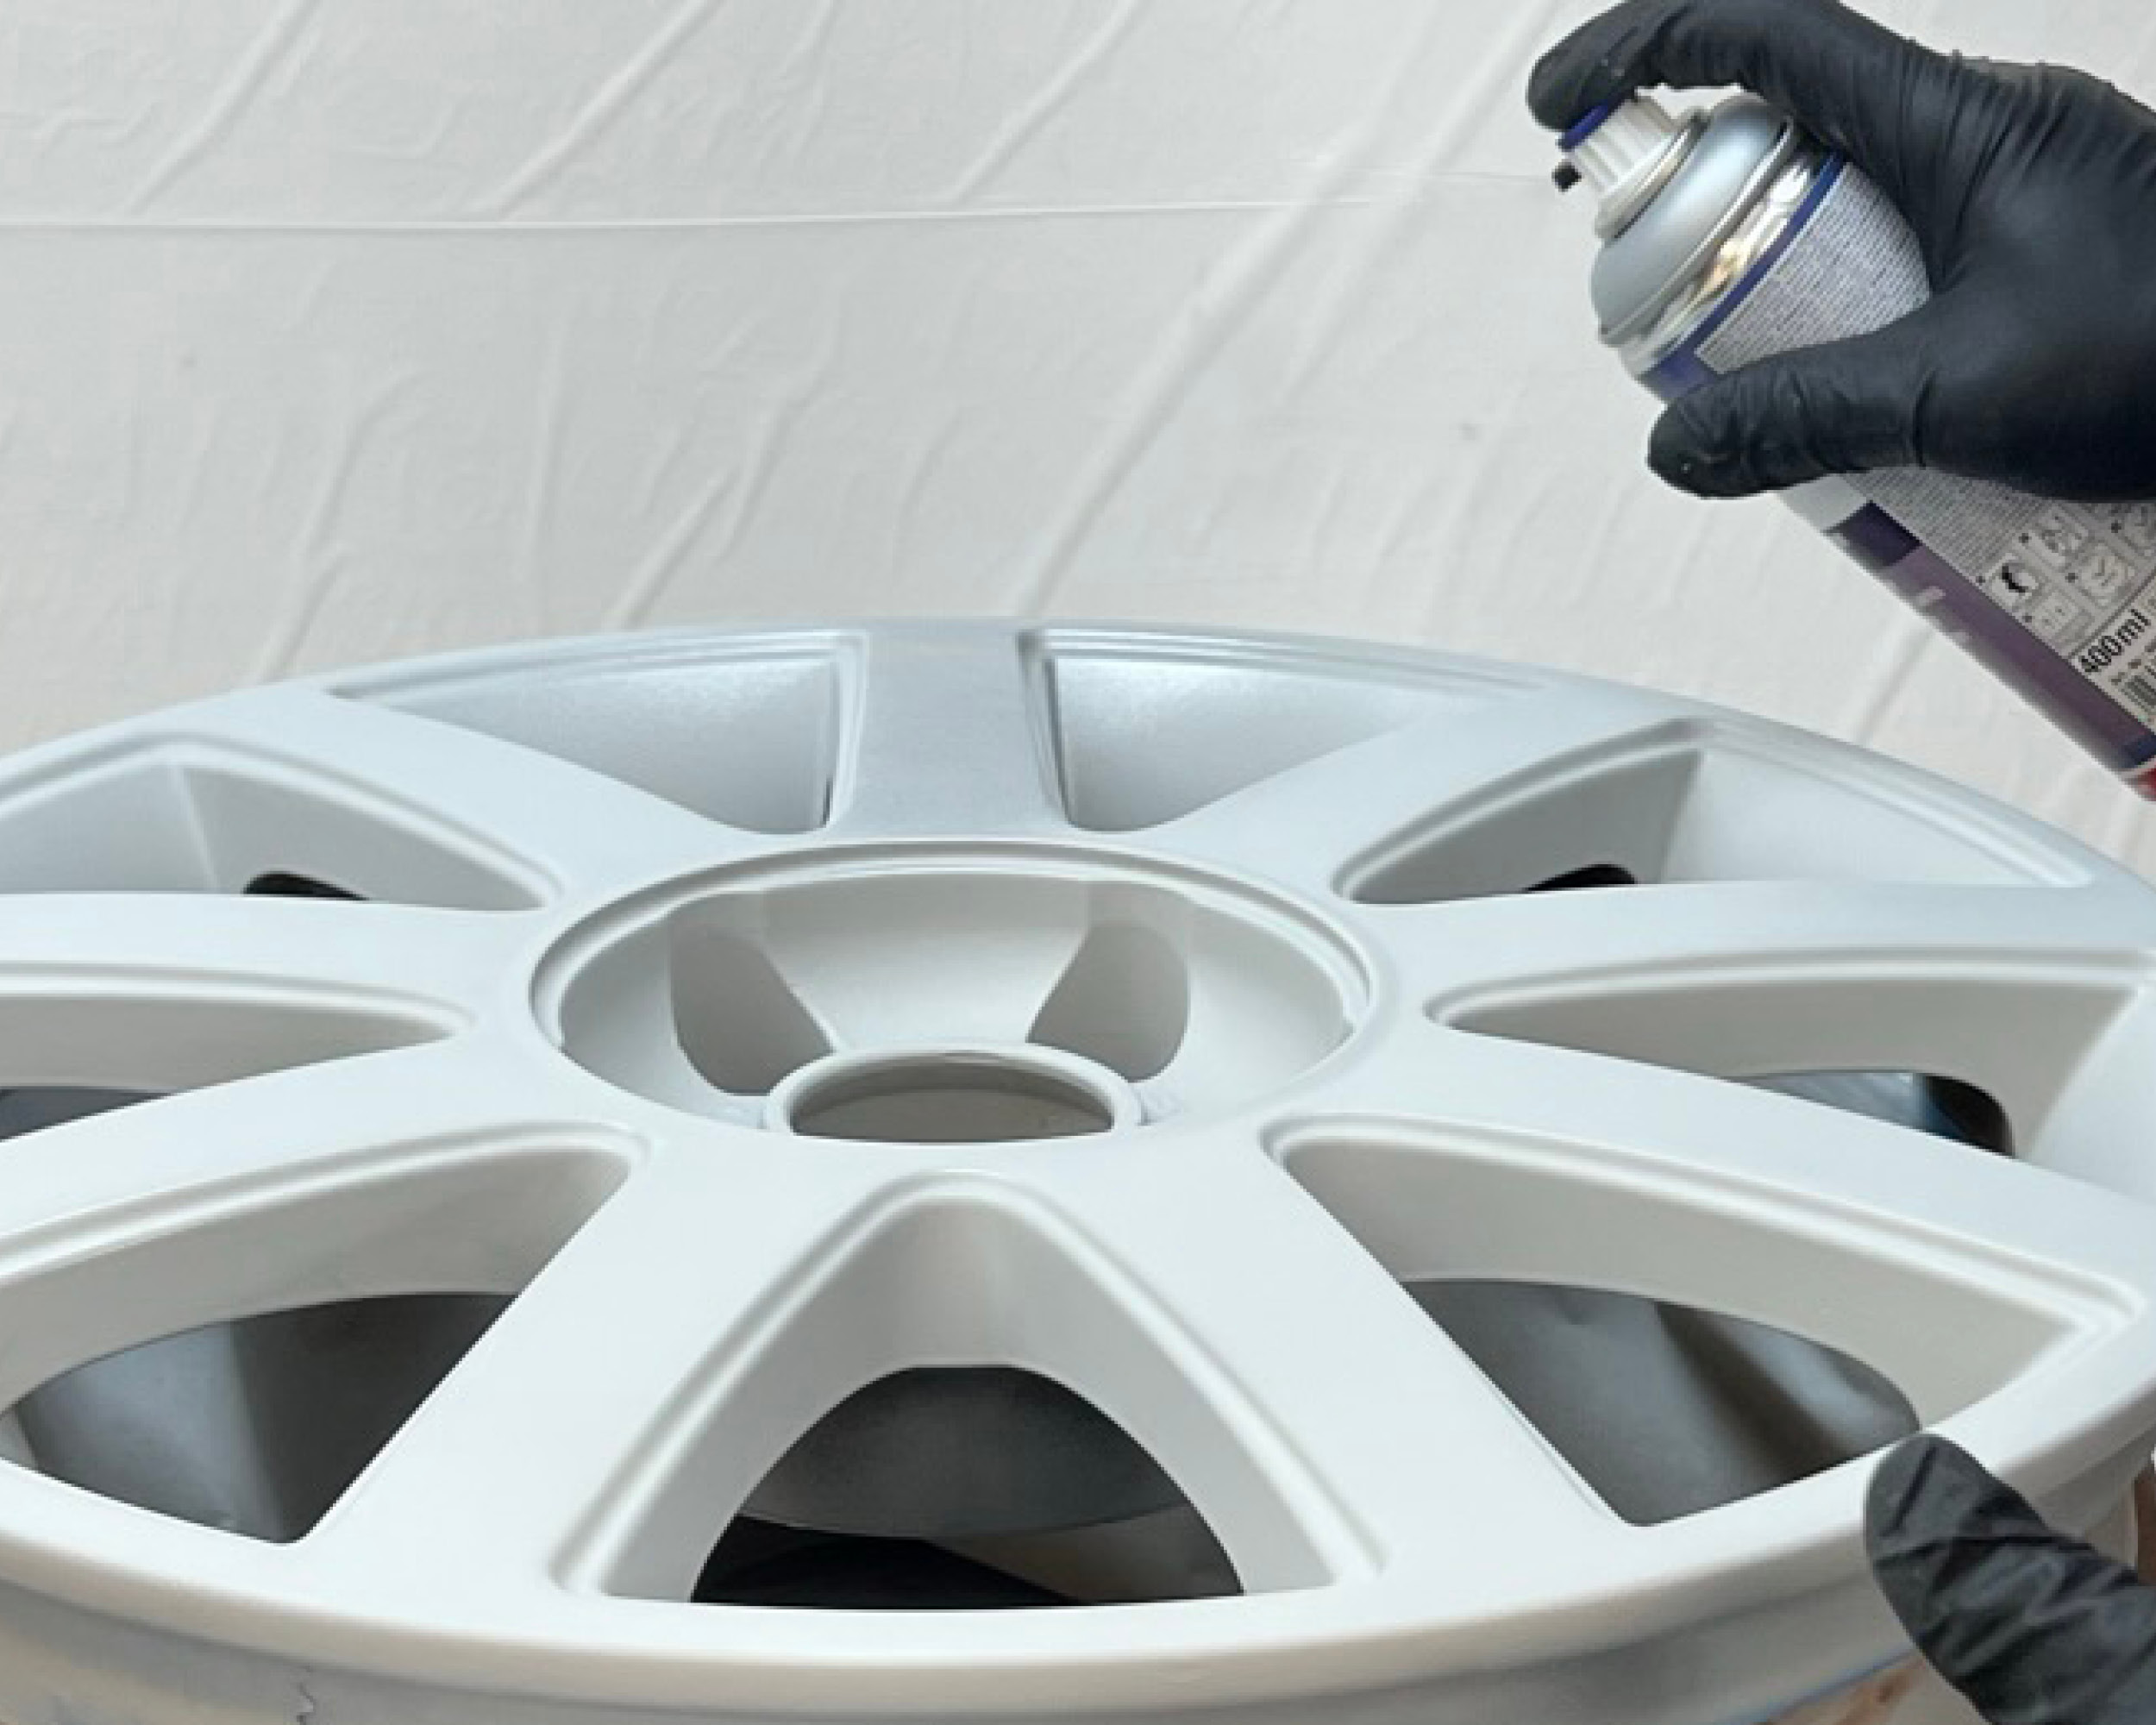
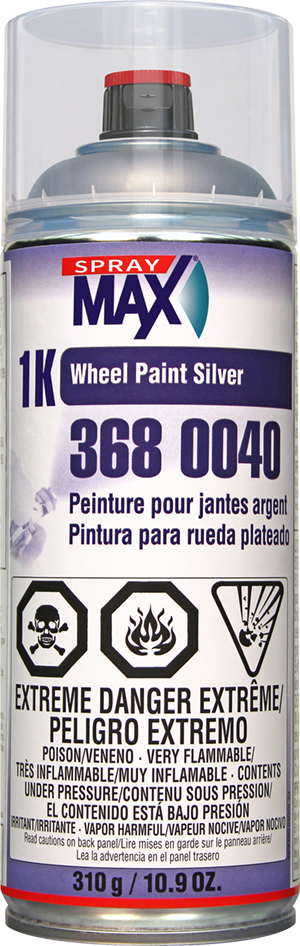
Spray 2 – 3 coats of 1K Wheel Paint Silver 3680040.
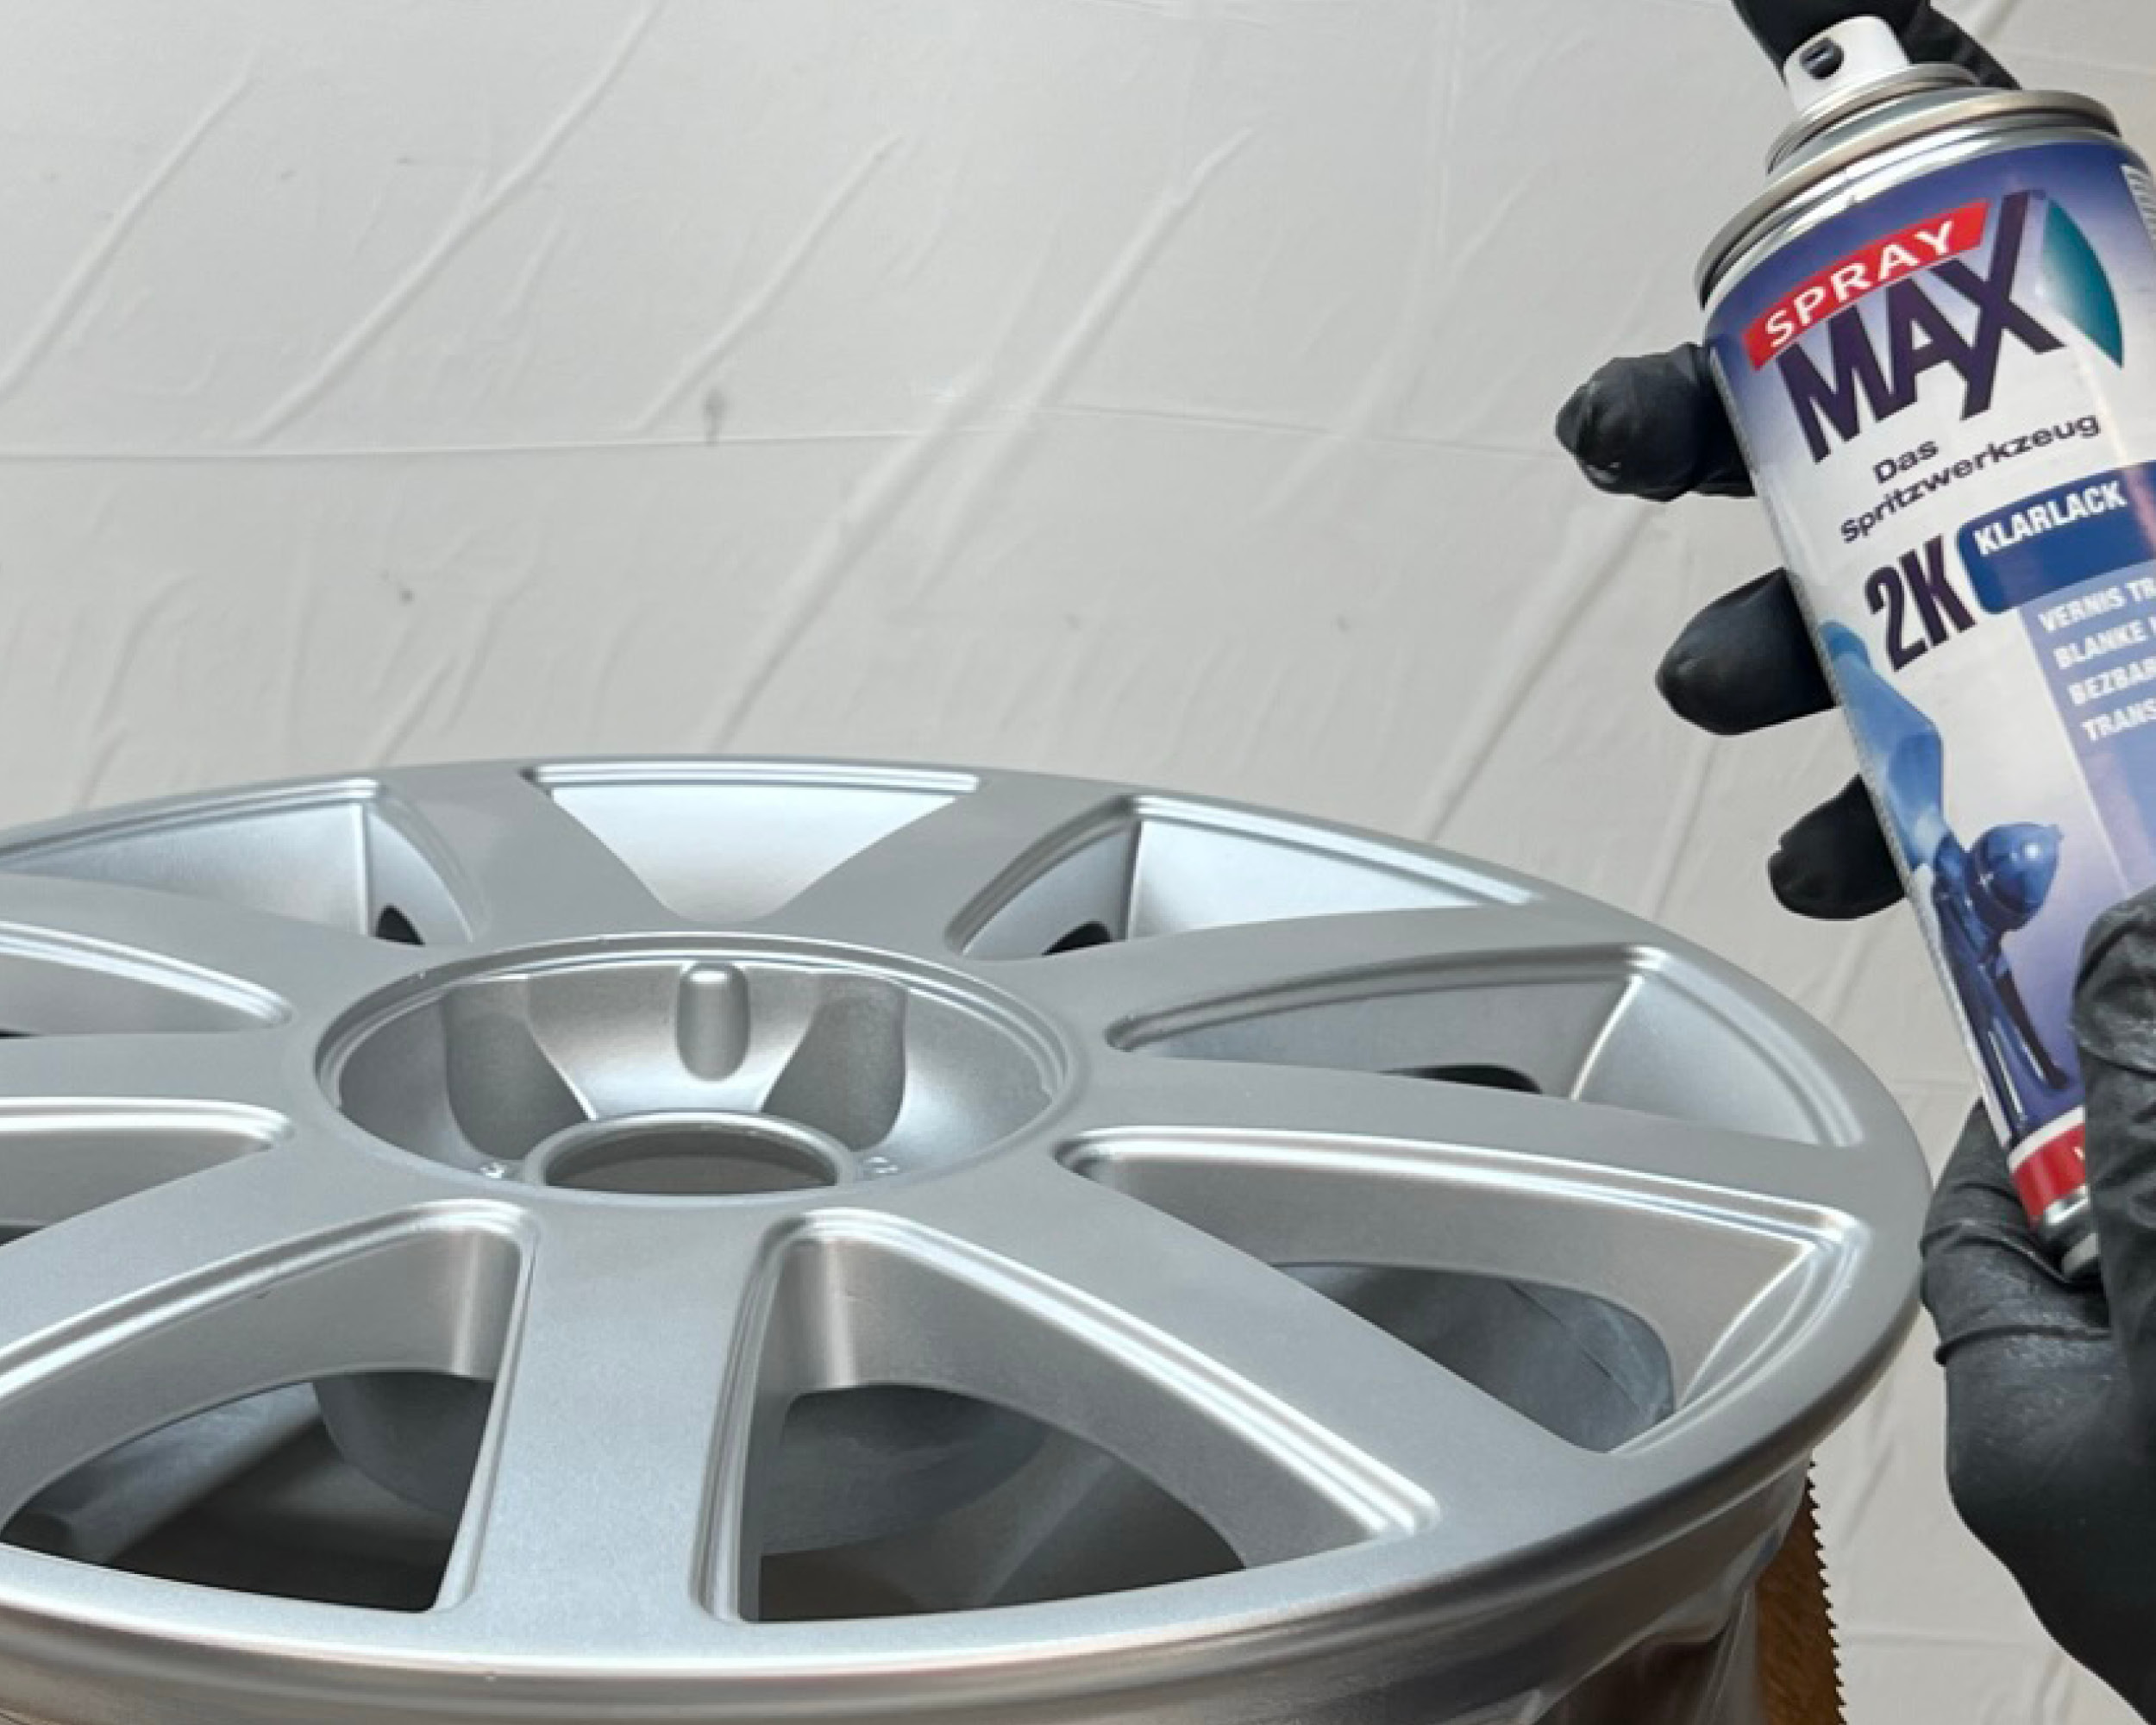
Allow flash time, can be clear coated with SprayMax 1K or 2K Clear.
Rich in active ingredients for the efficient removal of silicone, grease, oil, wax, dirt, tar, and soot. This high quality product has excellent ...
Universal 2K epoxy primer filler for all problematic surfaces; for example, metal, non-ferrous metal, galvanized sheet steel, or anodized aluminum.
High resistant and high-yield wheel spray for new and used wheels.
2K Clear Coat available in two gloss levels (Matte & Satin). Developed for the Small Damage Repair Process or complete painting of mounting parts.