Lackiervorbereitung
Grundierungen / Grundierfüller
Spachtel
Füller
Fill In/ FillClean® Dosen
Decklacke
Klarlacke und Spot-Blender
Zubehör
Schadstelle reinigen und mit P400 schleifen.
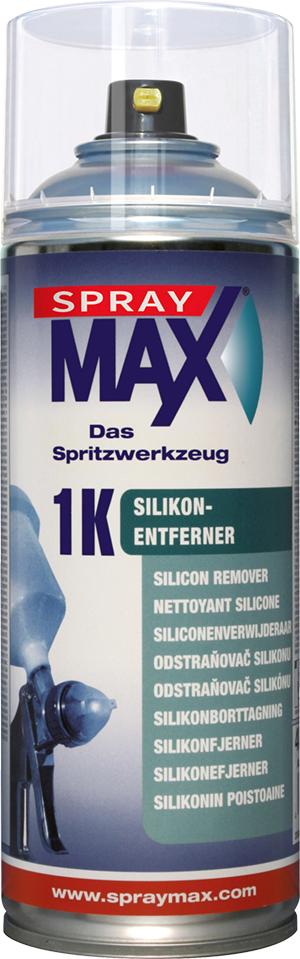
Reinigen mit Silikonentferner.
Sorgfältig abkleben für AC-Füller Auftrag.
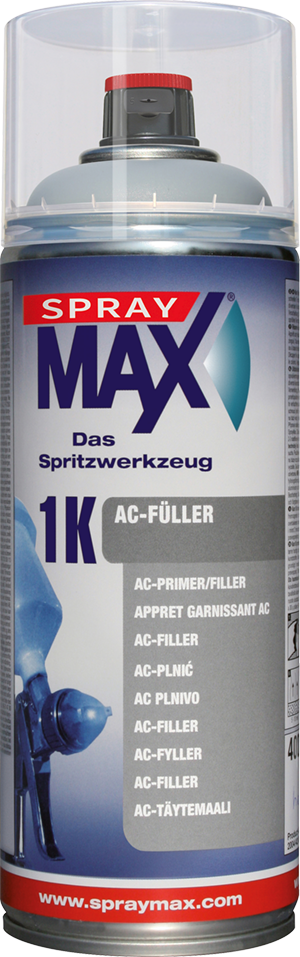
1K AC-Füller in 2-3 dünnen Schichten applizieren.
Ablüften bis matt.
Schleifen per Hand mit P600.
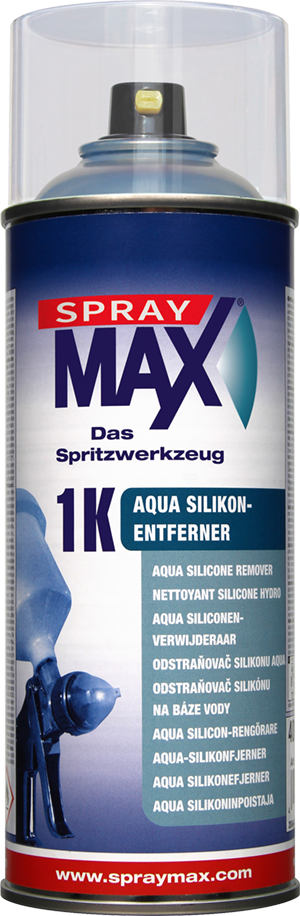
Reinigen mit Aqua-Silikonentferner.
Für Basislack vorbereiten mit Staubbindetuch säubern.
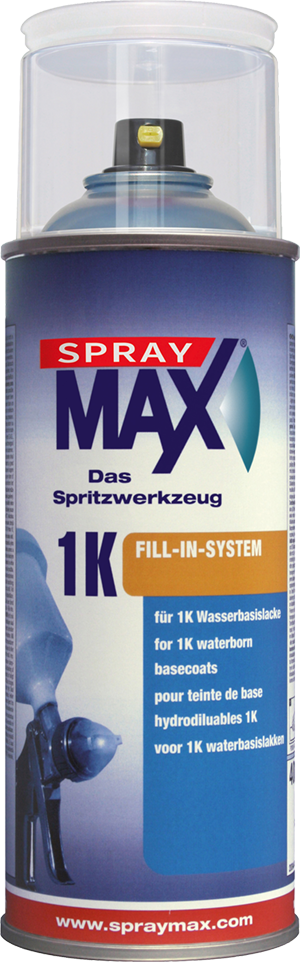
Den vorher ausgemischten Basislack Farbton applizieren.
Forciert ablüften.
Weitere 1-2 Spritzgänge dazwischen immer ablüften.
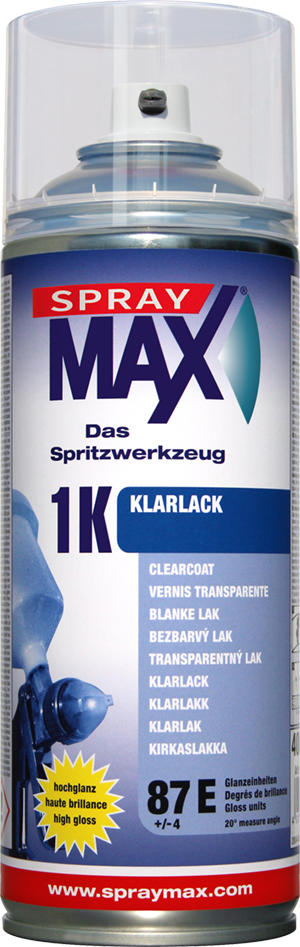
Nach dem Ablüften 1K Klarlack auftragen.
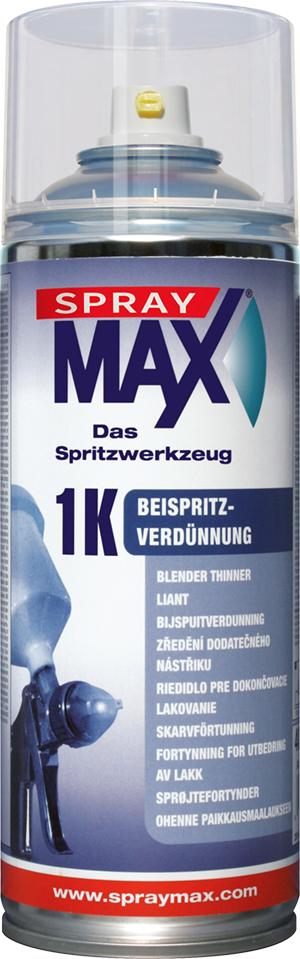
An den Randzonen Beispritzverdünnung applizieren, danach optional IR trocknen.
Nach ca. 20 Min Trocknung ein Ergebnis wie neu.
Wirkstoffreiches, mildes Reinigungsmittel zur gründlichen Entfernung von Silikon, Fett, Öl, Wachs, Schmutz, Teer und Ruß. Der hochergiebige ...
Wasserbasierendes, lösemittelreduziertes und wirkstoffreiches Reinigungsmittel zum unmittelbaren Einsatz vor der Lackierung mit Wasserbasislacken. ...
Acrylfüller mit gutem Standvermögen, schneller Trocknung und hervorragender Trocken-Schleifbarkeit. Ideal für Spot Repair. Auf Stahl, verzinktem ...
Für die farbtonspezifische Befüllung von 1K Wasserbasislacken, in Marke und Qualität der nachfolgend genannten Lackhersteller. Ergebnis ist eine ...
1 Komponenten Klarlack für die schnelle Beschichtung und Versiegelung von Reparatur- und Neulackierungen. Aufgrund der guten Elastizität des ...
Beispritzverdünnung ist ein Spezialprodukt für homogene Lackierübergänge im Beilackierbereich von 1K / 2K Klarlacken sowie von 2K Decklacken mit ...